

Guitar String Spacing System - Making A Custom Nut
Concept
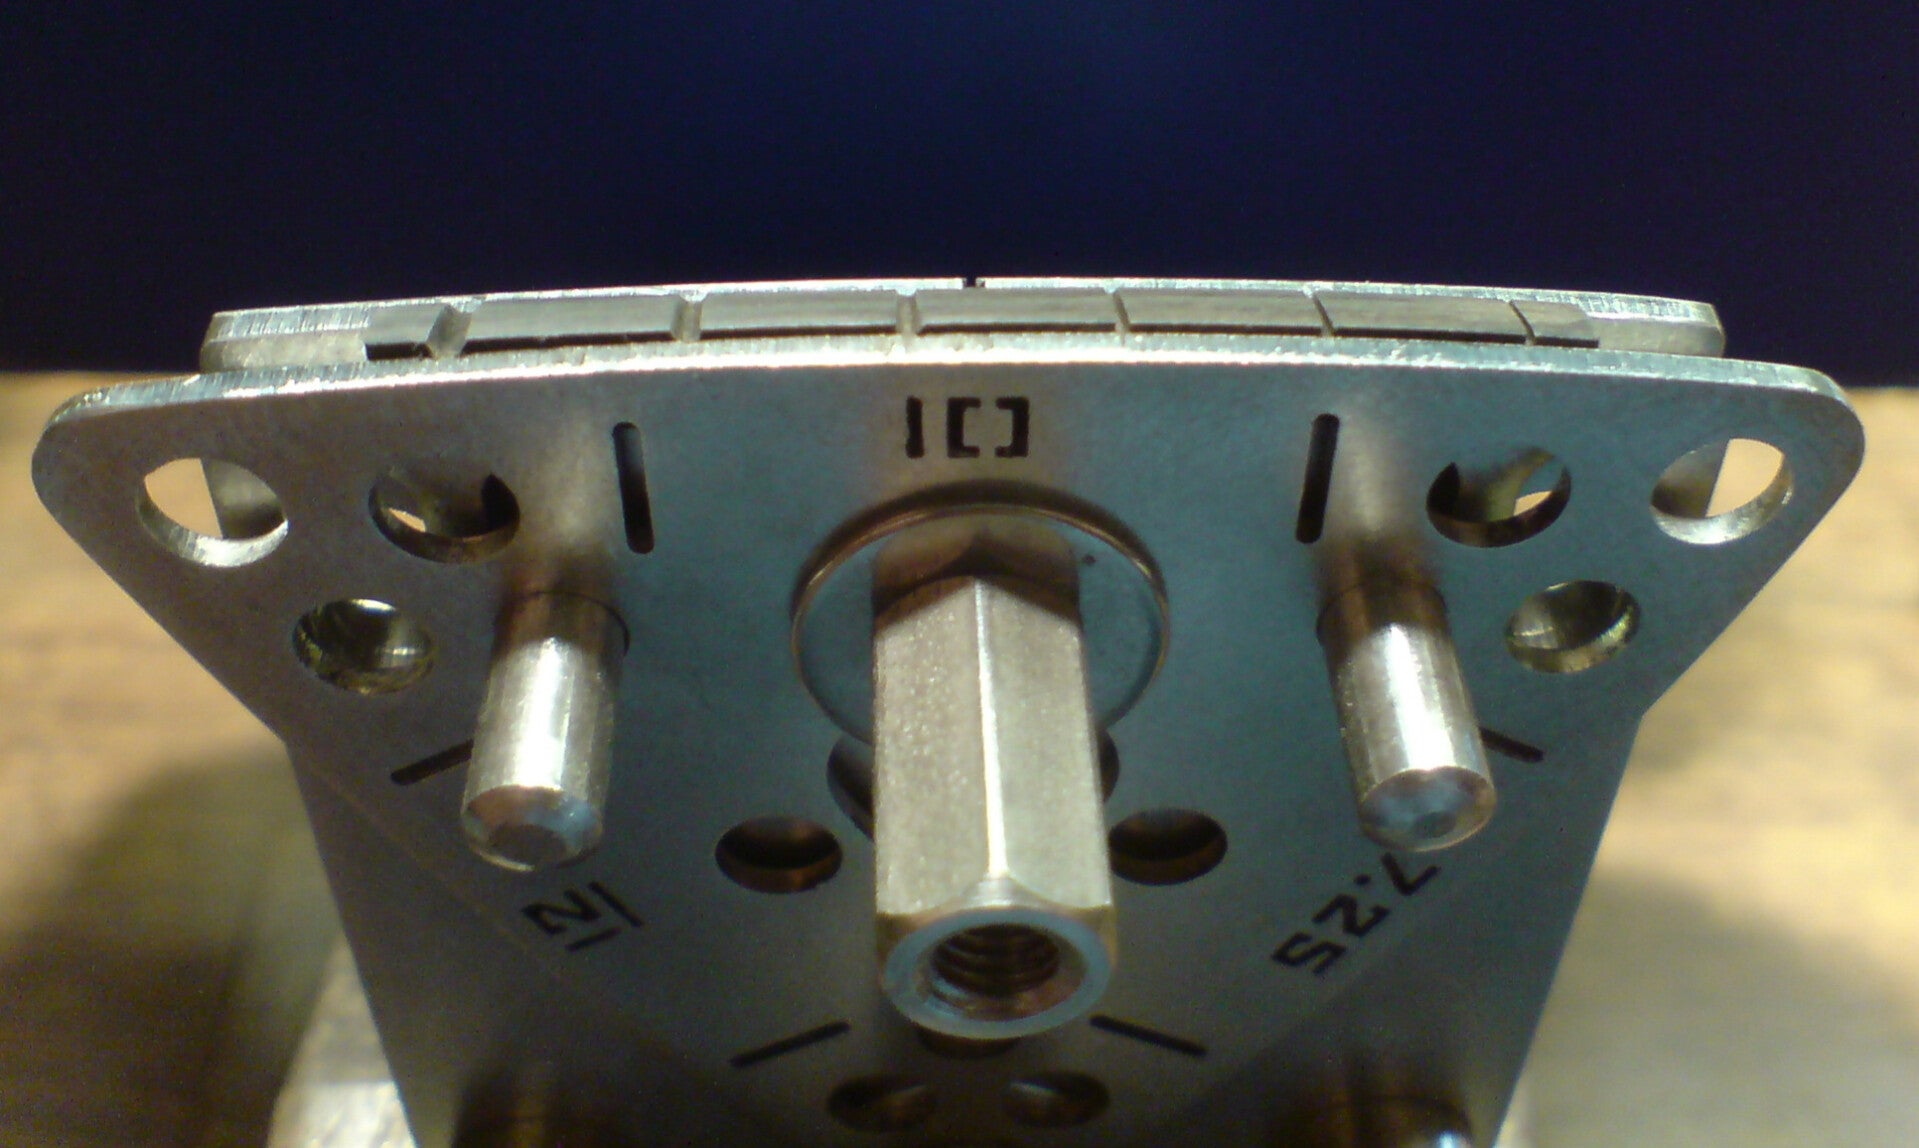
A distinctive aspect of the tool is its ability to compare the instrument. The jig is configured directly from the guitar. This enables accurate work to be performed away from the guitar using an exact comparison of the instrument.
“A quick note to let you know how highly I think of your nut making tool. it’s by far the most efficient I’ve ever used. I can’t believe how easy it makes shaping and filing a nut!. I commend you for coming up with such a clever system, it’s truly a pleasure to use!. Again, I can’t stress enough how your nut filing tool has been a game changer for me! I use it all the time!”. Vincent N., Quebec, Canada.
Nut Slot Preparation
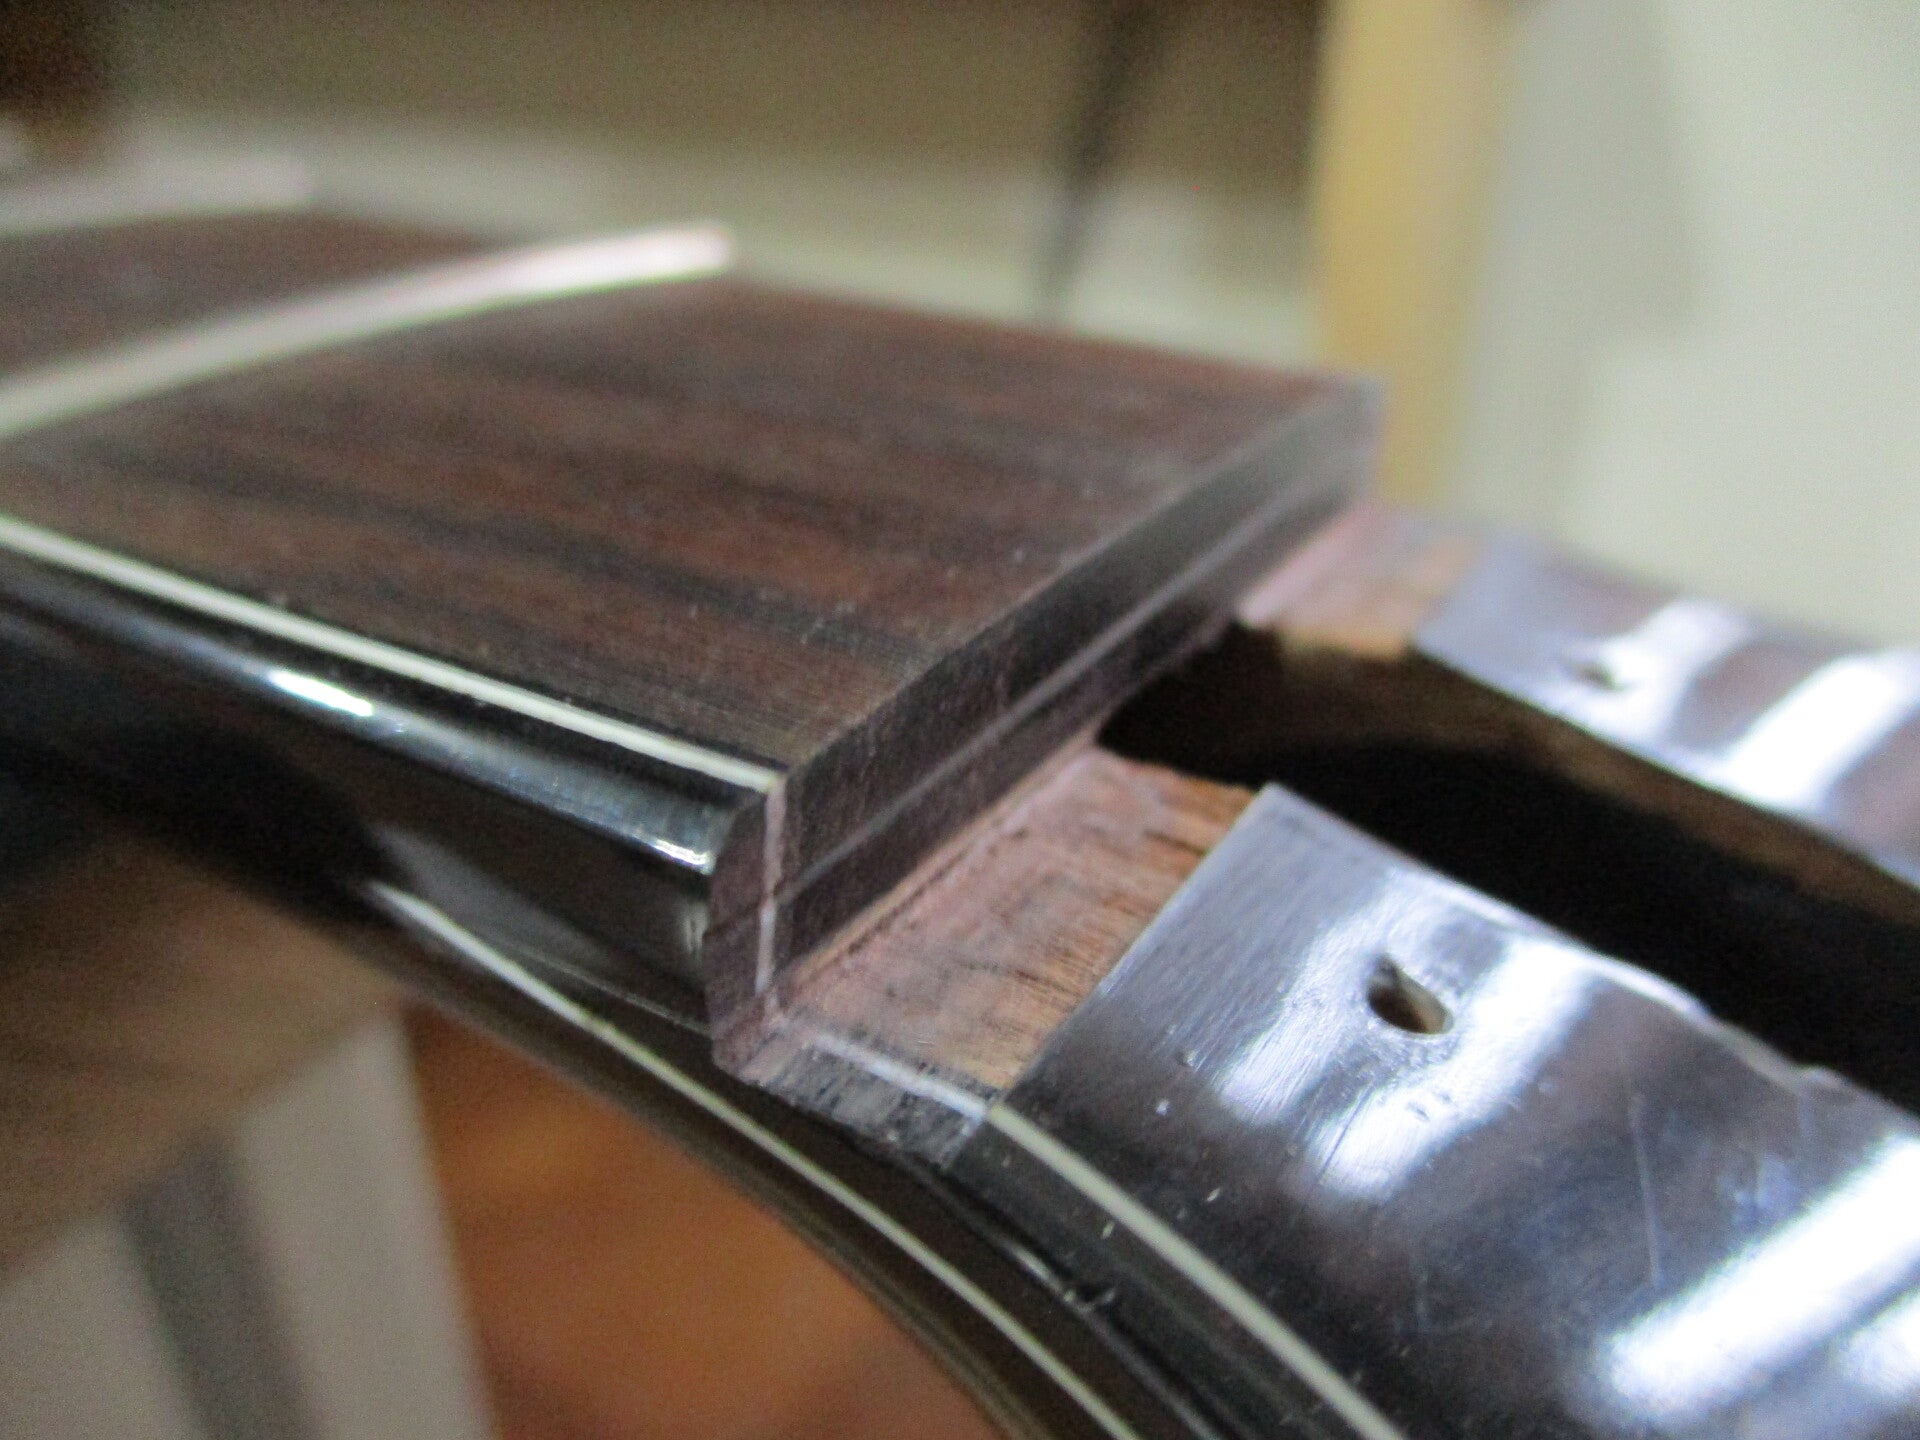
Before using the jig, ensure the nut slot is cleaned and true with the fretboard surface.
Check the slot depth is the same at each side of the fretboard, correcting any slant across the neck where necessary.
Confirm the nut blank fits securely in the slot.
Pencil-mark the crown profile across the front, for use as a quick reference when switching between the instrument and the jig.
Gauging The Slot
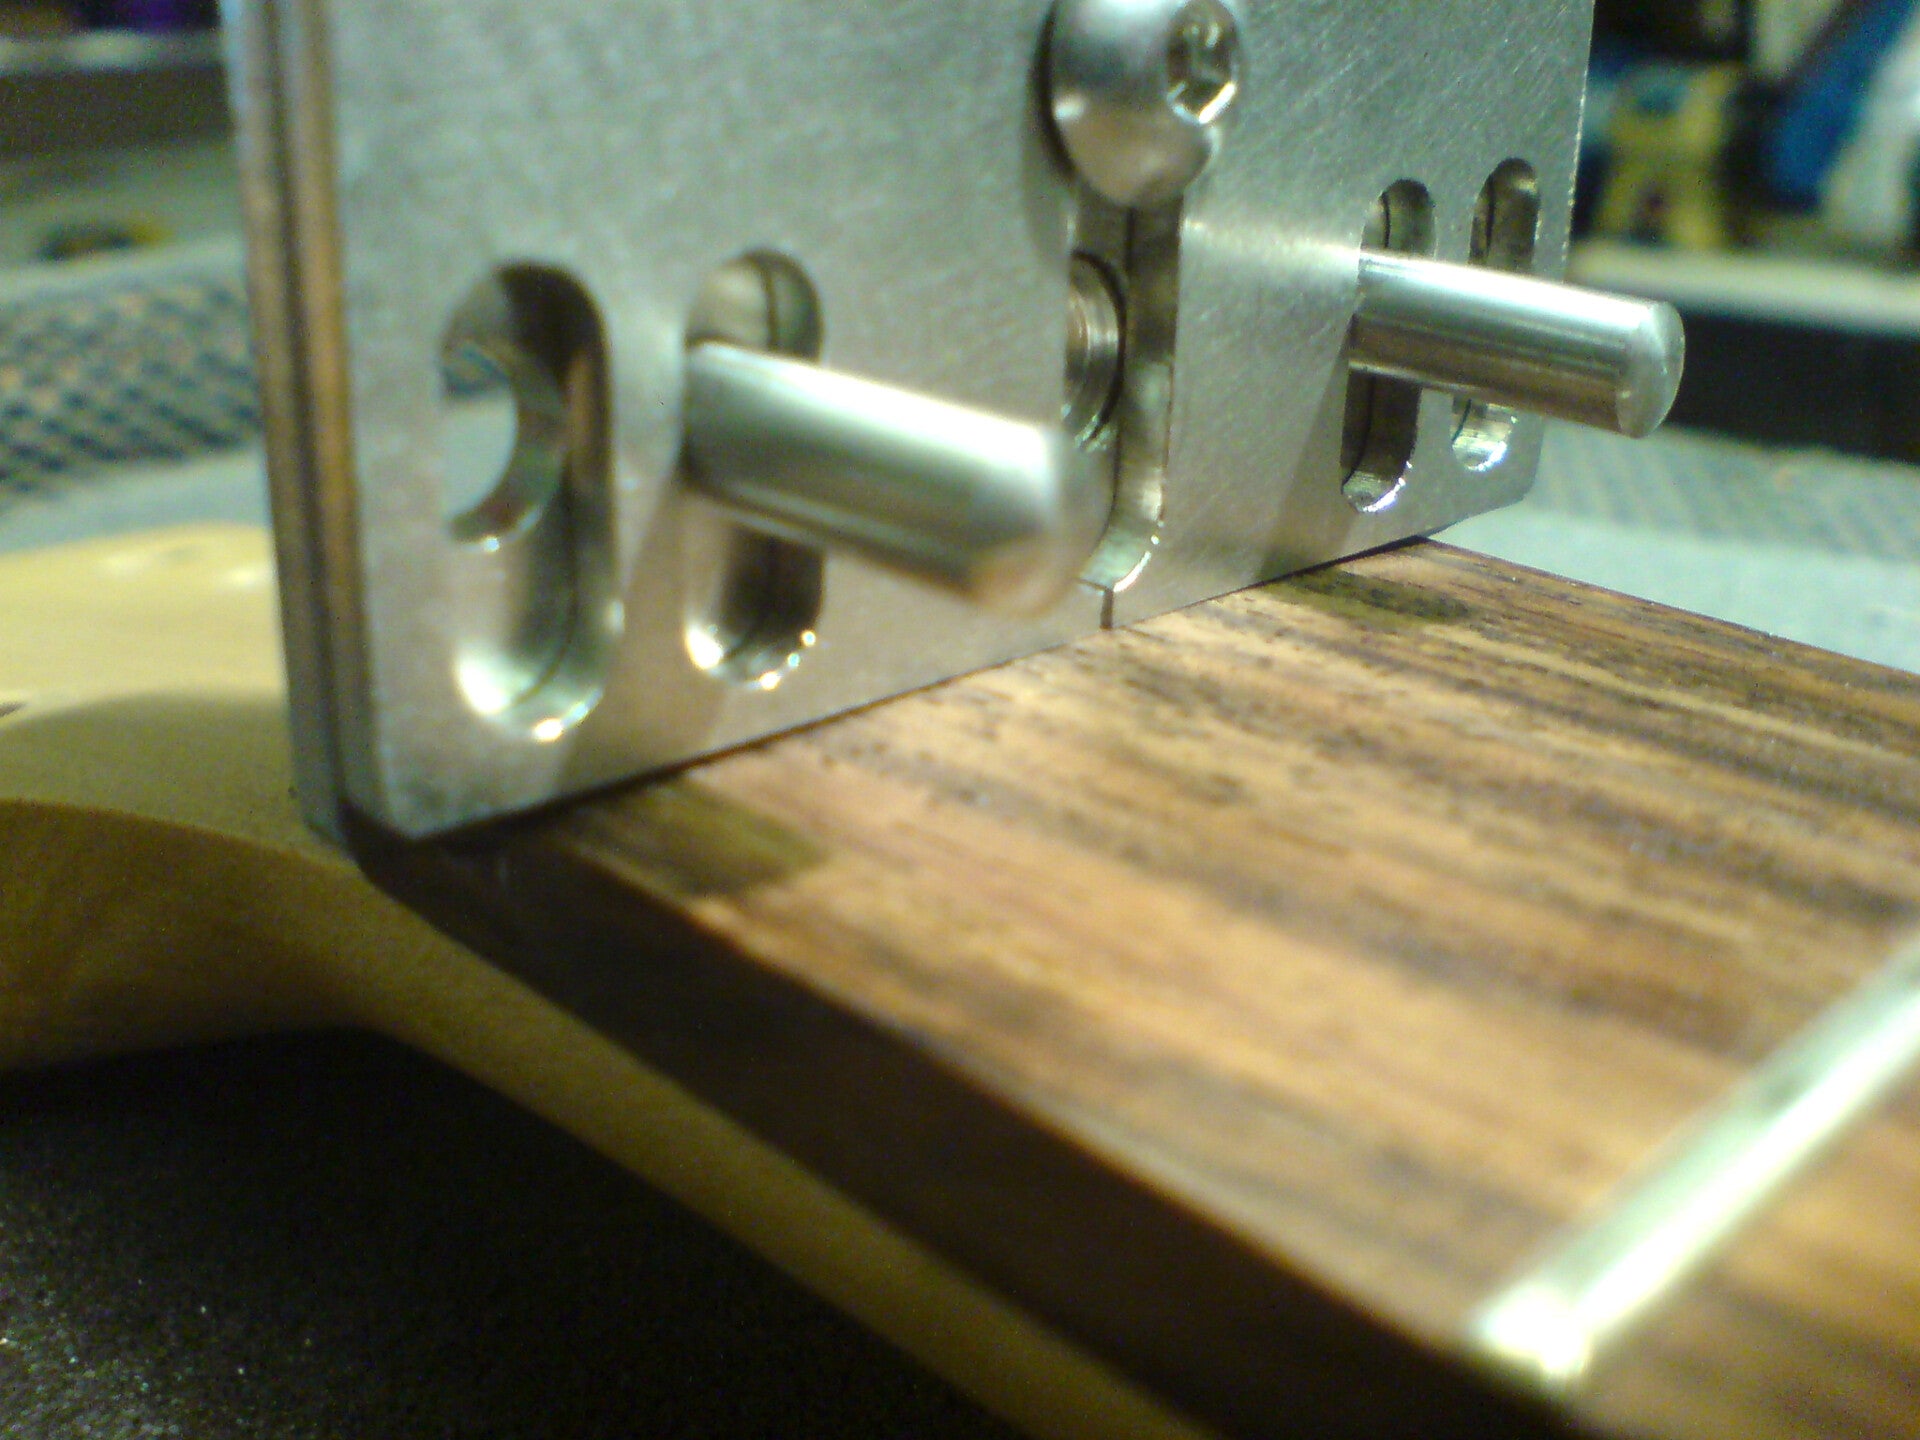
The system replicates the guitars nut slot using a sliding plate setup, akin to a depth gauge.
Loosen the jig nuts to allow the plates to slide freely against one another.
Position the longest plate inside the nut slot and allow both plates to find their own rest positions.
Ensure the gauging is made at the centre of the fretboard, keeping the jig perpendicular as shown.
Loosely Tighten Jig Nuts
When the comparison is made, hand tighten the jig fixing nuts before removing from the guitar.
Fully Tighten The Jig
After removal, immediately tighten the jig plates using the wrench supplied, to avoid movement and loss of the datum setting.
Nut Top Profile Template
The top profile template acts as a precise filing guide, ensuring excess material is removed efficiently, while leaving the perfect margin for final slotting.
The height of the top profile's arc gradually rises from the treble to the bass side.
This results in 0.5mm (0.020”) of nut material remaining for slot filing on the treble side and 1.0mm (0.040”) on the bass side.
Setup
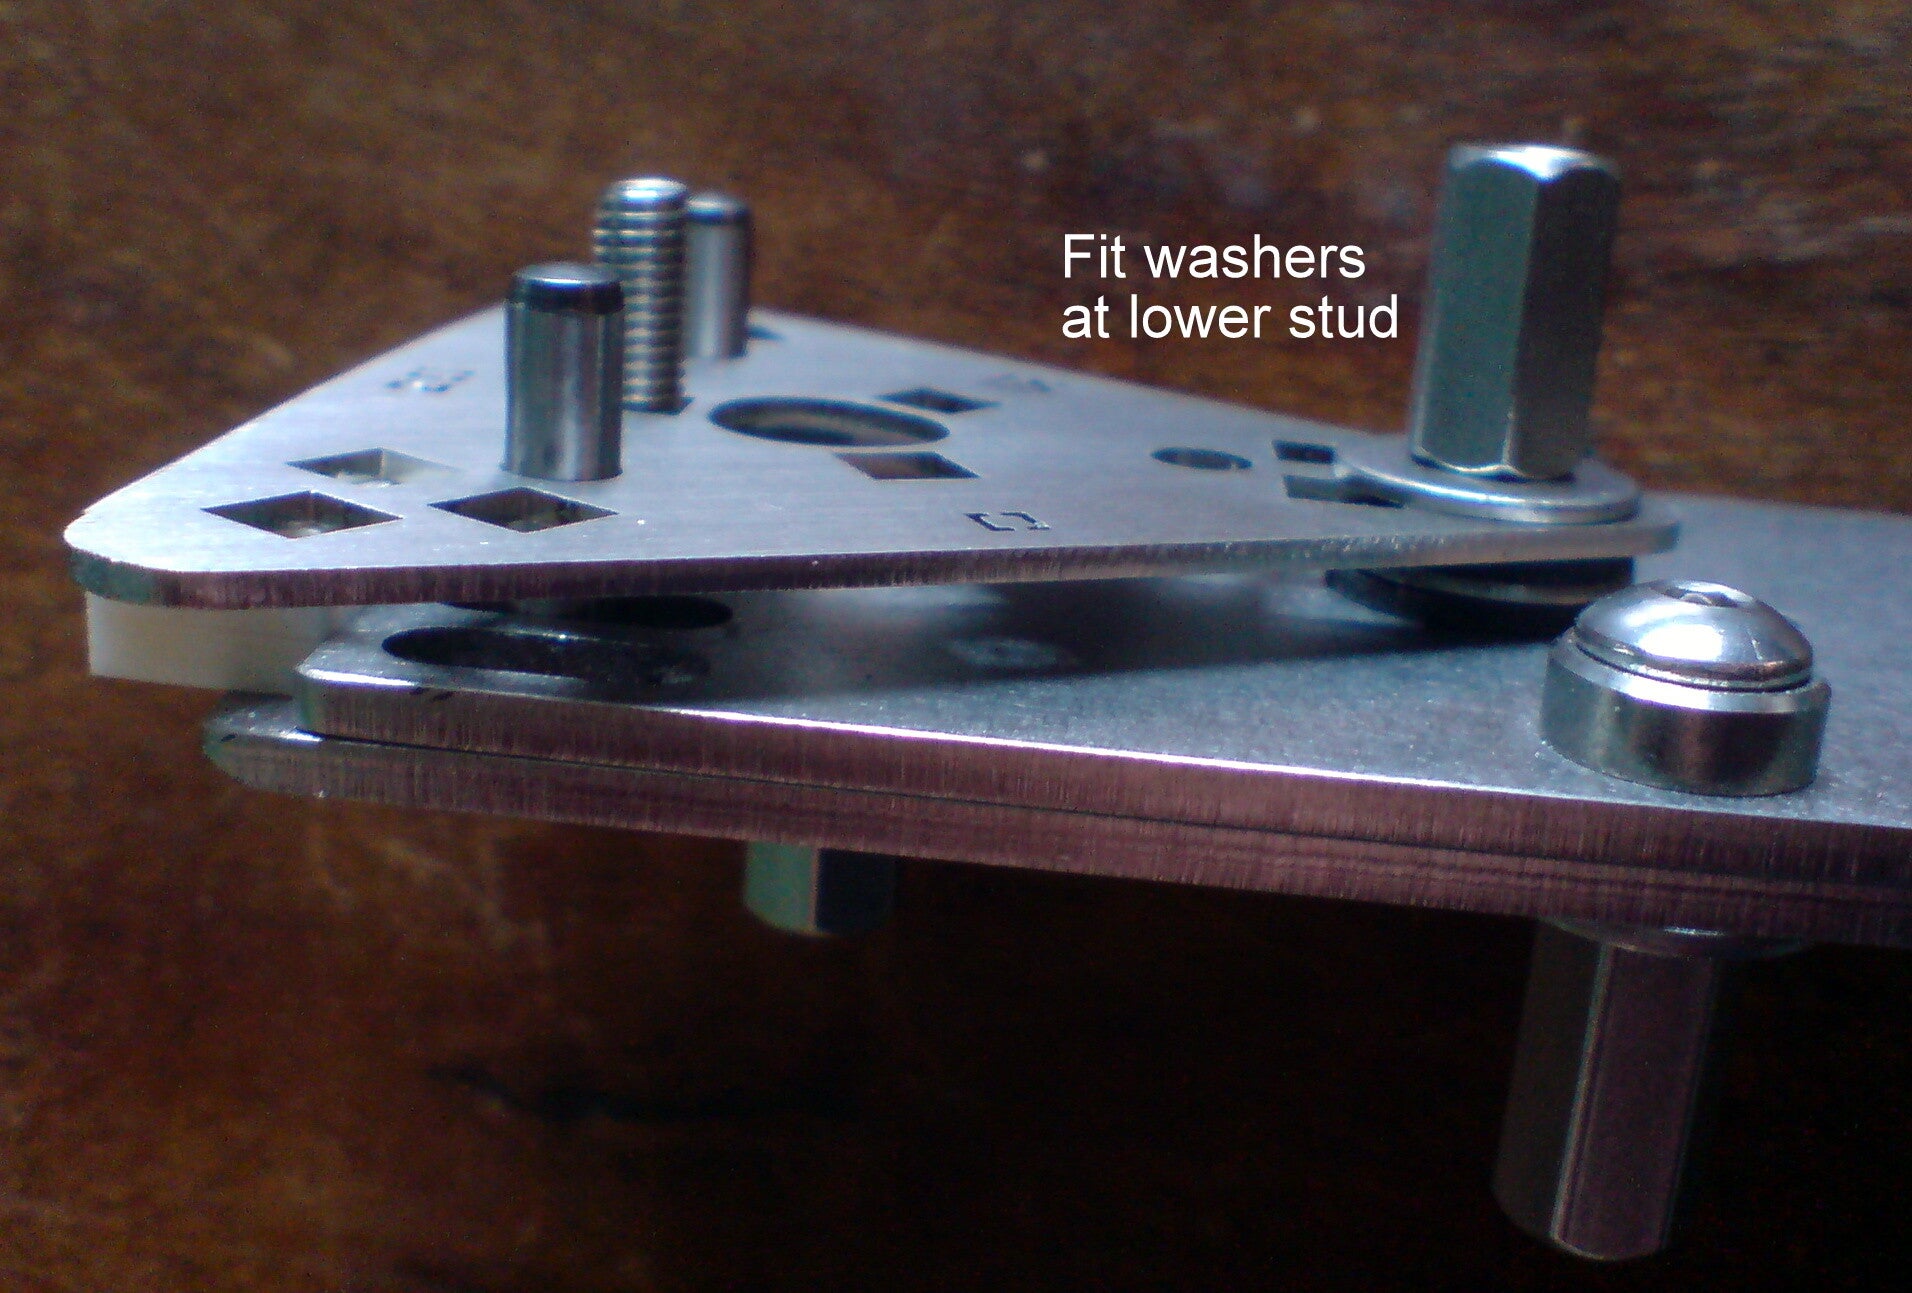
The profile plate should be set to clamp the nut lightly while allowing flex for easy placement of the nut into the jig.
To facilitate this, spacing washers comprising of steel and rubber are fitted at the lower stud - quantity depending on the particular nut thickness.
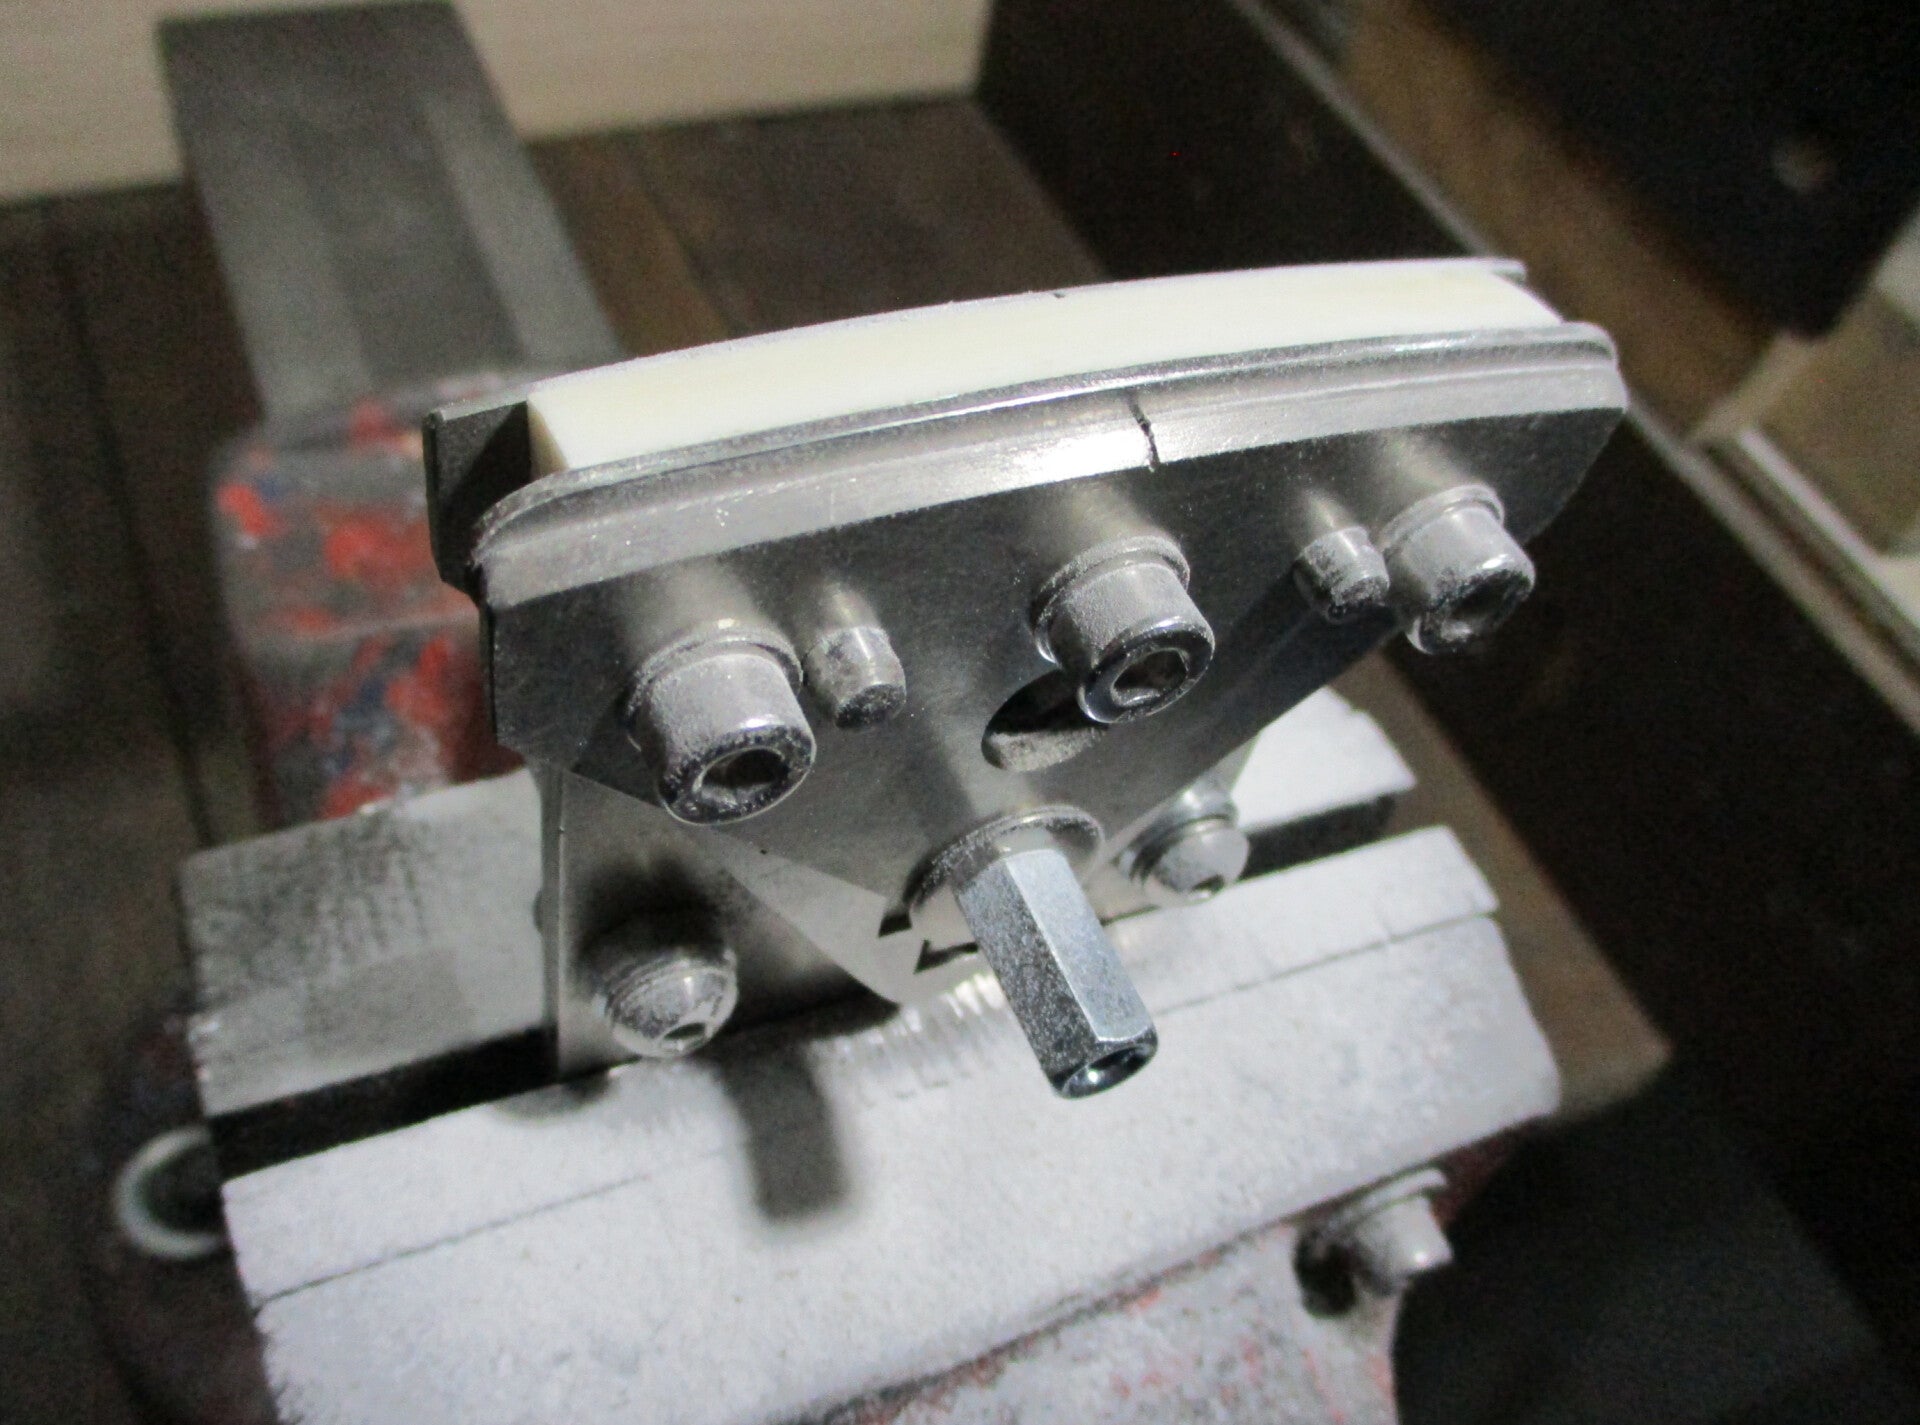
Profile The Nut Top
For maximum stability during profiling, mount the triangular clamp jaw over the profile template and fit the allen head clamp screws.
File the nut flush with the profile template, angling the rear surface back towards the peghead side for the string break angles.
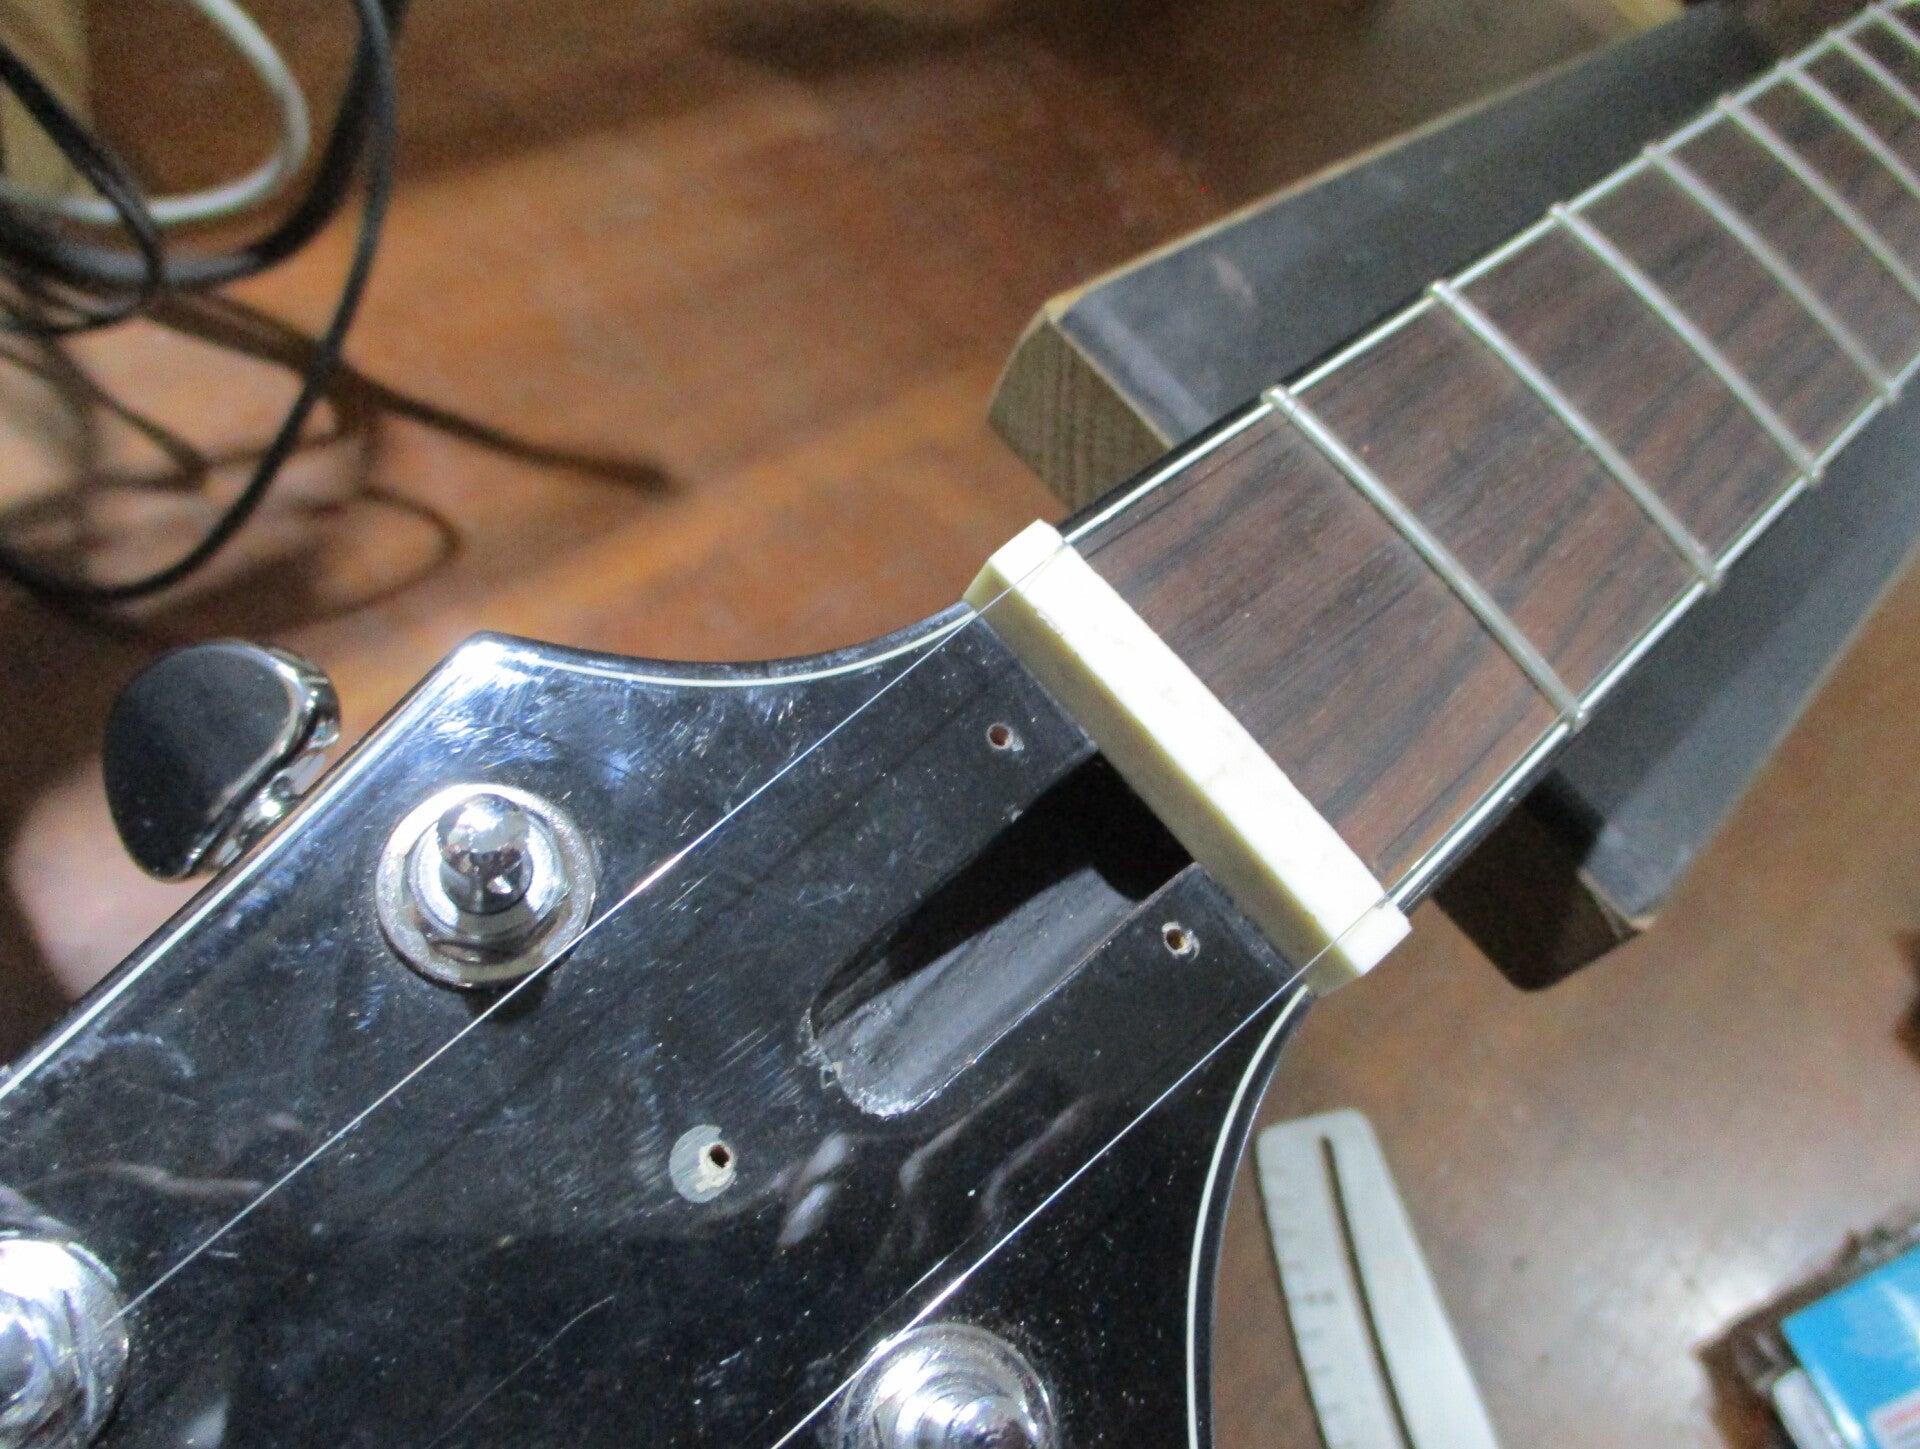
Mark The Outer String Positions
After shaping the top, seat the profiled nut back onto the neck to mark the required outer string positions.
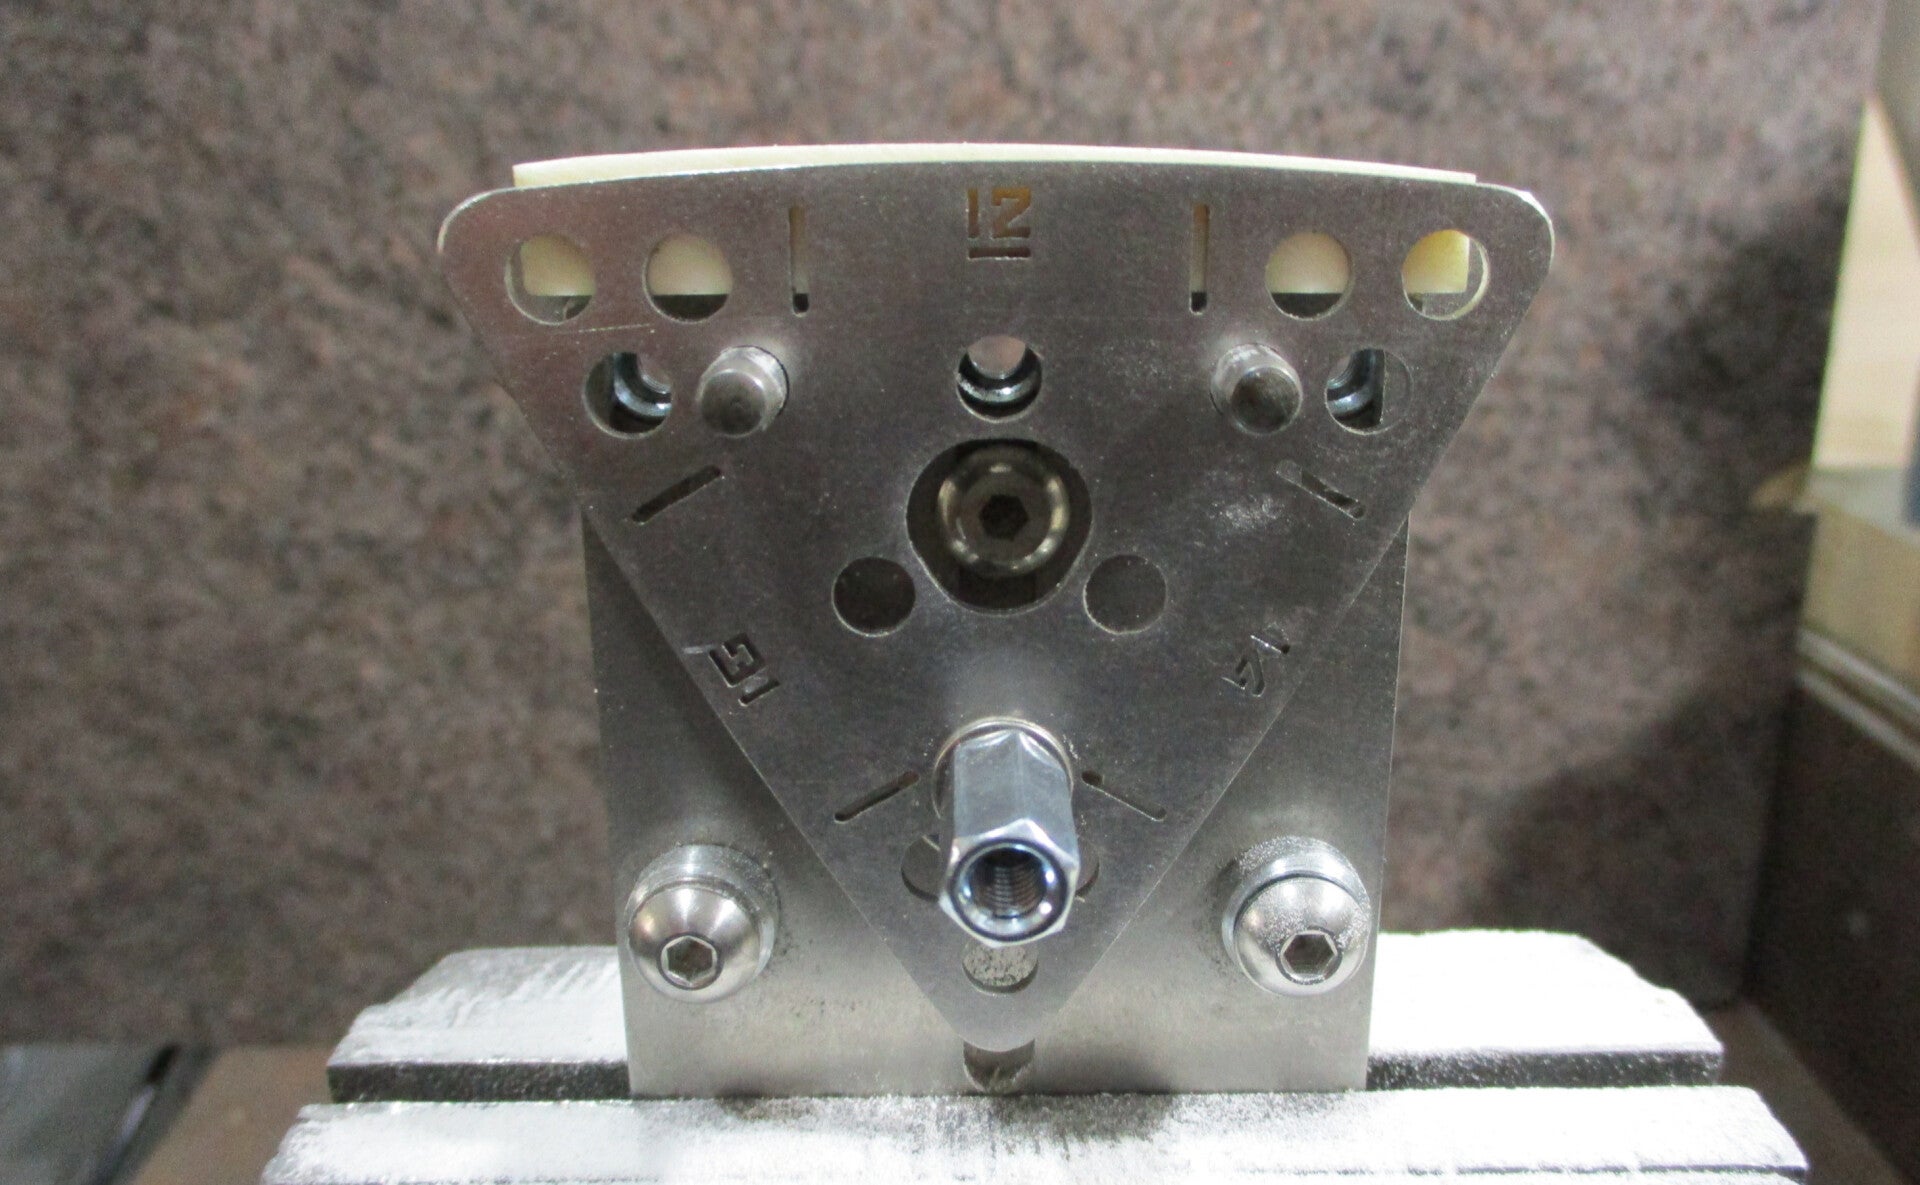
String Action Template
Re-fit the nut onto the jig and swap the top profile template for the string action template.
Note: Since the string action templates are smaller than the top profile templates, the shaped nut profile highlights the remaining stock for nut filing, with a gradual height increase from 0.5mm on the treble side to 1.0mm on the bass side.
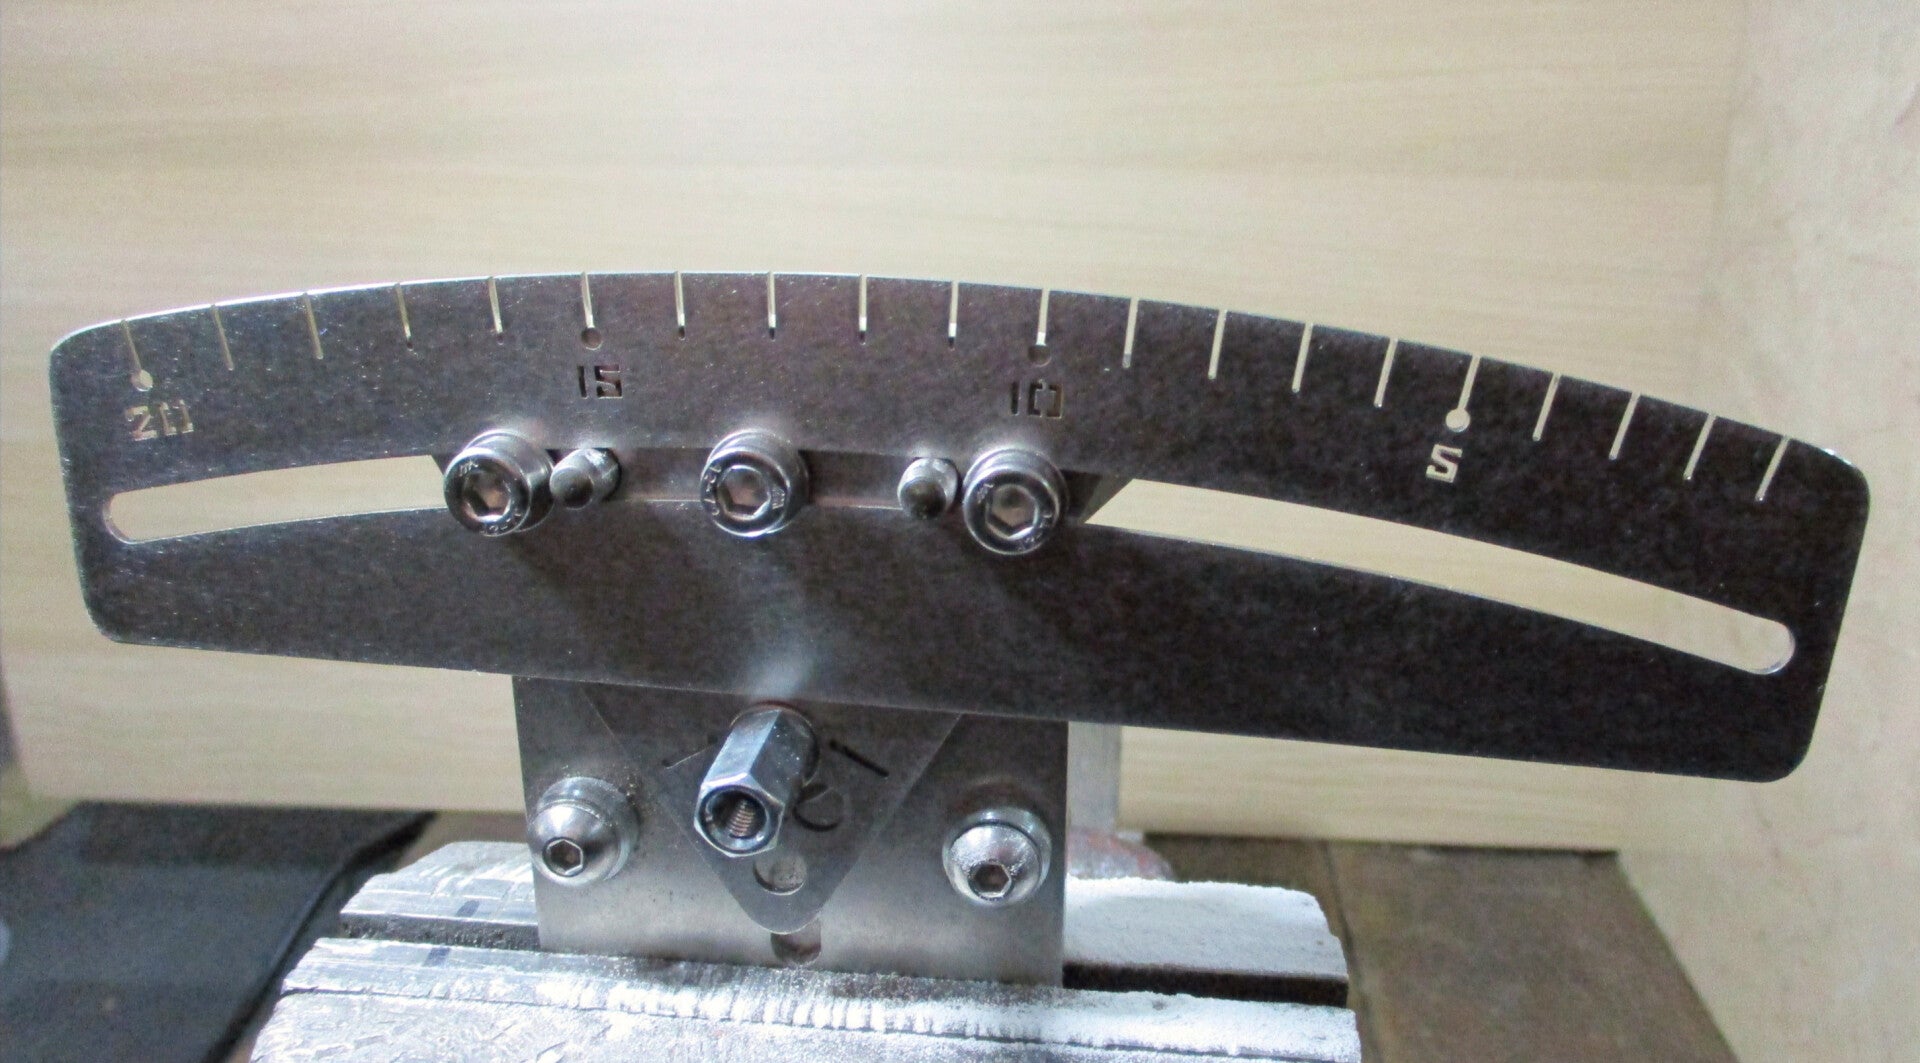
String Spacing Guides
Mount the spacing guide over the action template.
The spacing guide guarantees accurate string positioning and prevents errors from manual marking, as all string slots are cut in a single setting.
Slide the guide along until the outer slots match the previously marked outer string positions.
The guide movement is arced to ensure saw perpendicularity to the nut top when marking the string slots.
Compensated Spacing
The system uses compensated string spacing. The spacing between strings is gradually widened to ensure that the distance between adjacent strings is consistent across the fretboard. This provides slightly more space for easier playability on the thicker strings. It also allows for an increase in the overall 'E' to 'E' spacing for enhanced comfort.
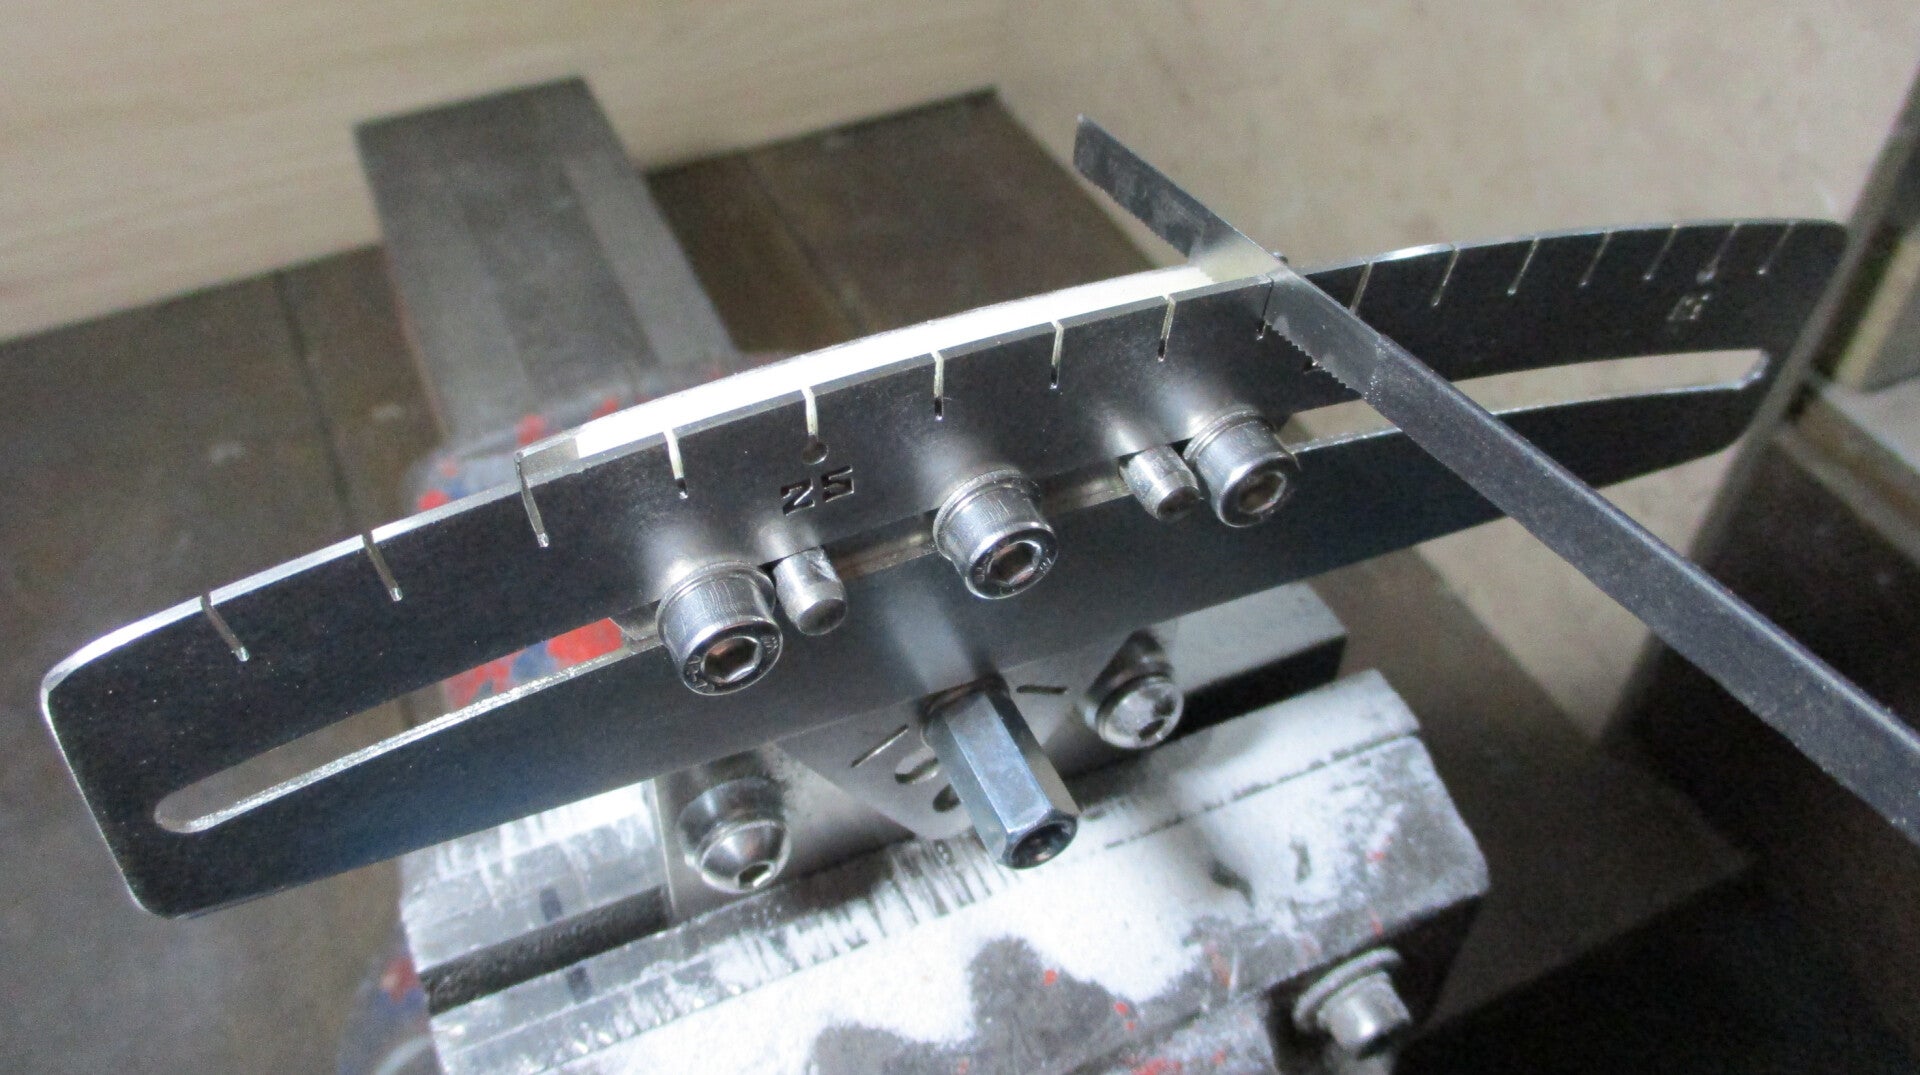
Marking String Slot Positions
Scribe marker lines over the nut top using the supplied fine razor saw.
If the headstock has angled string paths, score the positions first and copy the alignment angle on the guitar before finishing on the jig.
A narrow gauge nut file (0.022" max) can be used directly through the guide slots to establish initial string grooves.
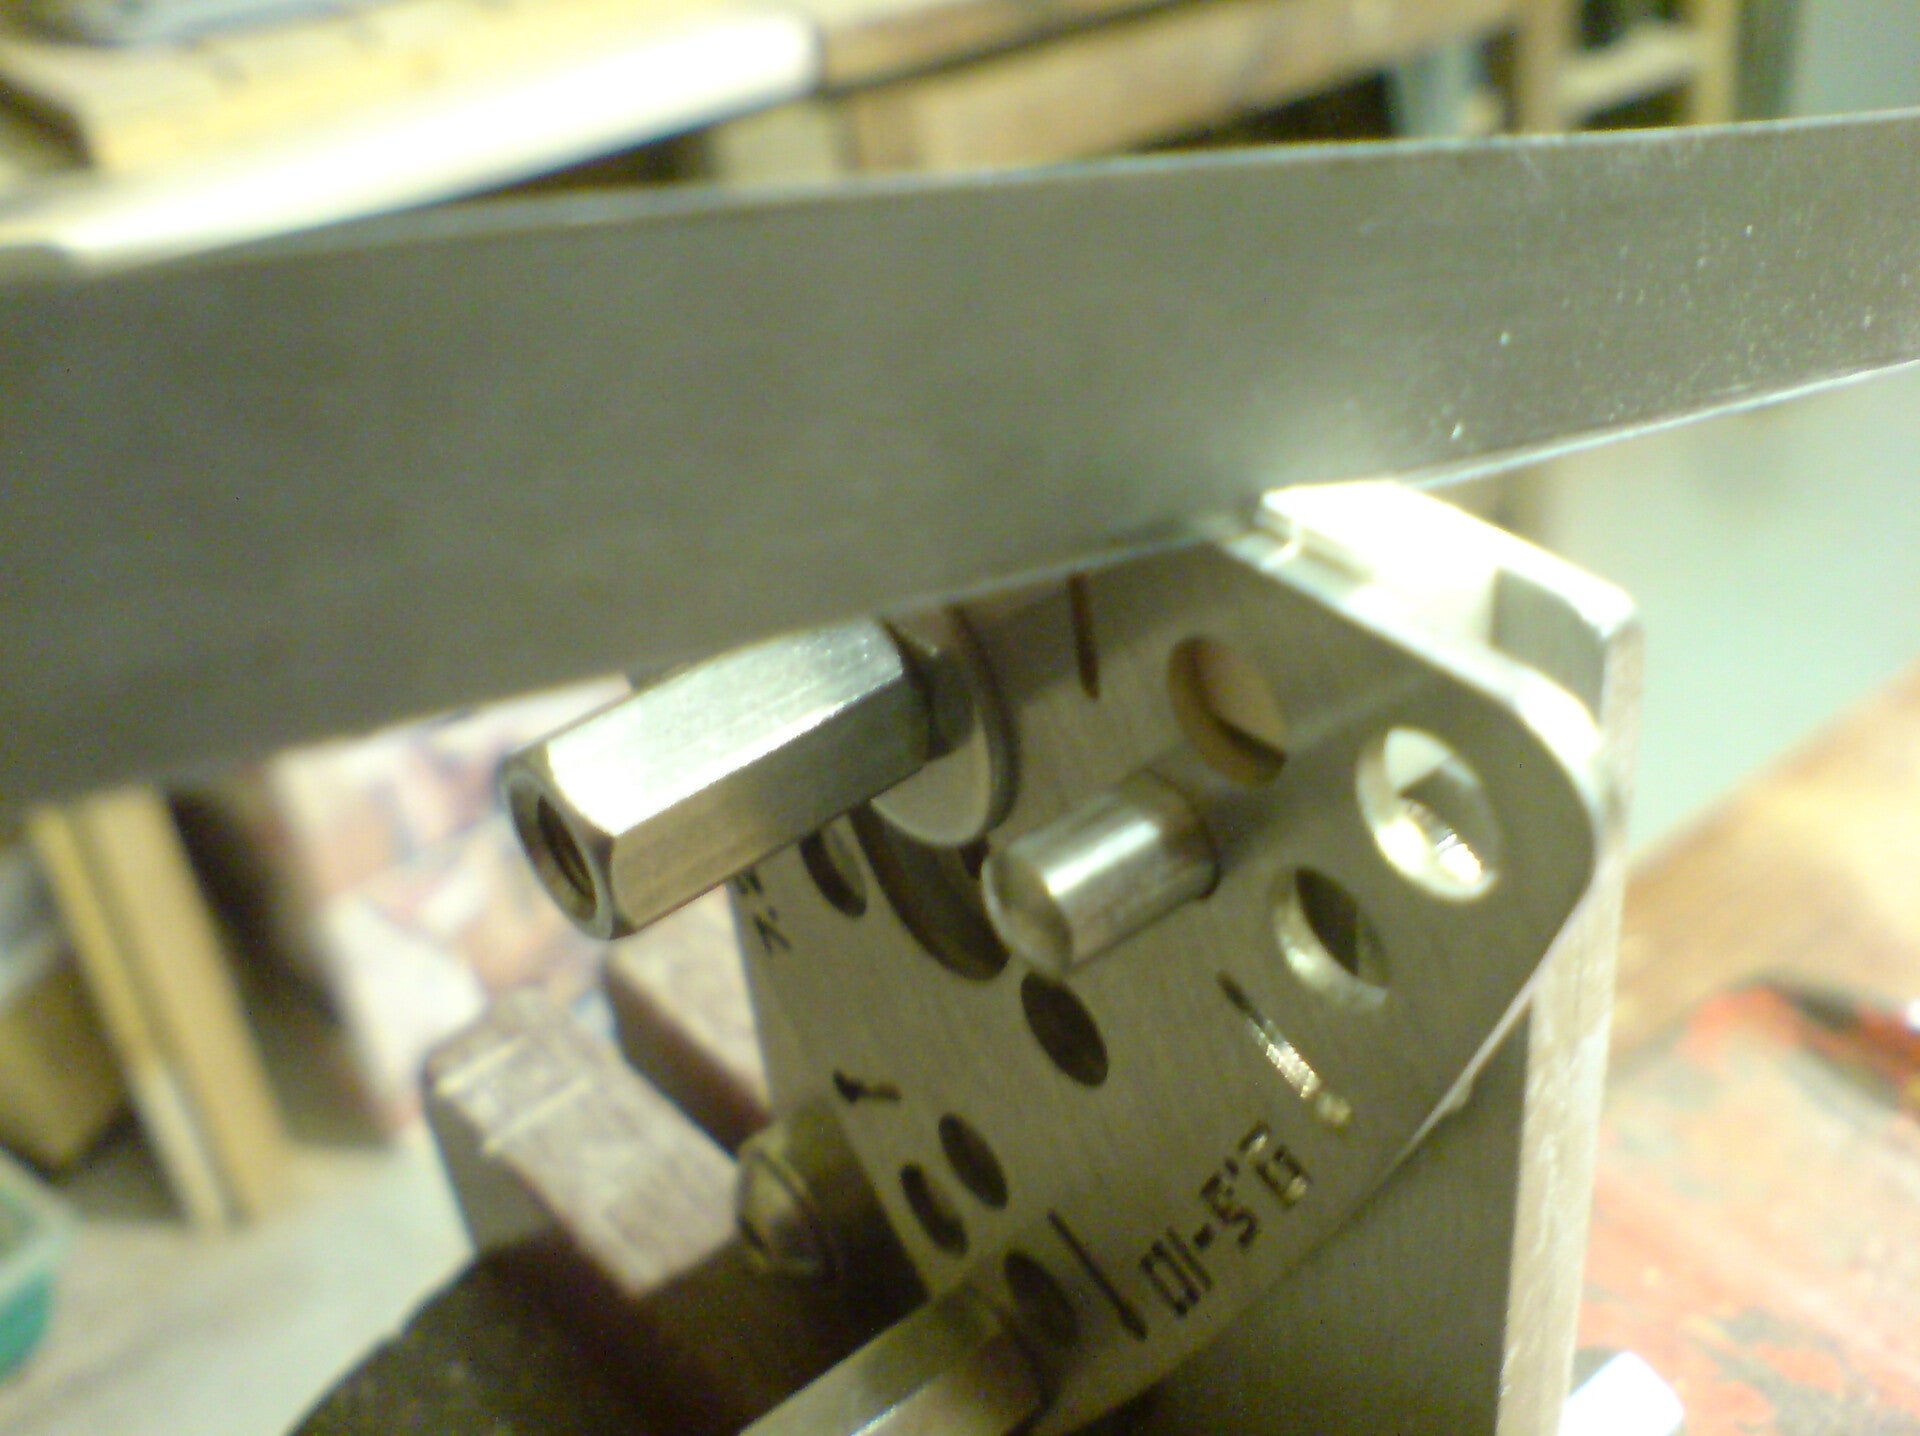
Filing The Nut Action
The spacing guide is removed and the string action plate provides a reference for filing to depth.
Since the jig is directly referenced from the instrument and the string action template is designed to set the action at around 0.5mm above the 1st fret - (assuming a standard 1mm fret height) - this serves as a general guideline and will be influenced by other factors including the exact fret heights and string gauges.
It is recommended to pause filing of the slots at an intermediate stage and check the nuts' action on the guitar - with the strings under tension - as in some instances filing all the way to the jig plate could overshoot the action.
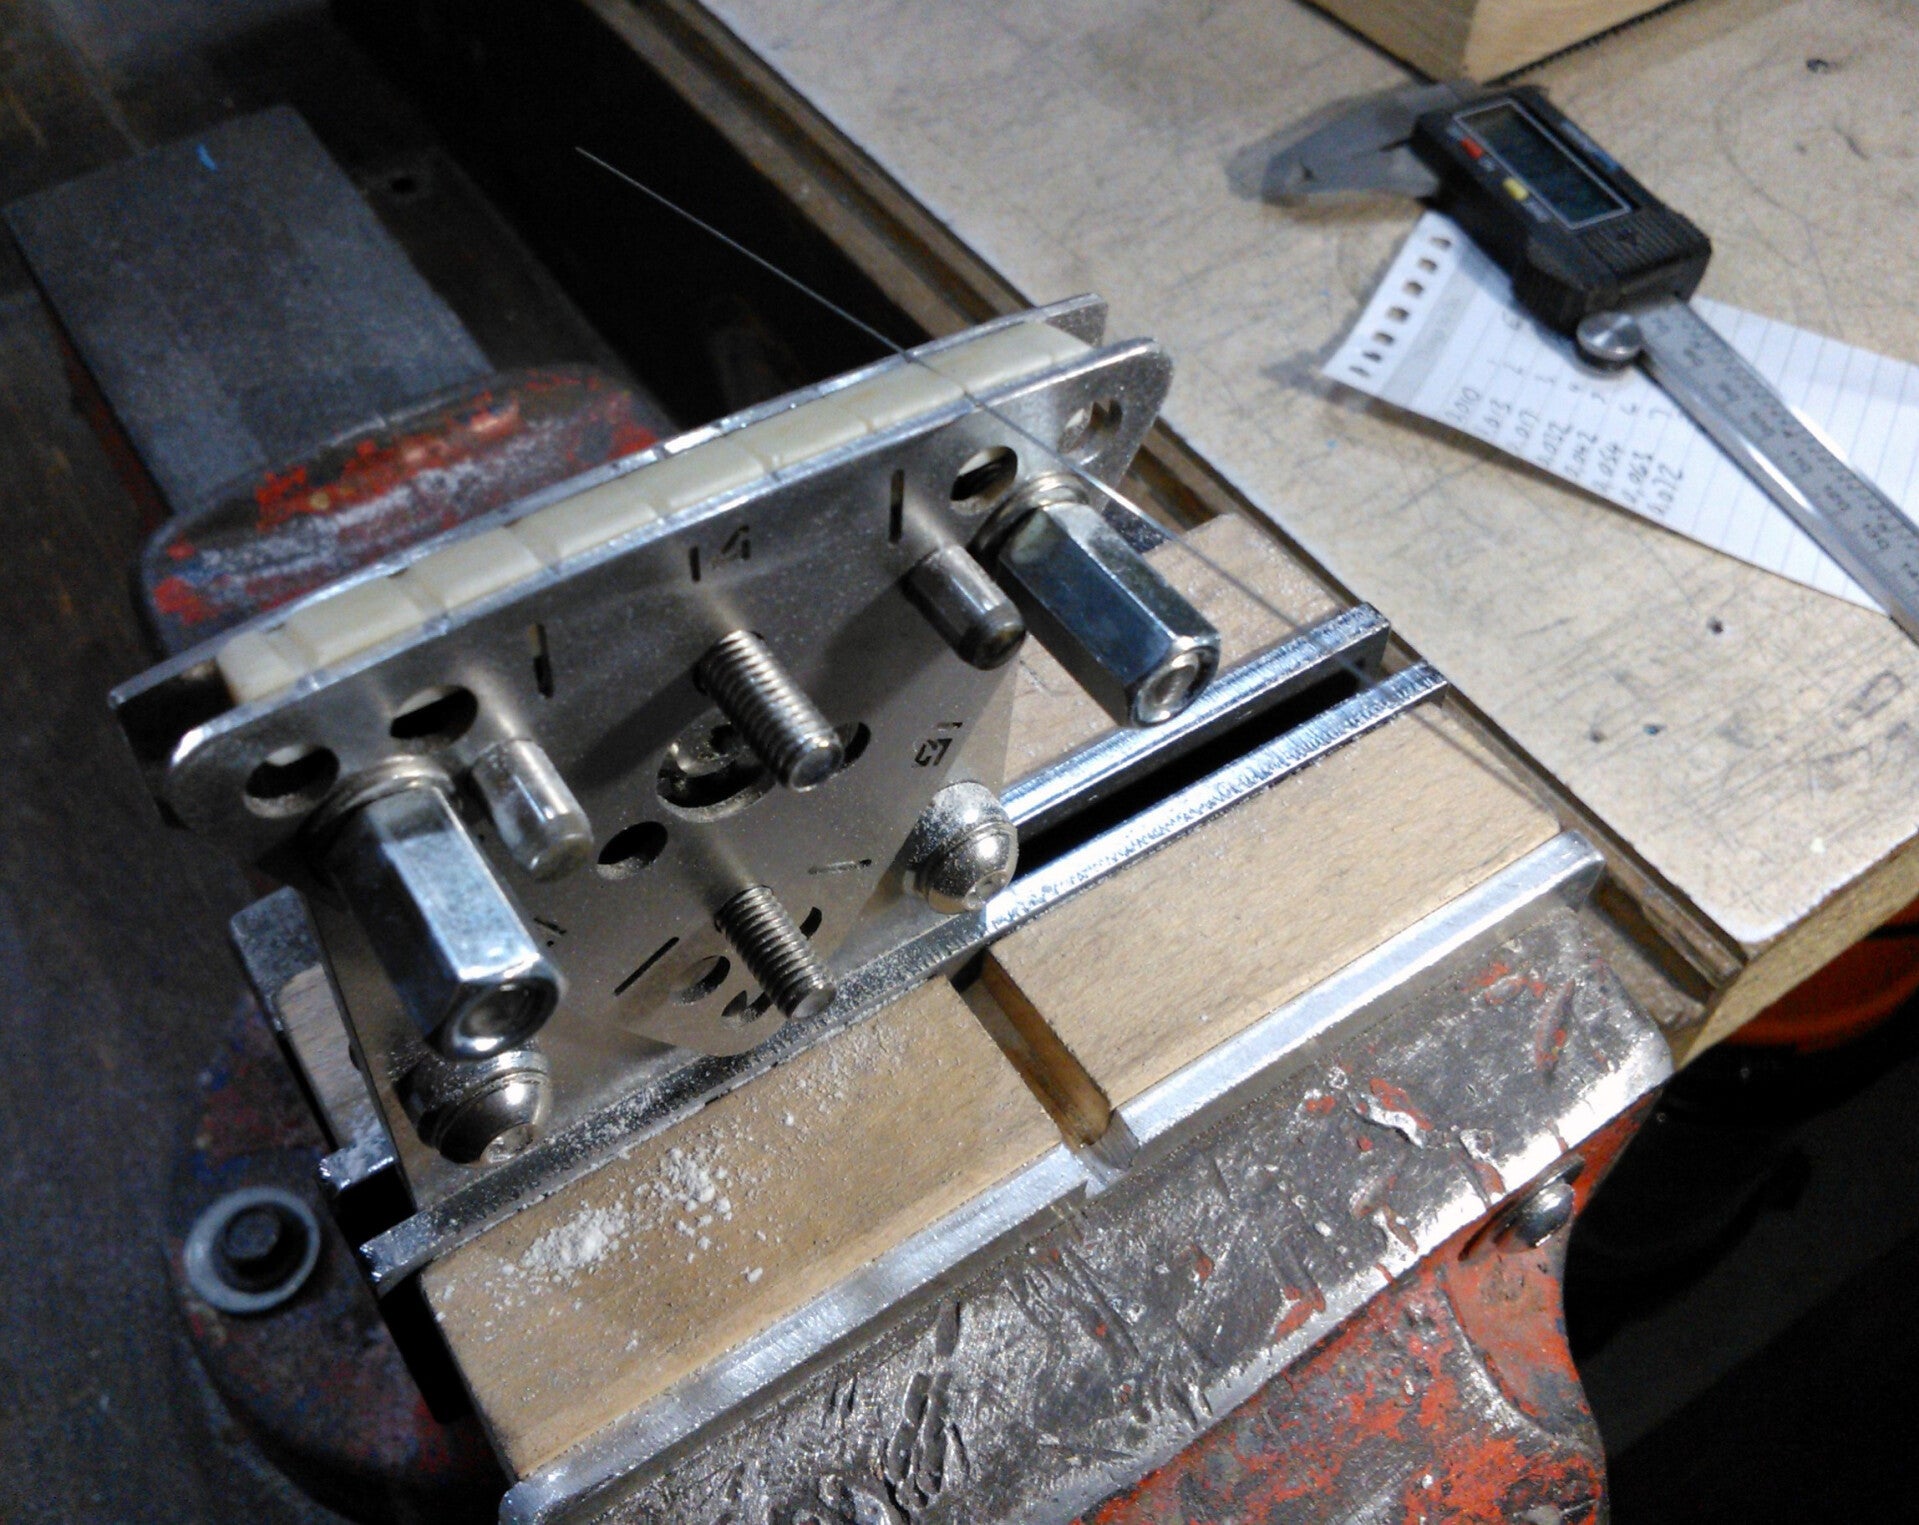
Fine Tuning
Using offcuts of the same string gauges will help to fine tune the slots and identify any string binding before final polishing.
"I just wanted to shoot you a message and tell you how amazed I am by the product. I own a vintage repair shop and can cut a "good" nut with my eyes closed. This product allows me to do it faster and more accurate than using calipers. GREAT PRODUCT!. I don't know how long it took to produce this entire set up but let me say thank you for your time and effort". B. L. Vintage Guitar Restorer, USA.
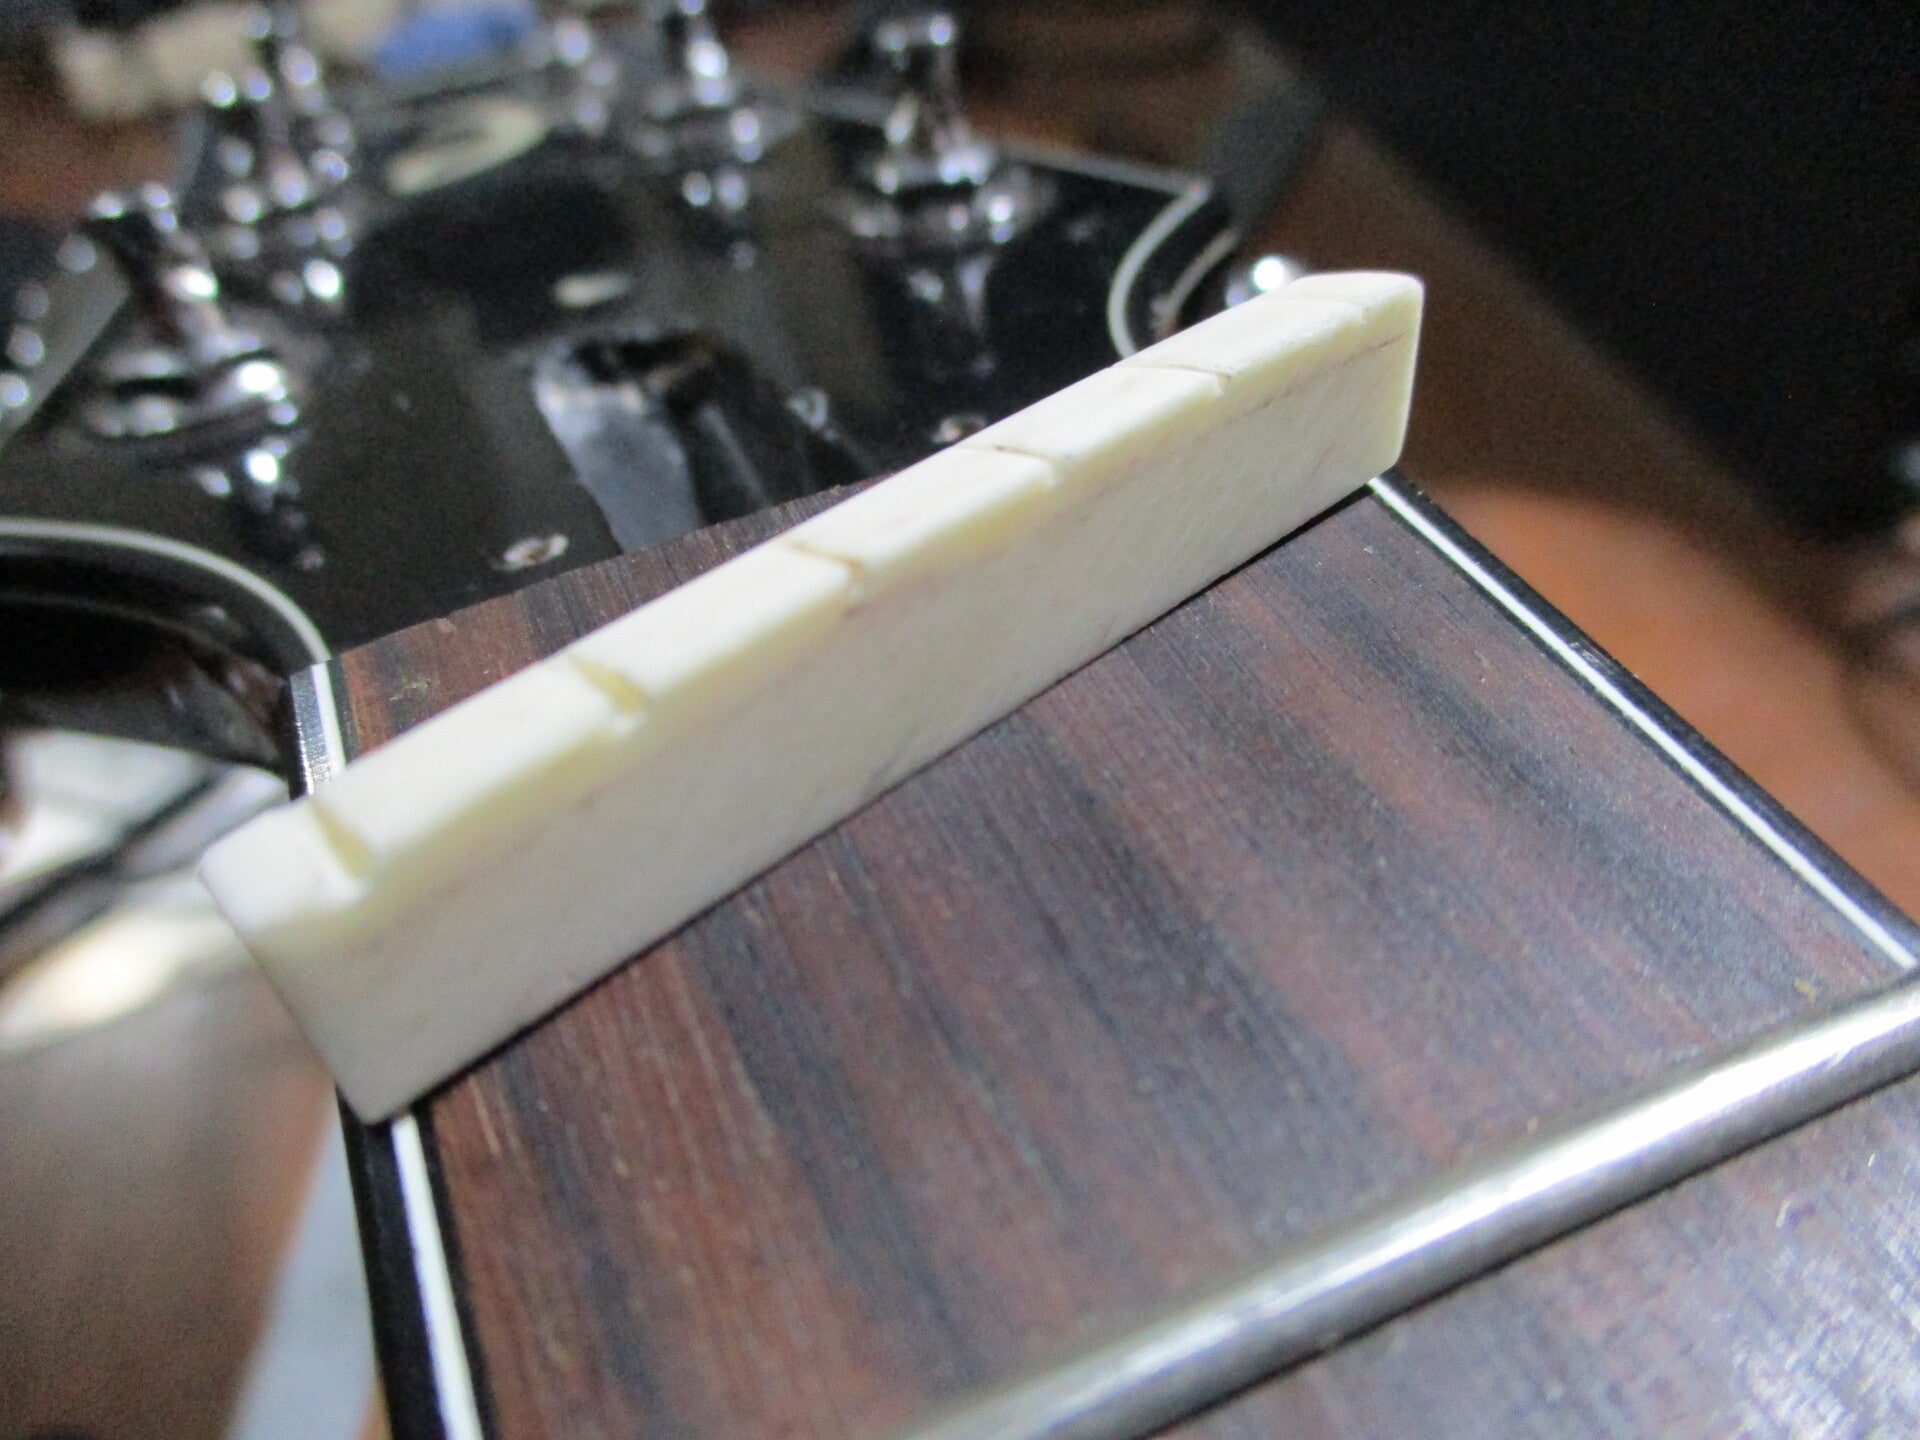
Finished Custom Nut
Precise spacing, smooth string tuning, and optimal action in a fraction of the time.
“I want to compliment you on the guitar nut replacement & string spacing jig. I used it to make a new nut for a Fender Jazz Bass project. The quality of the tool and it’s utility is brilliantly conceived. Your tool will be my favourite whenever making or replacing nuts”. J. B., Massachusetts, USA.