

Fret Slotting Jig - User Guide
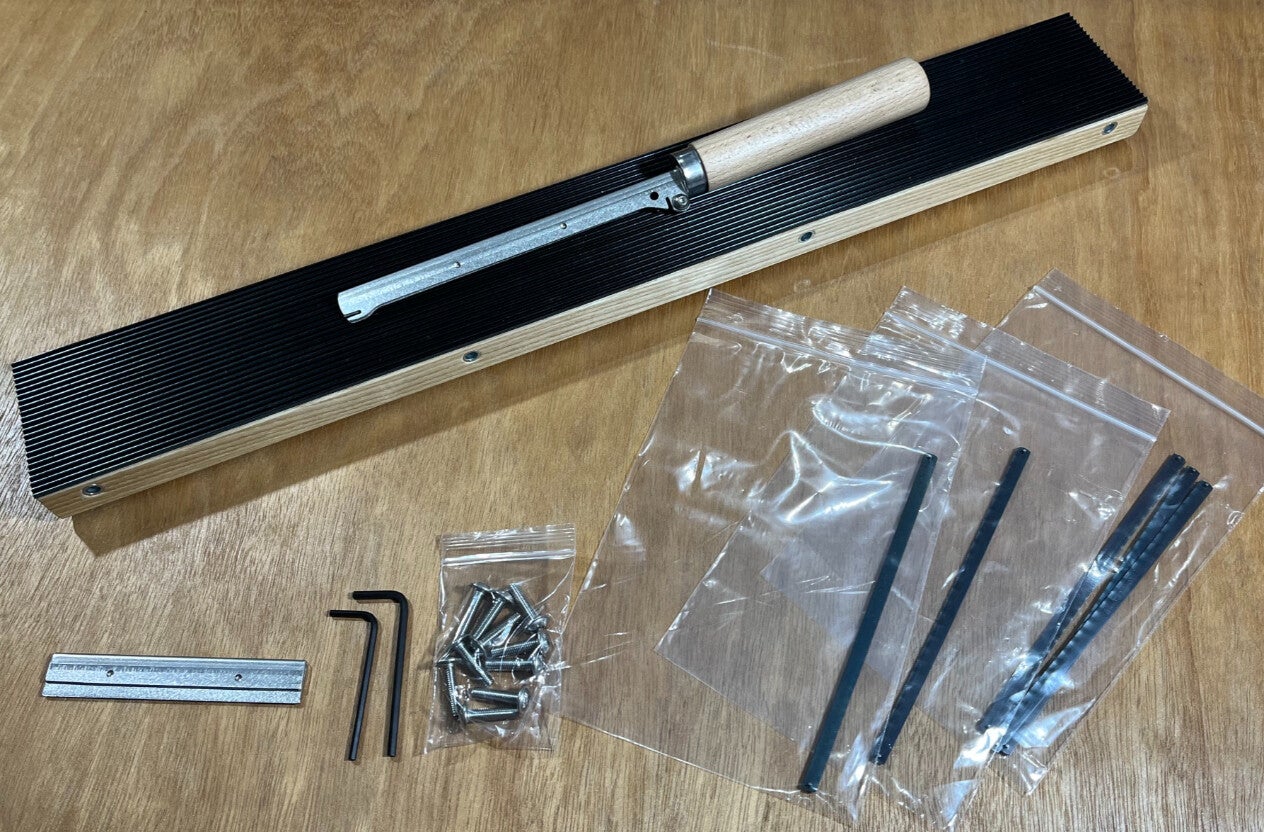
TWO VERSIONS OF FRET SLOTTING JIG ARE AVAILABLE:
1) GUITAR JIG:-
Fret scale lengths up to 27.5"
Jig Dimensions: 525mm long x 70mm wide.
2) BASS / BARITONE JIG:-
Fret scale lengths up to 37"
Jig Dimensions: 715mm long x 78mm wide.
Both jigs Include:
Fretsaw - 2.5mm Fixed Depth.
Datum Fret Slot Locator.
5x Fretsaw Blades.
Fixing Screws & Allen Keys.
(The basic jigs exclude fret scale templates - see below)
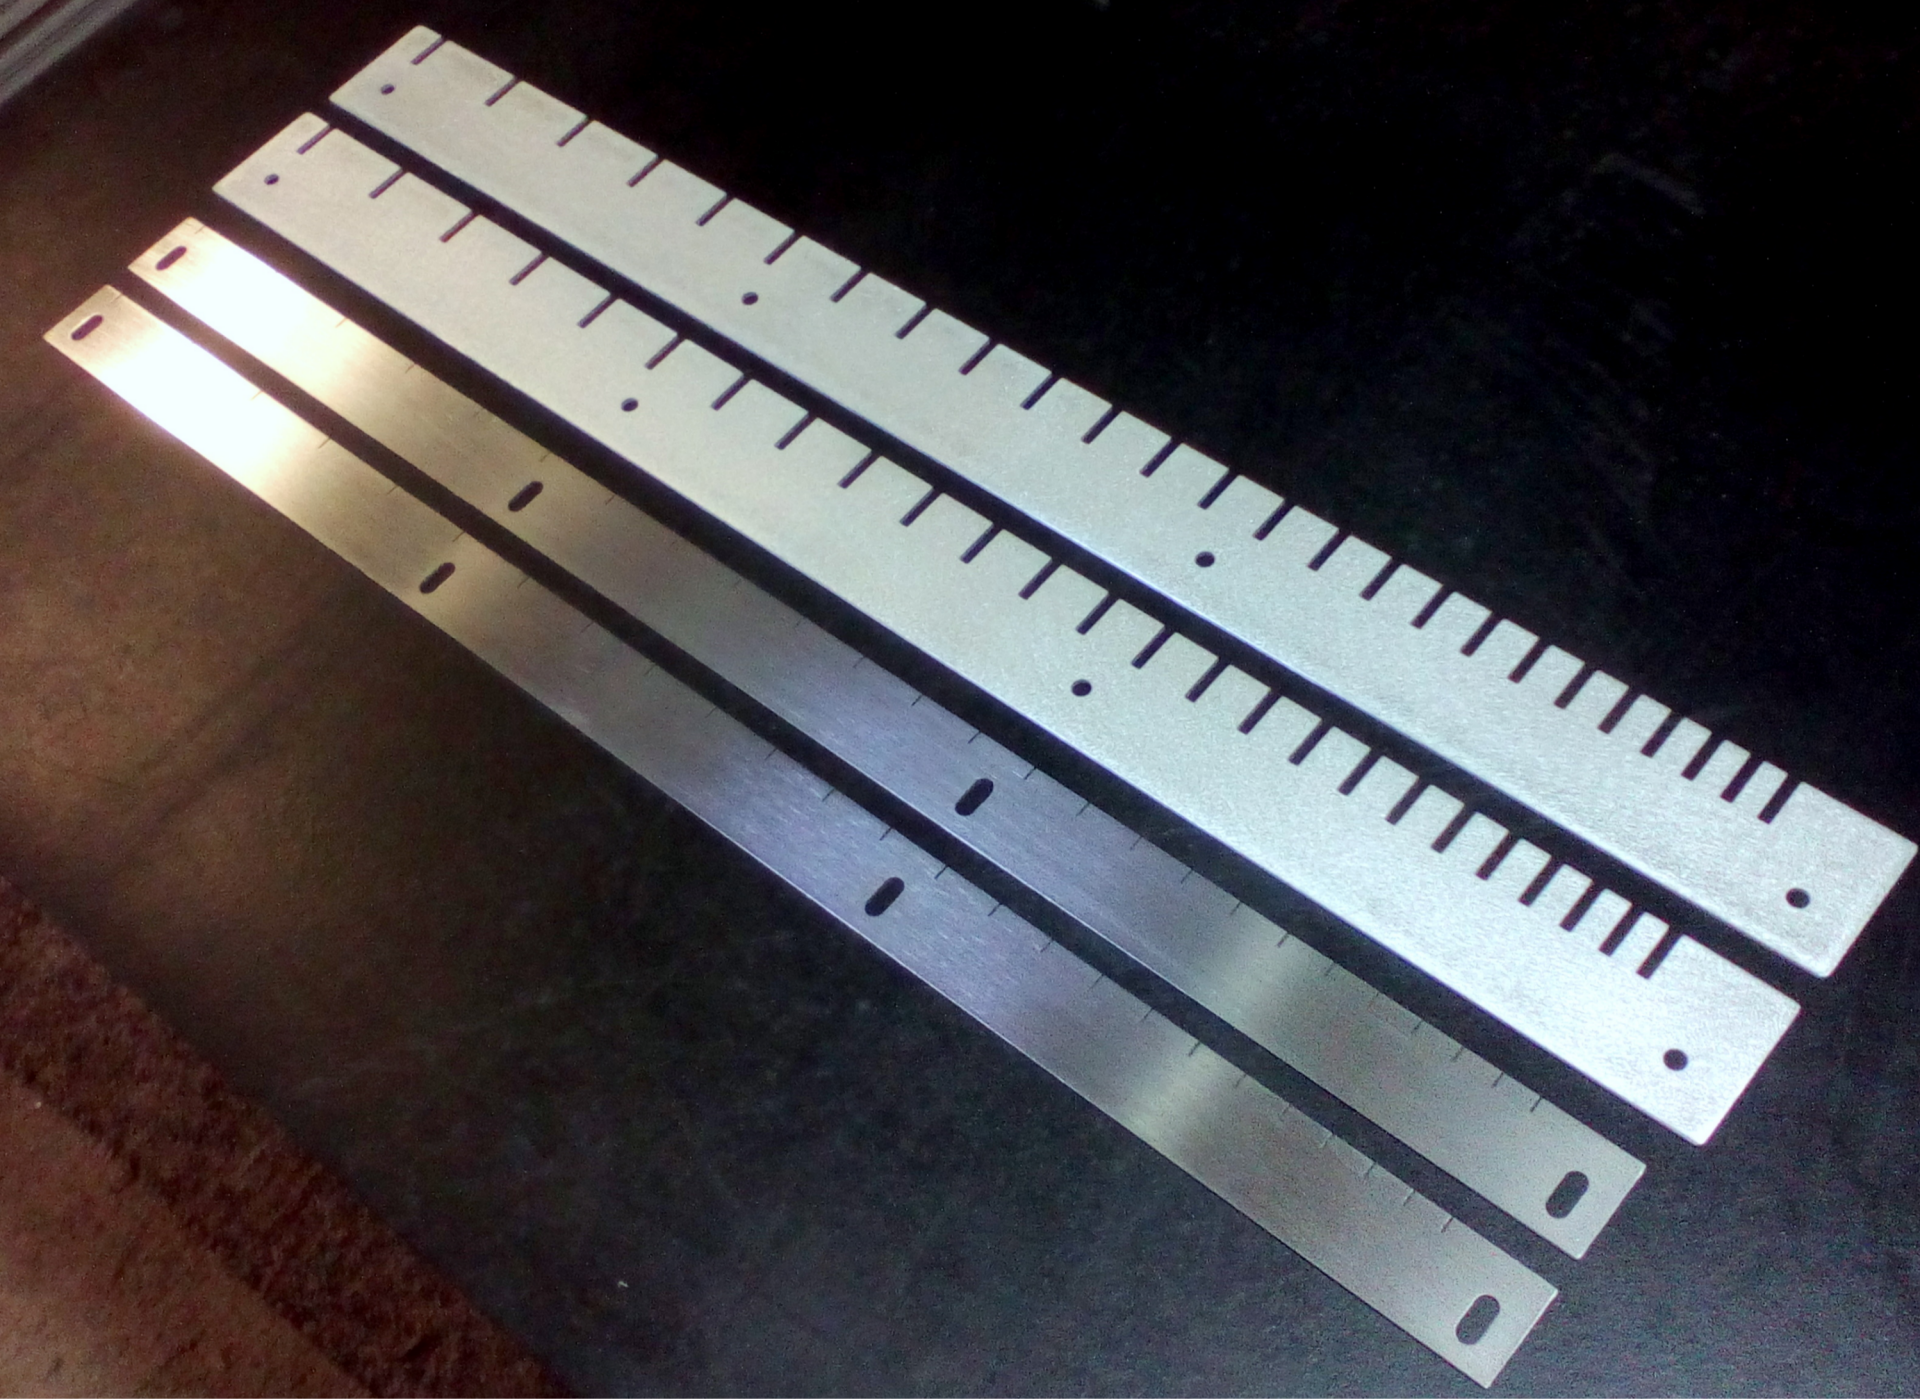
FRET SCALE TEMPLATES
Guitar Fret Scale Templates. (20+ scales to choose from).
Baritone / Bass Fret Scale Templates. (10+ scales to choose from)
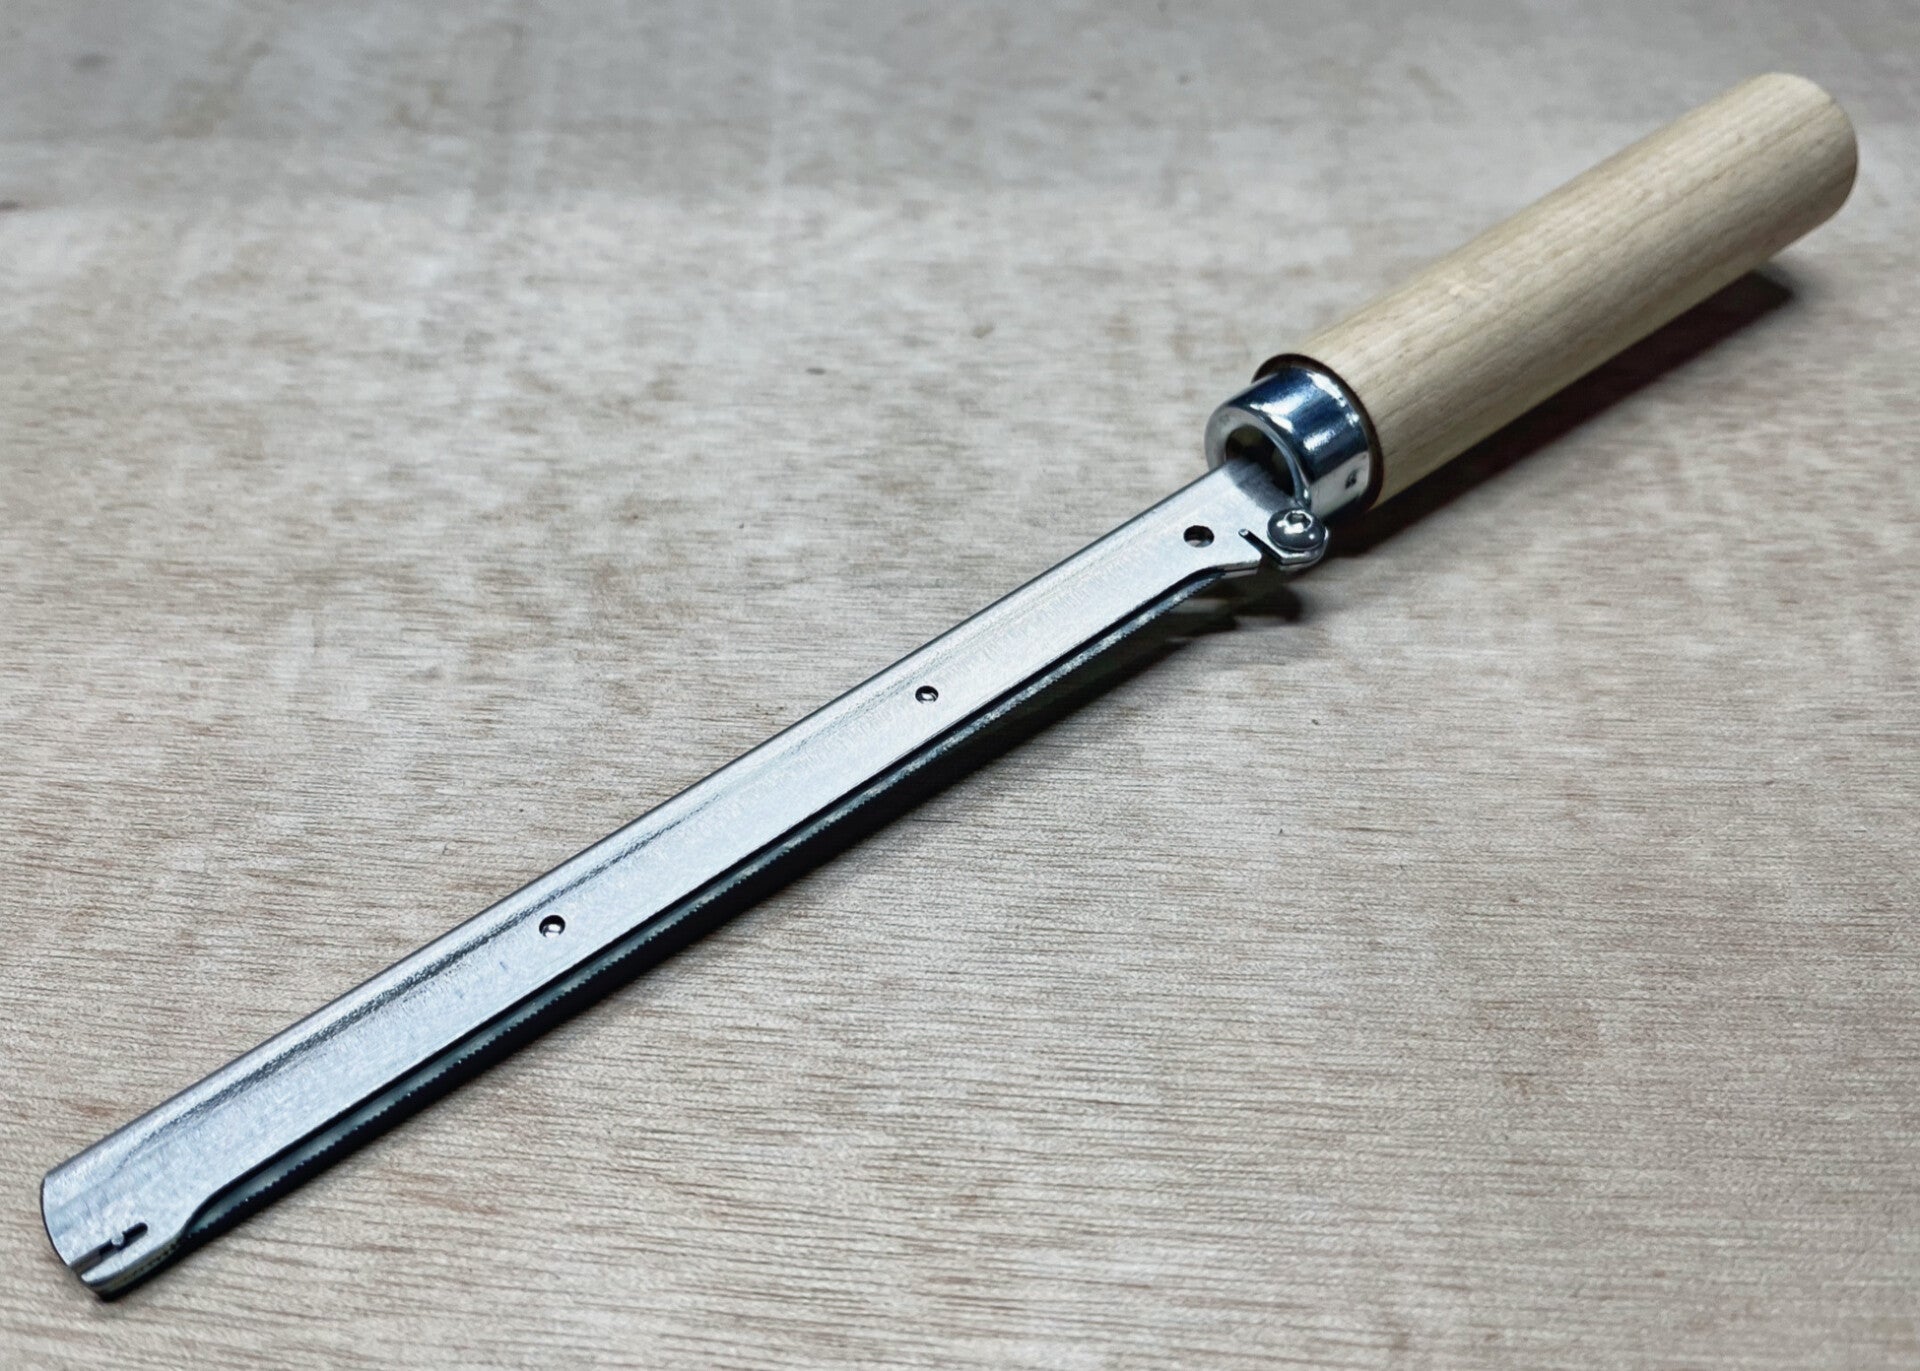
INCLUDED: FRET SLOTTING SAW
2.5mm Fixed Depth. Supplied with 5-blades.
BLADE SPECIFICATION:
Premium Quality Blades (manufactured by Bahco).
Hardened & Tempered Carbon Steel.
Milled & Set Teeth.
Nominal Kerf Width 0.55mm.
5x Blades Included.
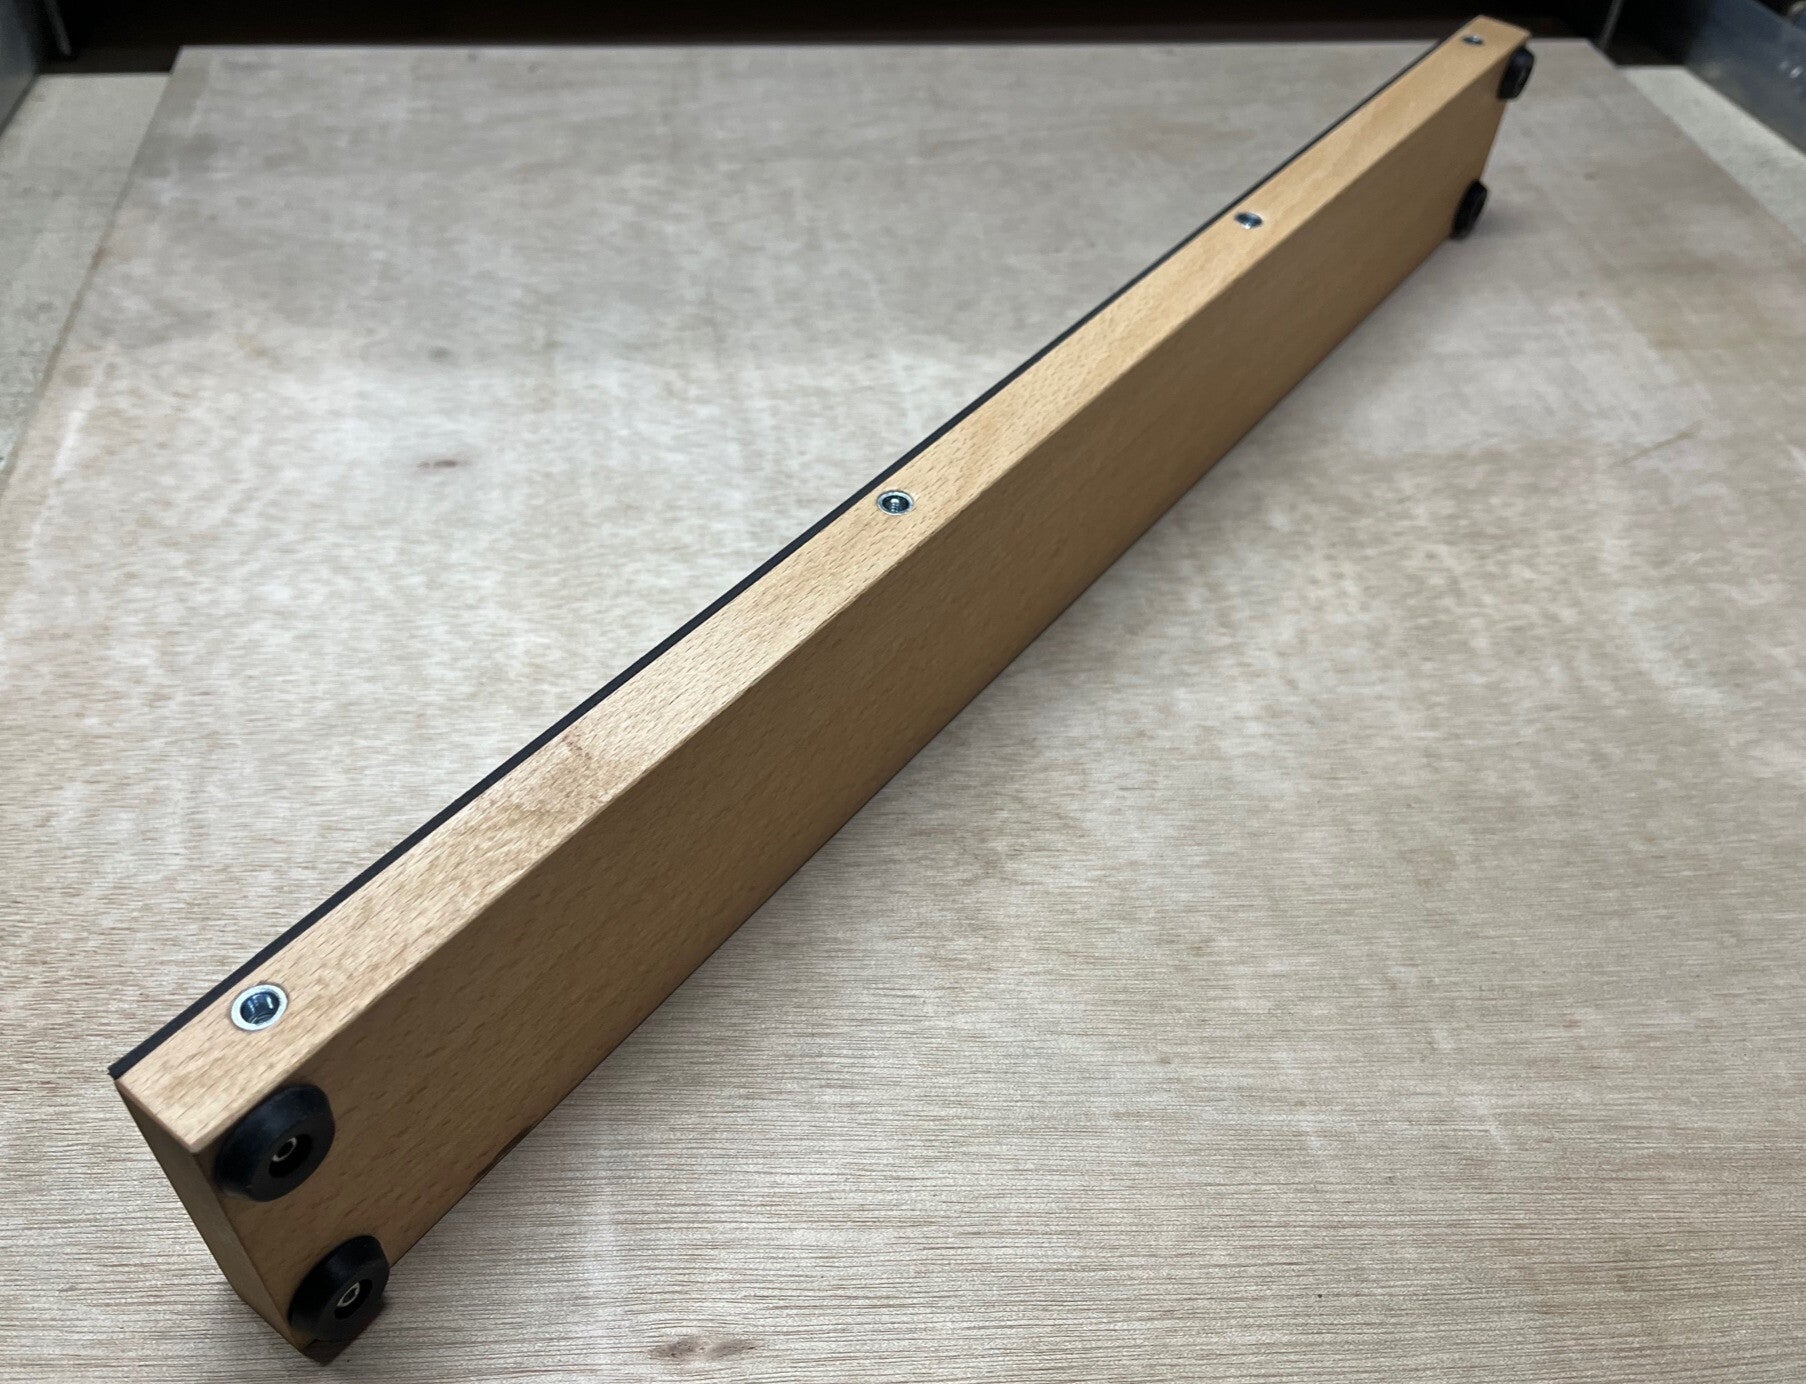
INCLUDED:- SOLID JIG BASE
Constructed from hardwood: (ash, cherry or oak - depending on workshop stock): it is sturdy enough to be tightly clamped in a bench vice without damaging the jig.
The upper surface of the base is covered with ribbed rubber, to provide a secure grip and proper placement of the fretboard.
“Thanks for the confirmation on the fret slotting procedure, so easy to use and the first board is very accurate!. I'm super impressed with your innovations and execution. I really love how these tools are outside the box of traditional luthier tools but also make the work intuitive and easier. I'm going to be investing in more of your tools here once I get to those stages of my builds. Thanks so much for making these available! I will be happily advocating for your tools with my fellow luthiers as the opportunity arises. I'll be back in touch soon. All the best!.” J.B., New York, USA
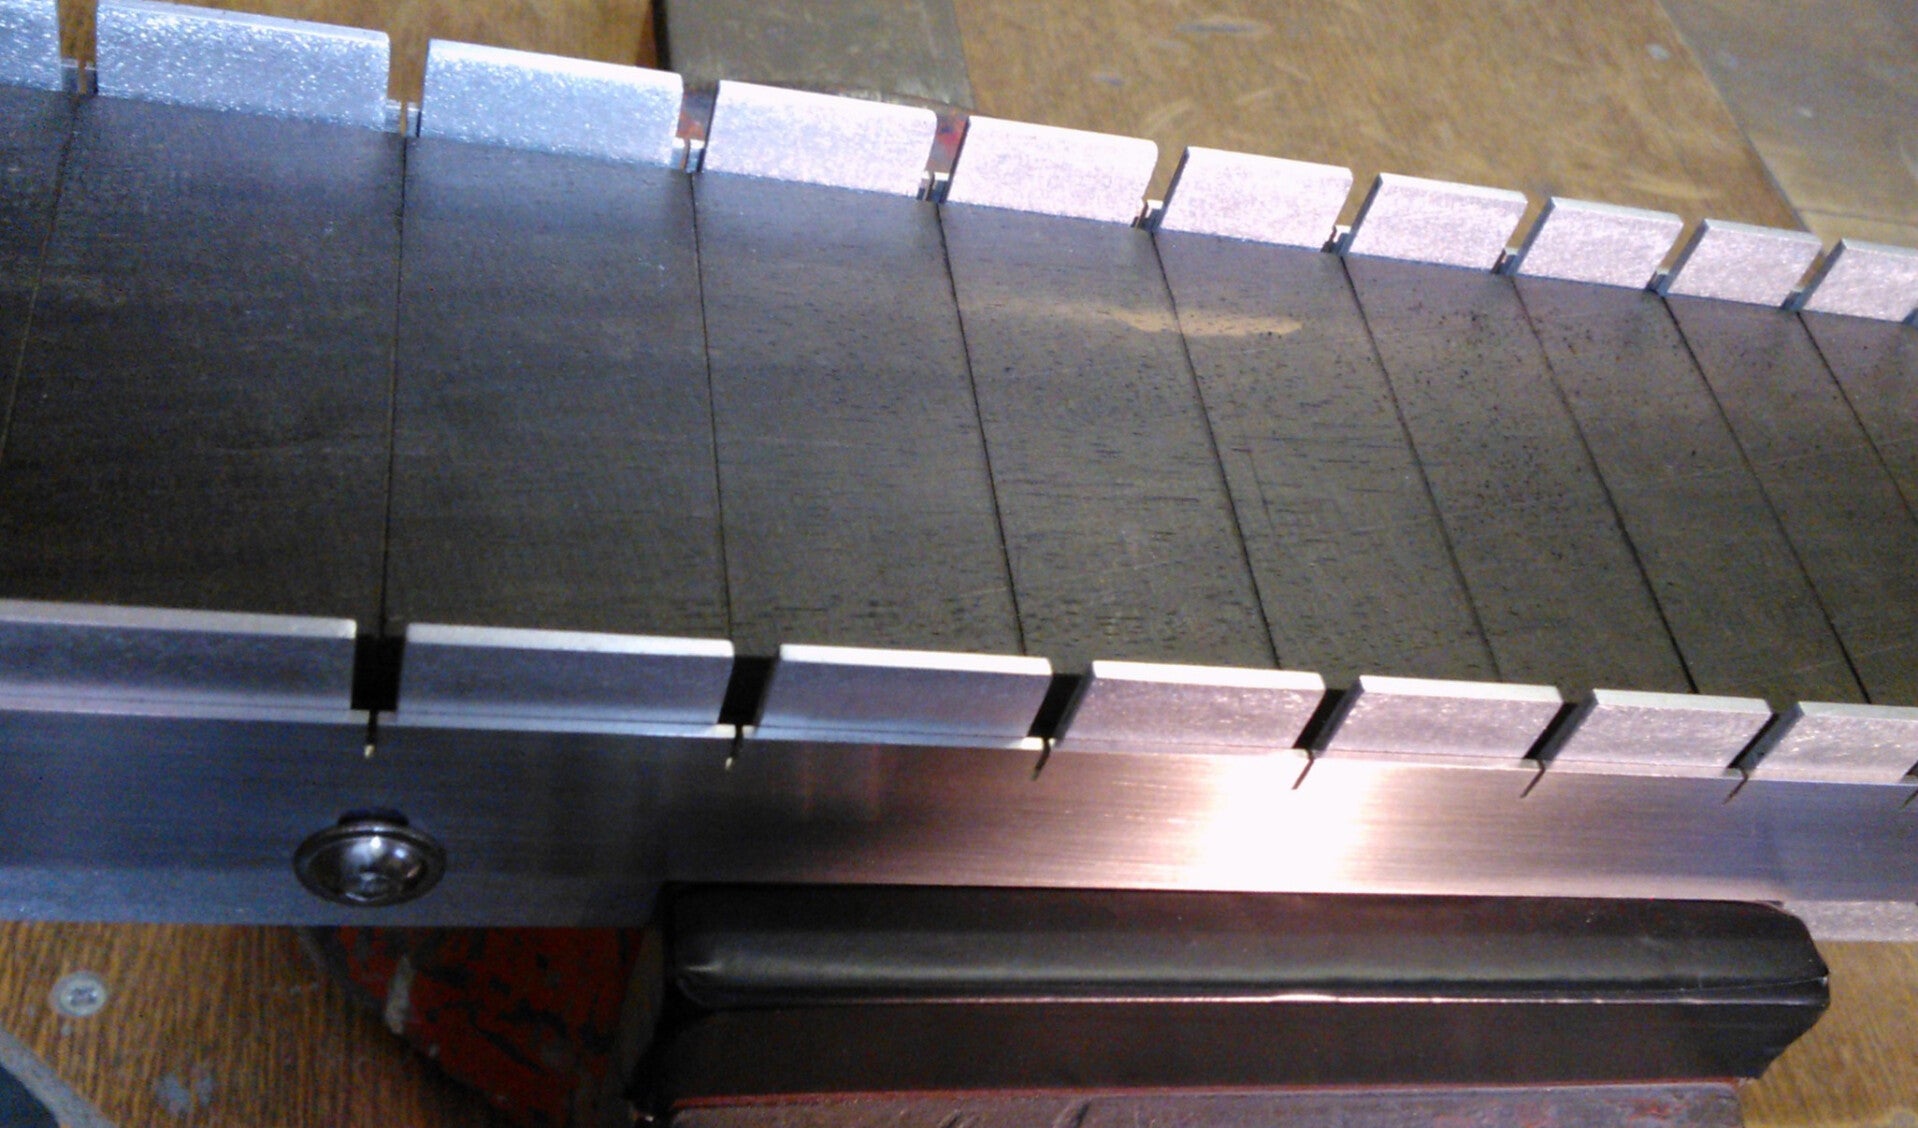
ROBUST SETUP
Using a vice for setup provides excellent stability for fret slotting. The rubber grip cover offers resistance to board movement during the cutting process while allowing flexibility for minor unevenness of the fretboard blank. The vice also raises the working height, enhancing posture and comfort.
FRETBOARD PREPARATION
The board should be a close fit between the side guides to prevent any lateral movement. If the board is narrower than the jig, then packers should be fitted to restrict any side to side movement during sawing.
Please note the fretboard blank must be flat as the jig is not suitable for slotting boards with a radius.
PUSH SAWING RECOMMENDED
As the saw is guided, the user will find that push sawing on the jig will be the most efficient method. (The saw blade can be mounted in either direction though).
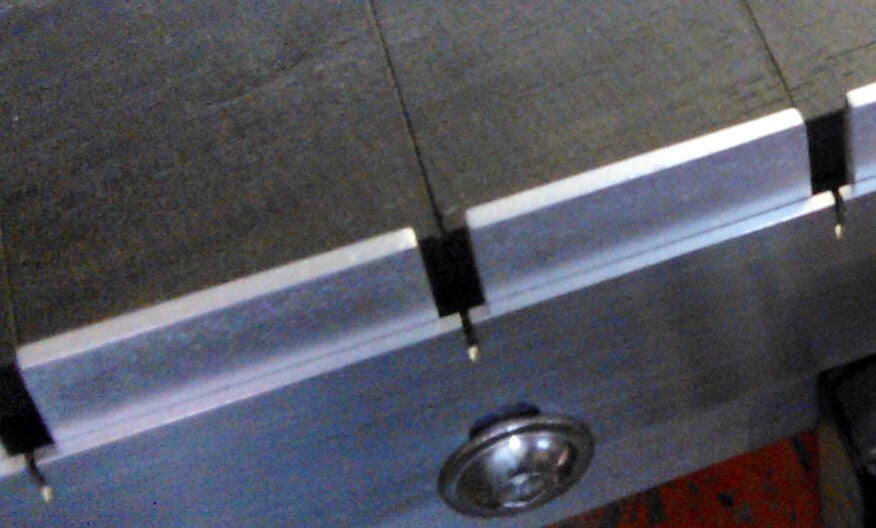
1) MARKING OUT THE FRET POSITIONS
The outer fret scale marking templates ensure precise position and relationship of each fret slot.
The outer templates can be raised or lowered via the fixing slots. They are set to their upper position for marking out the fret positions across the fretboard.
Place the fretboard into the jig and adjust the height of the outer templates so that the top edges are 2mm above the fretboard.
Marking is achieved using the saw in the the non cutting direction - (using the rear of saw teeth and not the cutting edges) - by running the blade through the narrow slots at each fret position with 3-4 strokes.
This leaves a shallow groove at each fret position for the fretsaw to locate into when cutting the slots to depth at the next stage.
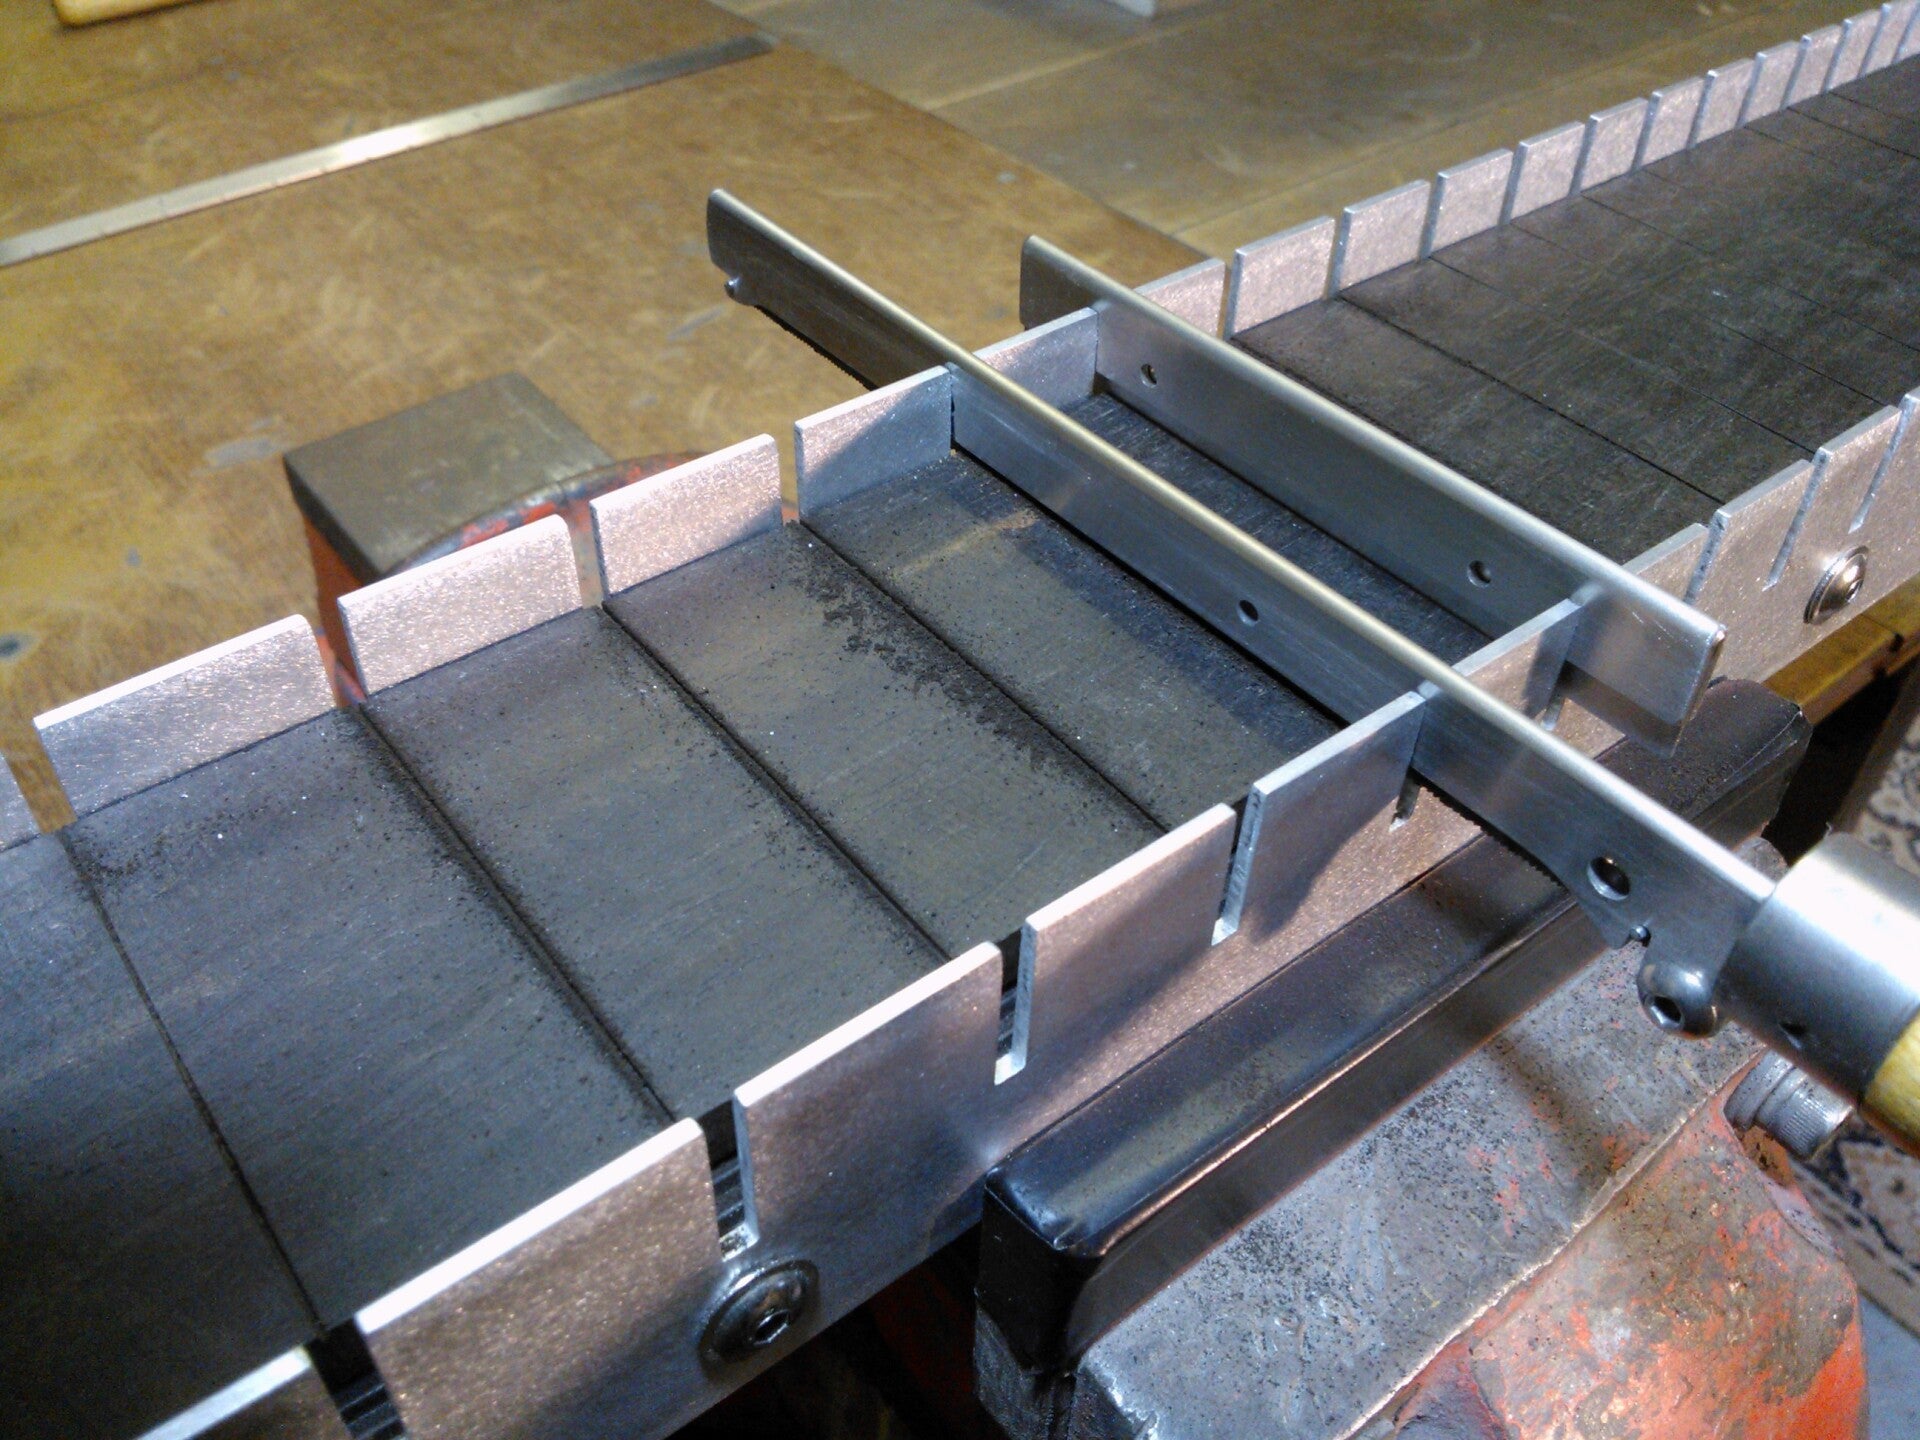
The outer templates are then moved clear from the path of the fretsaw, to avoid jig damage when cutting the slots to depth. (This can be simply achieved by lowering them via the fixing slots, although the photo opposite shows the templates removed).
2) CUTTING FRET SLOTS TO DEPTH
The fretsaw is located into one of the previously marked fretboard grooves and a single slot is cut.
After cutting the initial fret slot to depth, the datum fret slot locator is fitted to this particular slot and remains on the jig whilst all of the fret slots are cut.
SAW BODY GUIDES
The saw body guides have a nominal working clearance to enable the jig to function. The guides also ensure that the fretboard is protected from potential damage from misplacement of the fretsaw between fret positions.
TECHNIQUE
Allow the saw to pass freely through the guide slot and ensure it is not skewed to one side or bearing against one edge.
DO NOT LUBRICATE
Differences in material compositions between the softer guides and harder fretsaw ensure smooth sawing action without binding or wear. Lubrication is not required and should be avoided.
"Thank you for the prompt shipping and careful packaging. I love this jig. I had the first neck fully slotted an hour after the package arrived. I really appreciate the thought and precision that went into making this unit. I highly suggest it to anyone. I will be buying other products soon!". J. S., Indiana, USA.
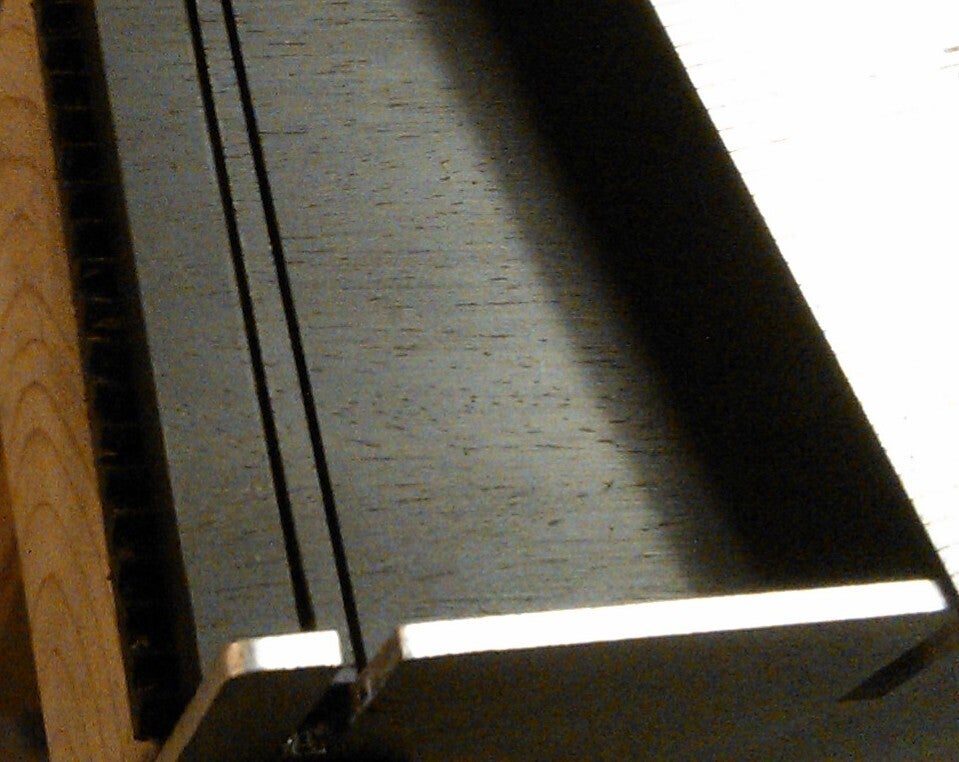
NUT SLOT WIDTH
The jig can also be used to cut the nut slot width.
The 1st slot on the jig is the front of the guitar nut. After cutting this slot, reposition the fretboard so that the saw blade can be used to cut a parallel groove for the rear of the nut slot. (This will require manual setting & measurement). The material between can be removed with a suitable chisel working from each side.
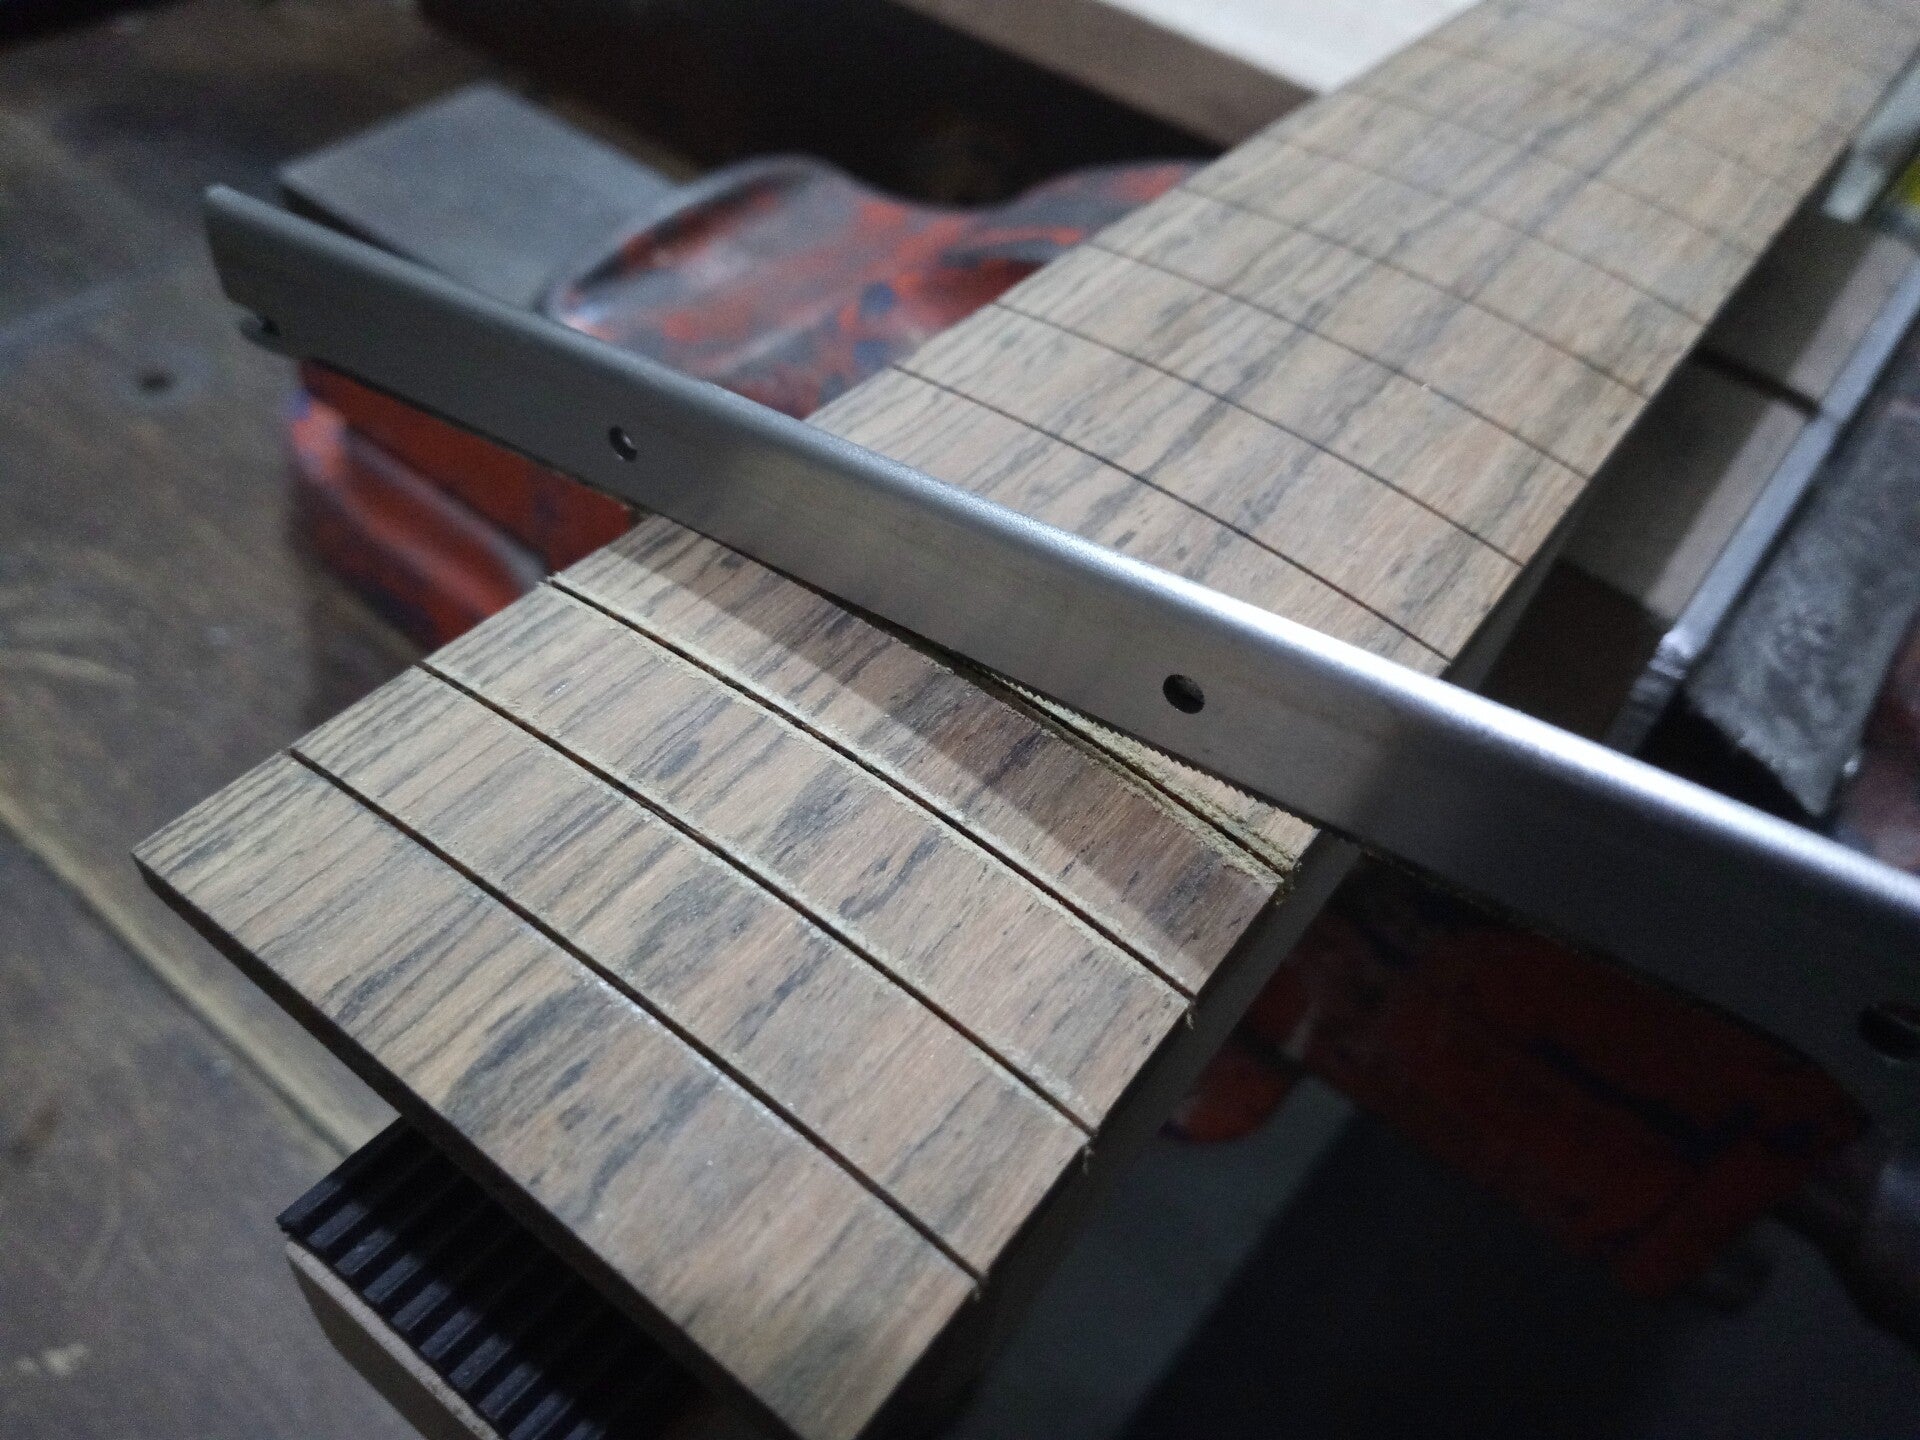
REVISITING FRET SLOTS
The jig is supplied with a 2.5mm fixed depth fretsaw. The fret slot depth will be reduced at the edge of the board after sanding the radius and the 2.5mm saw generally provides sufficient remaining depth for the majority of fretwire and board radii.
After radiusing, the slots can be revisited with the saw if necessary.
(An alternative depth fretsaw can be supplied with the jig if preferred - Illustration shows 2.0mm depth fretsaw)