

Guitar String Action Height & Setup Gauge
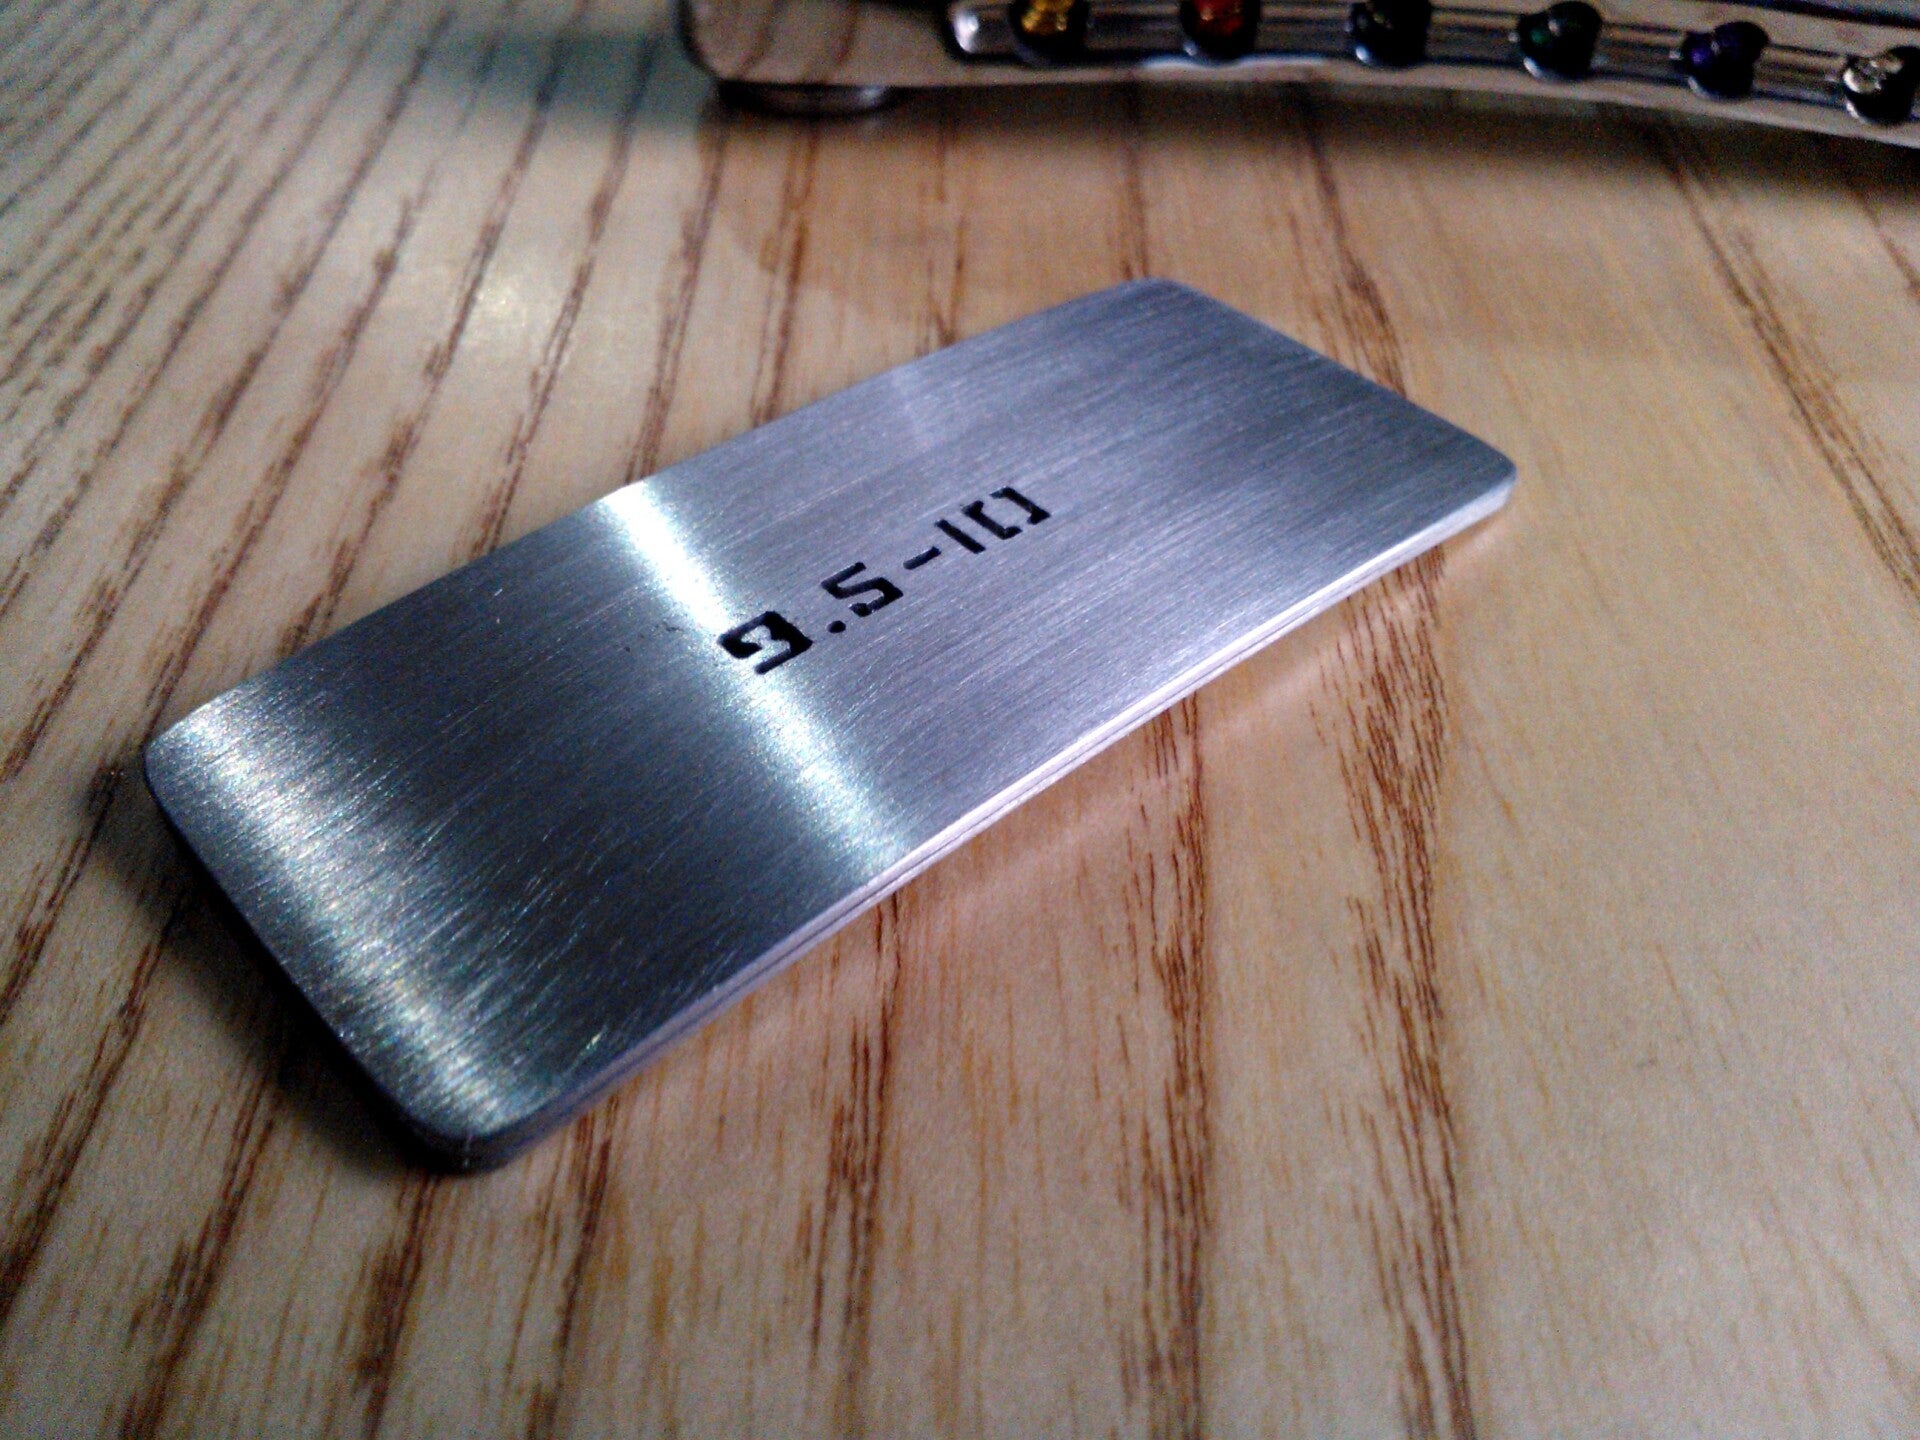
UNIQUE SYSTEM - NO SQUINTING AT A RULE - USES STRING CONTACT
MULTIPLE USES:-
1) SET STRING ACTION.
2) SET OPTIMUM HEIGHTS FOR PICKUPS.
SPIN OFFS -
3) BRIDGE SADDLES AUTOMATICALLY MATCH THE FRETBOARD RADIUS.
4) NECK RELIEF - The gauge can be further utilised in conjunction with a capo and feelers for a simple method of setting neck relief. See below for details on how to achieve this.
“Many thanks for a great product, I can see myself getting more of these. I've already discovered that the string and pickup heights on my PRS are bang on!". T.A., Kent, UK.
“Great time saving tool and just perfect. I'm a bit of a perfectionist and this little gauge has enabled me to setup the strings absolutely spot on!”. D.R., Staffs, UK.
GUITAR STRING ACTION HEIGHT
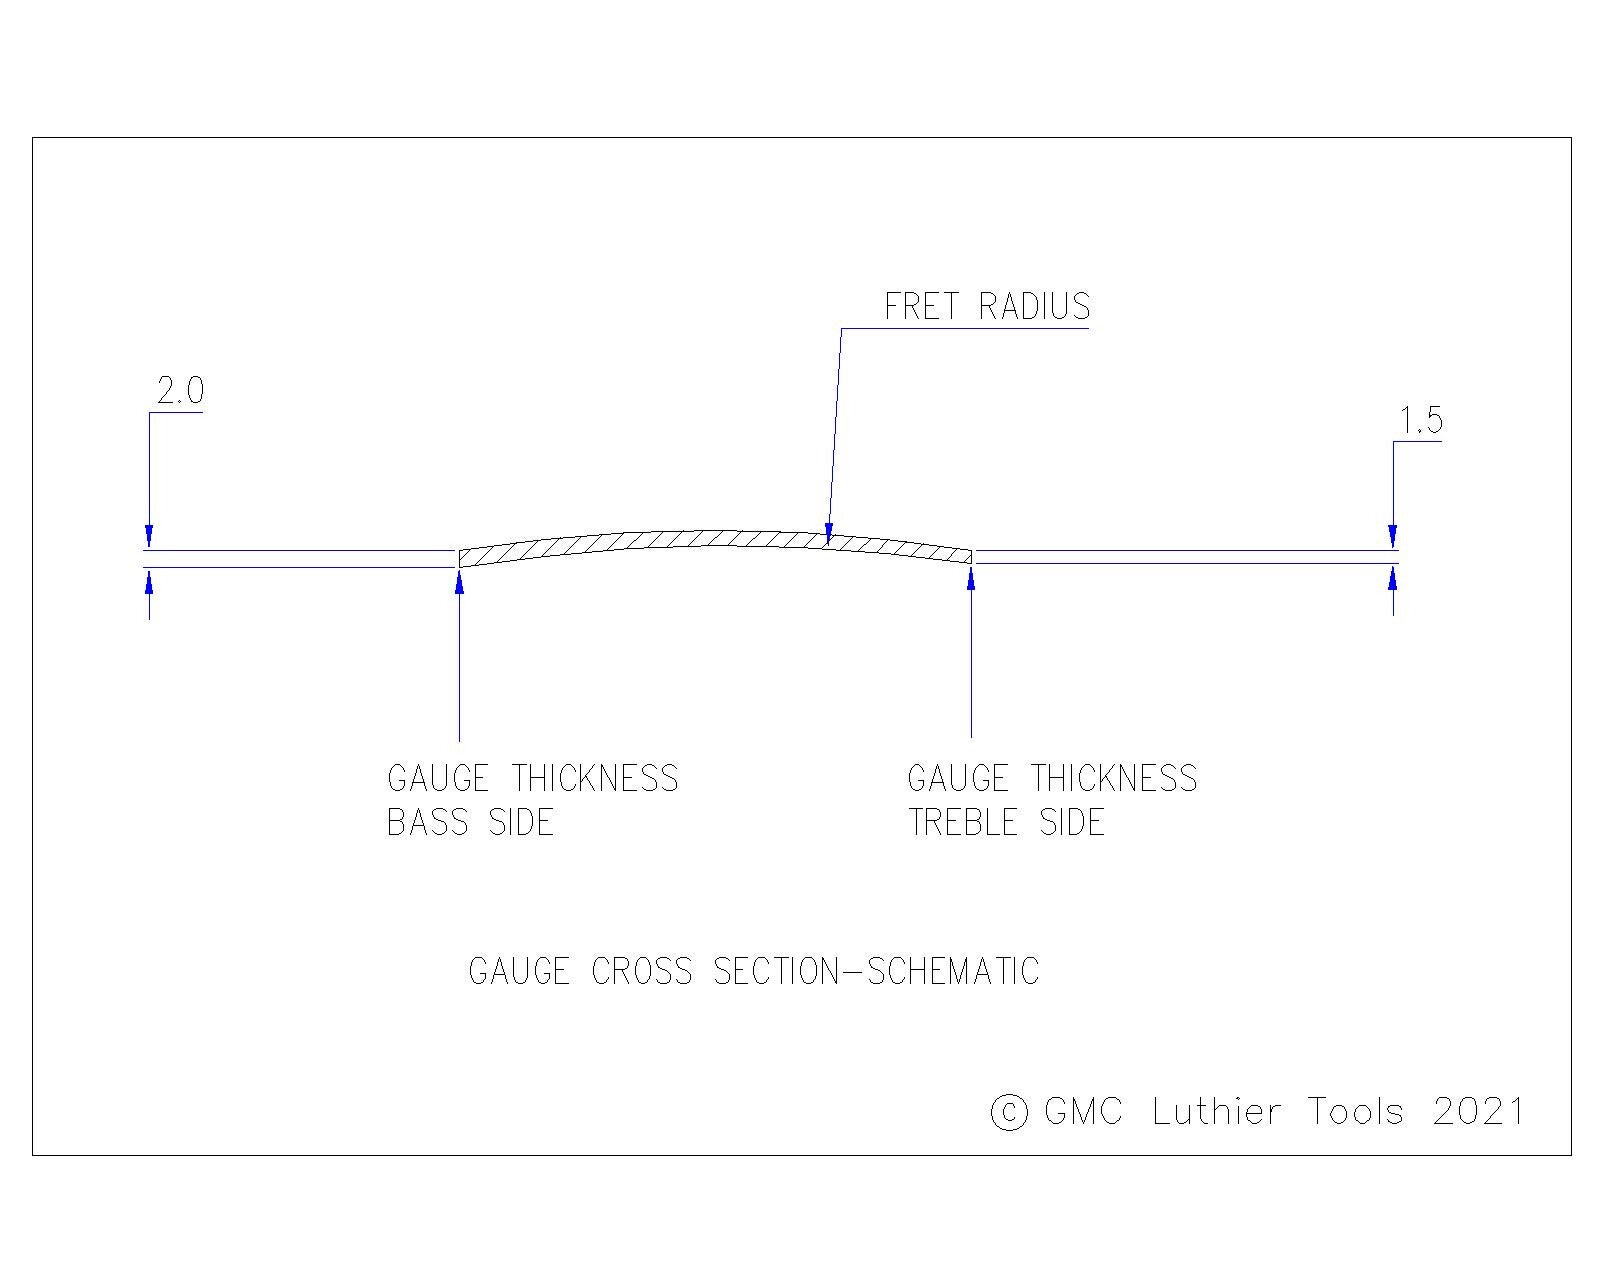
Nominal Guitar String Action Height at the 12th fret for a 6-string guitar is typically 1.5mm at High 'E' rising to 2.0mm at Low 'E'. This is generally considered as providing a good combination of clear tone and playing comfort. The gauge allows the action to be consistently set to these values and avoids variations from guesswork and visual approximation.
SETUP GAUGE - THICKNESS COMPENSATION
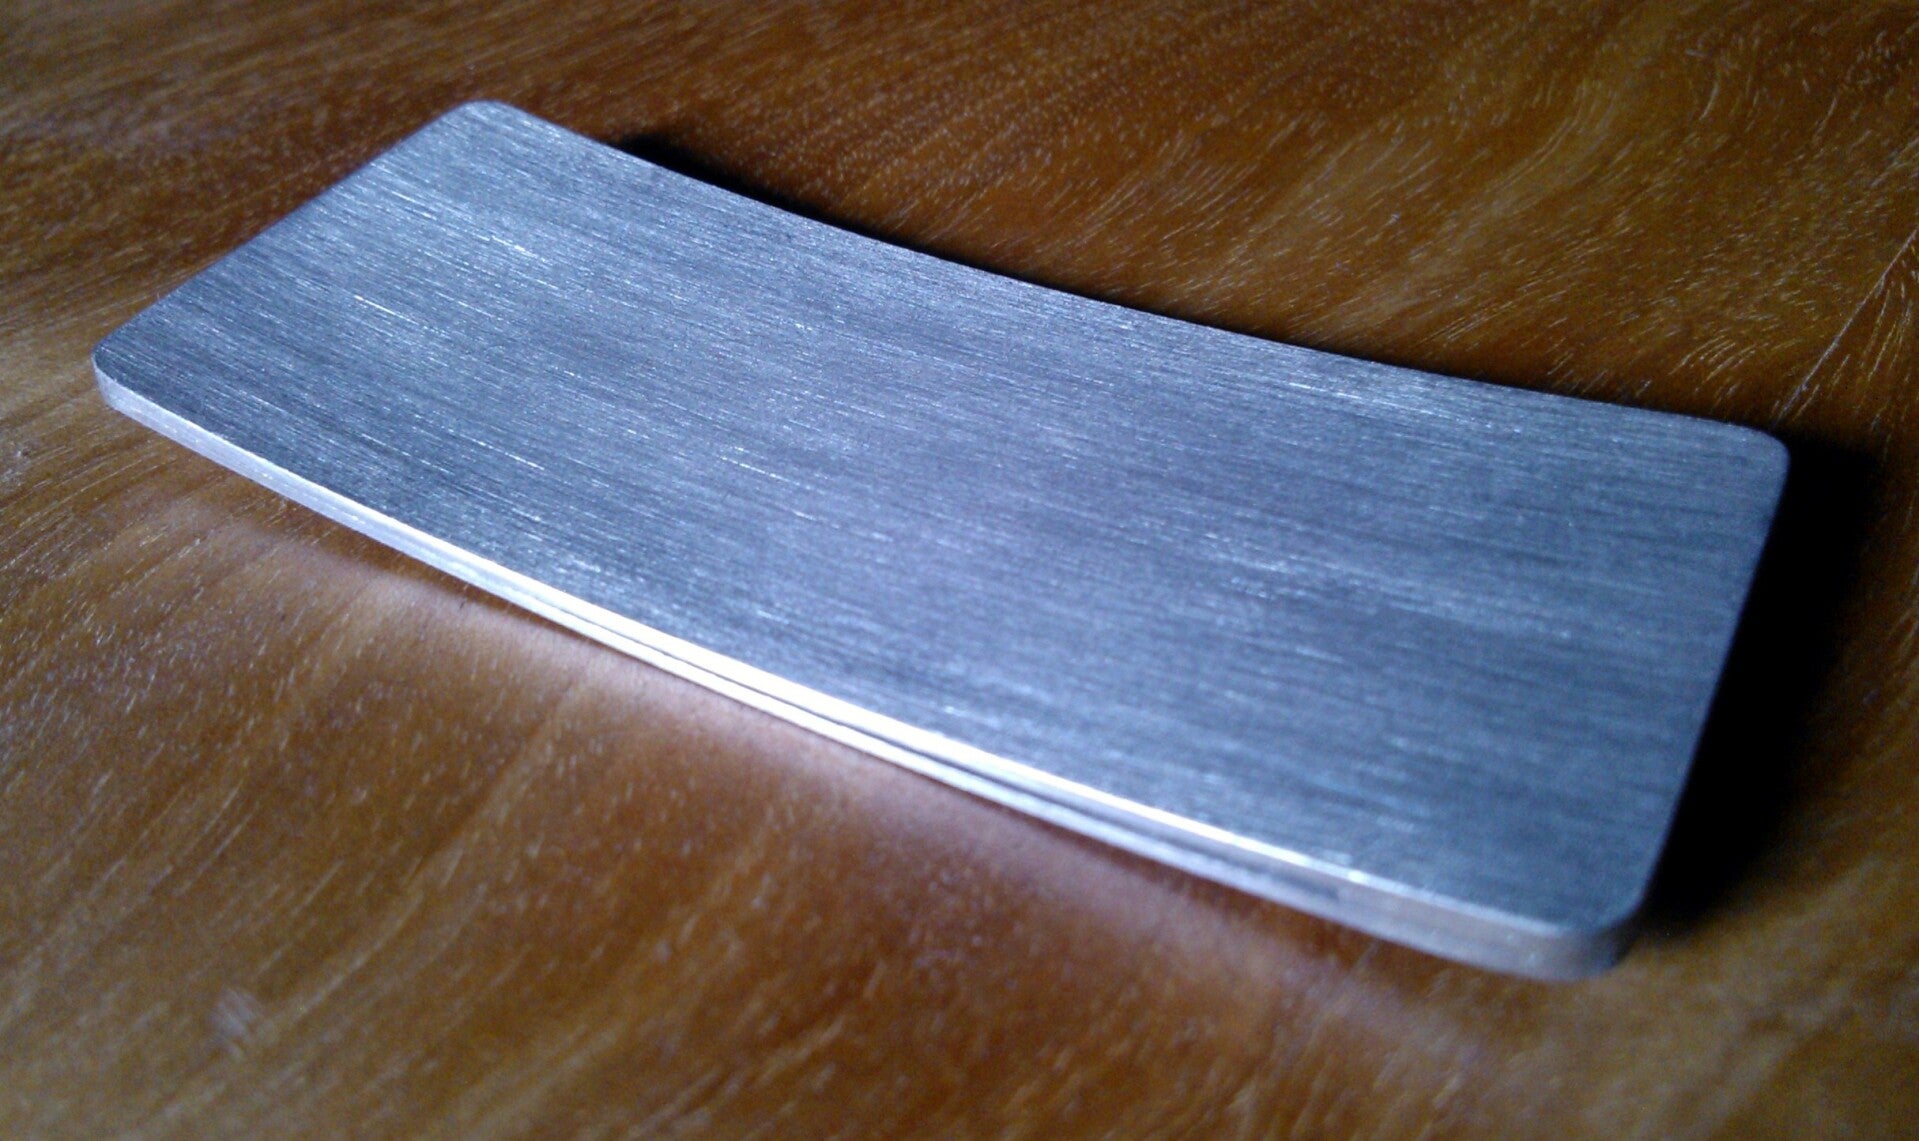
The thickness of the gauge increases across the fretboard:
Gauge Thickness @ 1st String: 1.50mm
Gauge Thickness @ 6th String: 2.00mm
WIDENING ARC
"I saw this and was like "wow". The fact is that string action does not follow a circular arc but a very gentle spiral shape widening as the string gauge gets larger. A neat concept!, and you can slide it left or right to get the right action!.". K.M., established stringed instrument repair, USA.
SETTING THE STRING ACTION
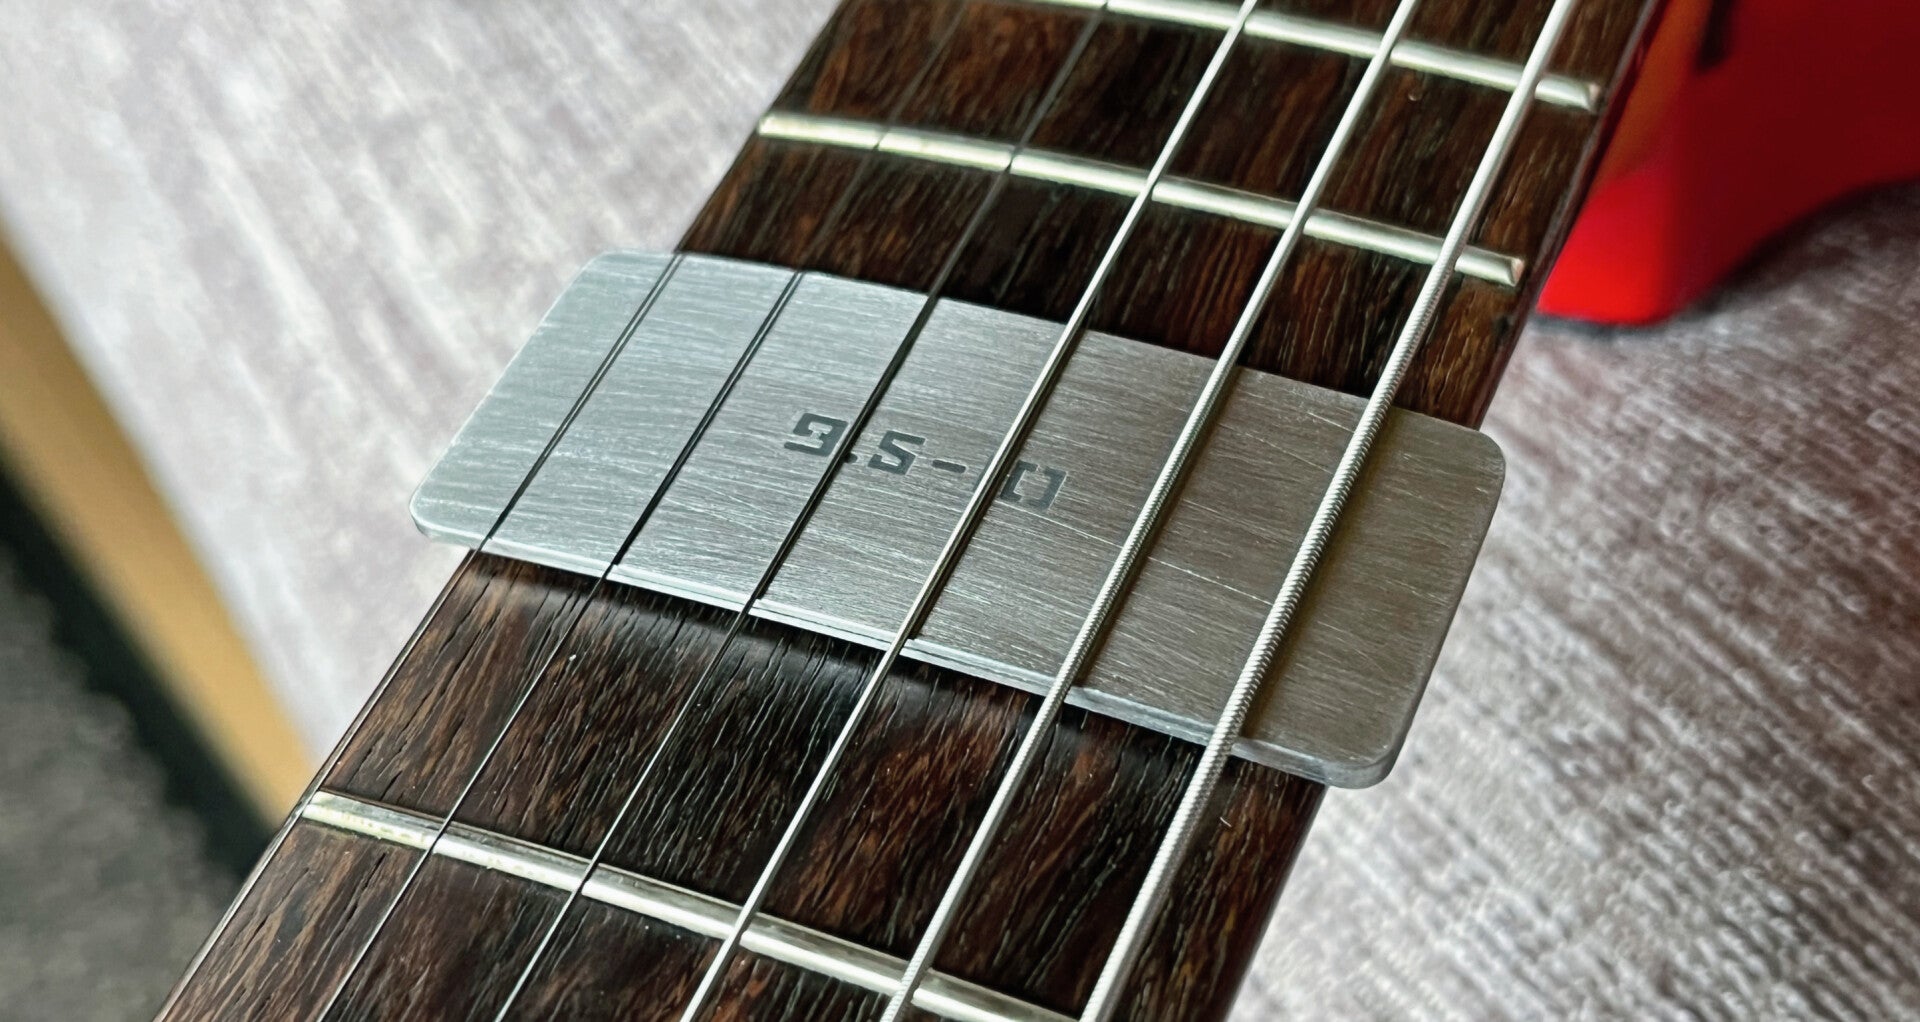
Insert the gauge underneath the strings at the 12th fret and adjust the saddles or bridge until the strings rest on the gauge.
Optimal action on the instrument will be influenced by fret condition and individual preference. From the initial setting, the string height can be adjusted to suit tone or playing requirements, e.g. treble strings set with lower action and bass strings set with higher action.
If a different action is preferred, this can be achieved by sliding the gauge up or down to a different fret position .
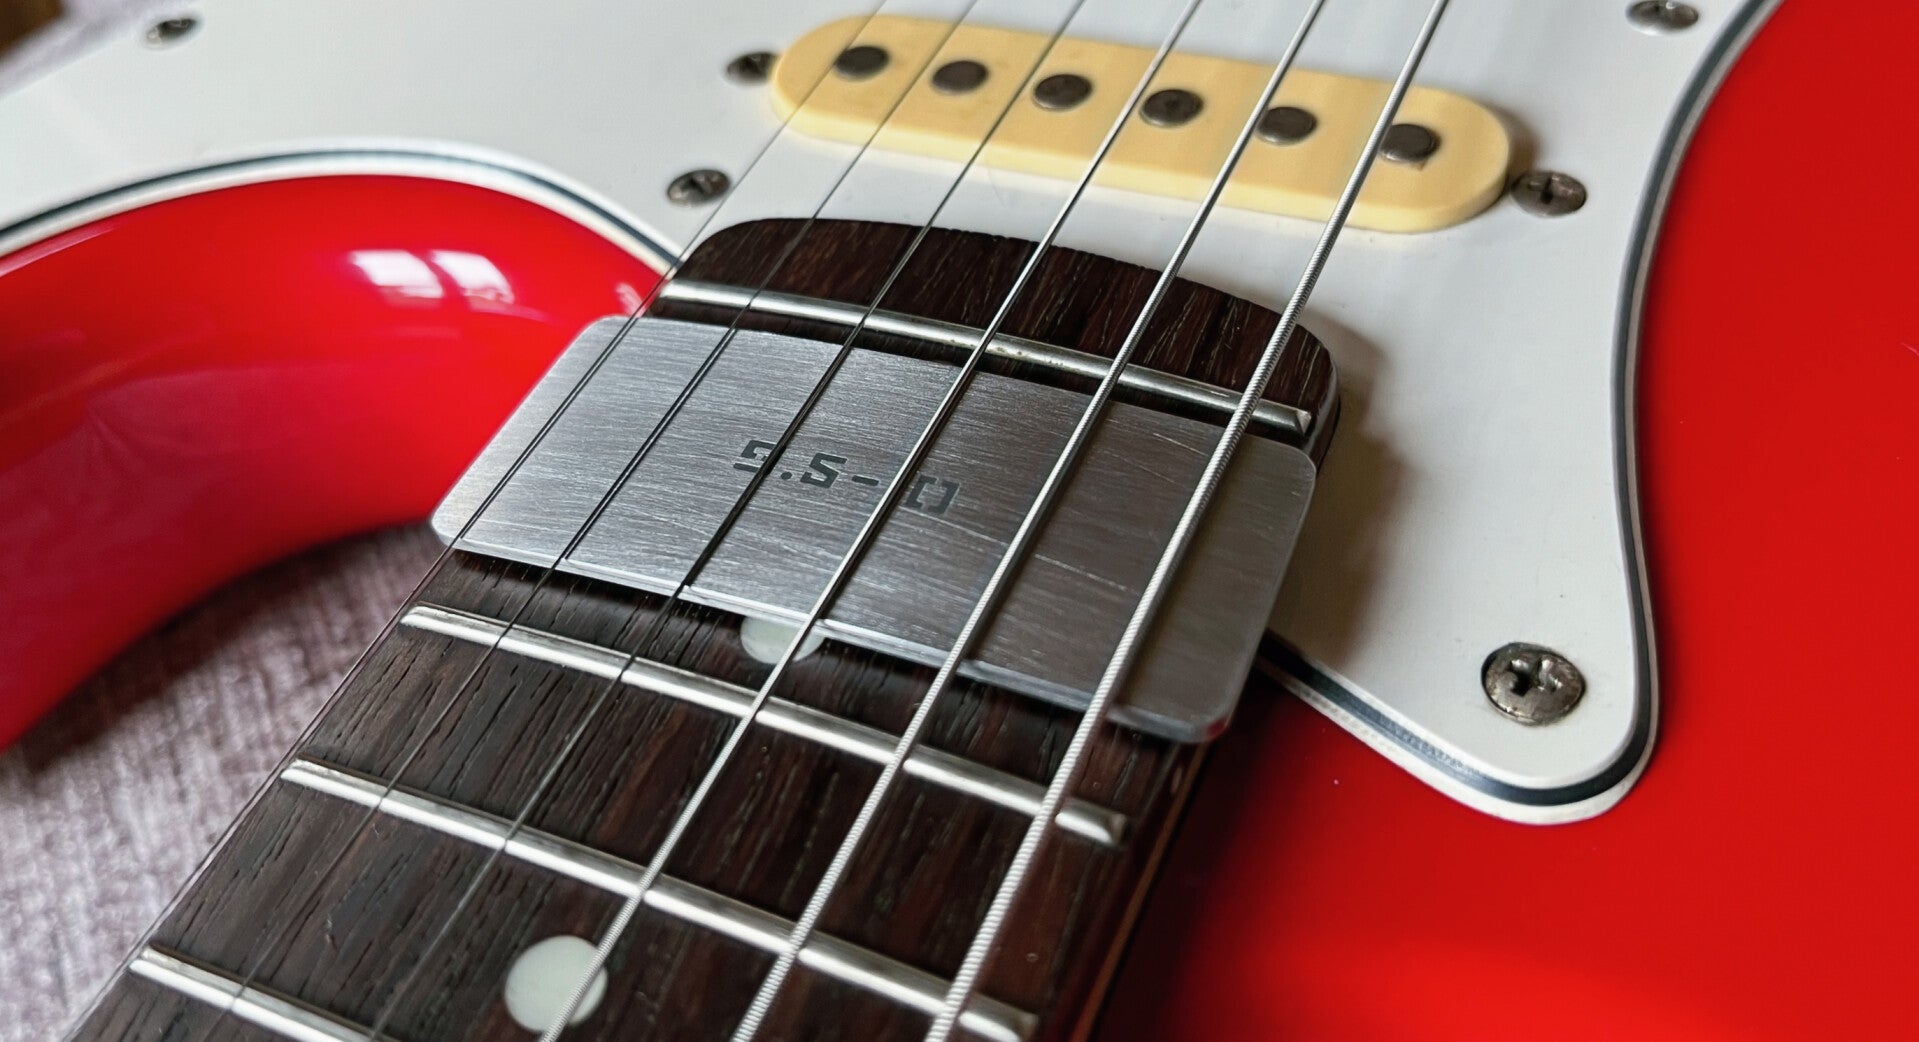
LOWERING THE ACTION
Move the gauge to a higher fret then lower the bridge until the strings contact the gauge again.
RAISING THE ACTION
Move the gauge to the 11th fret and raise the bridge.
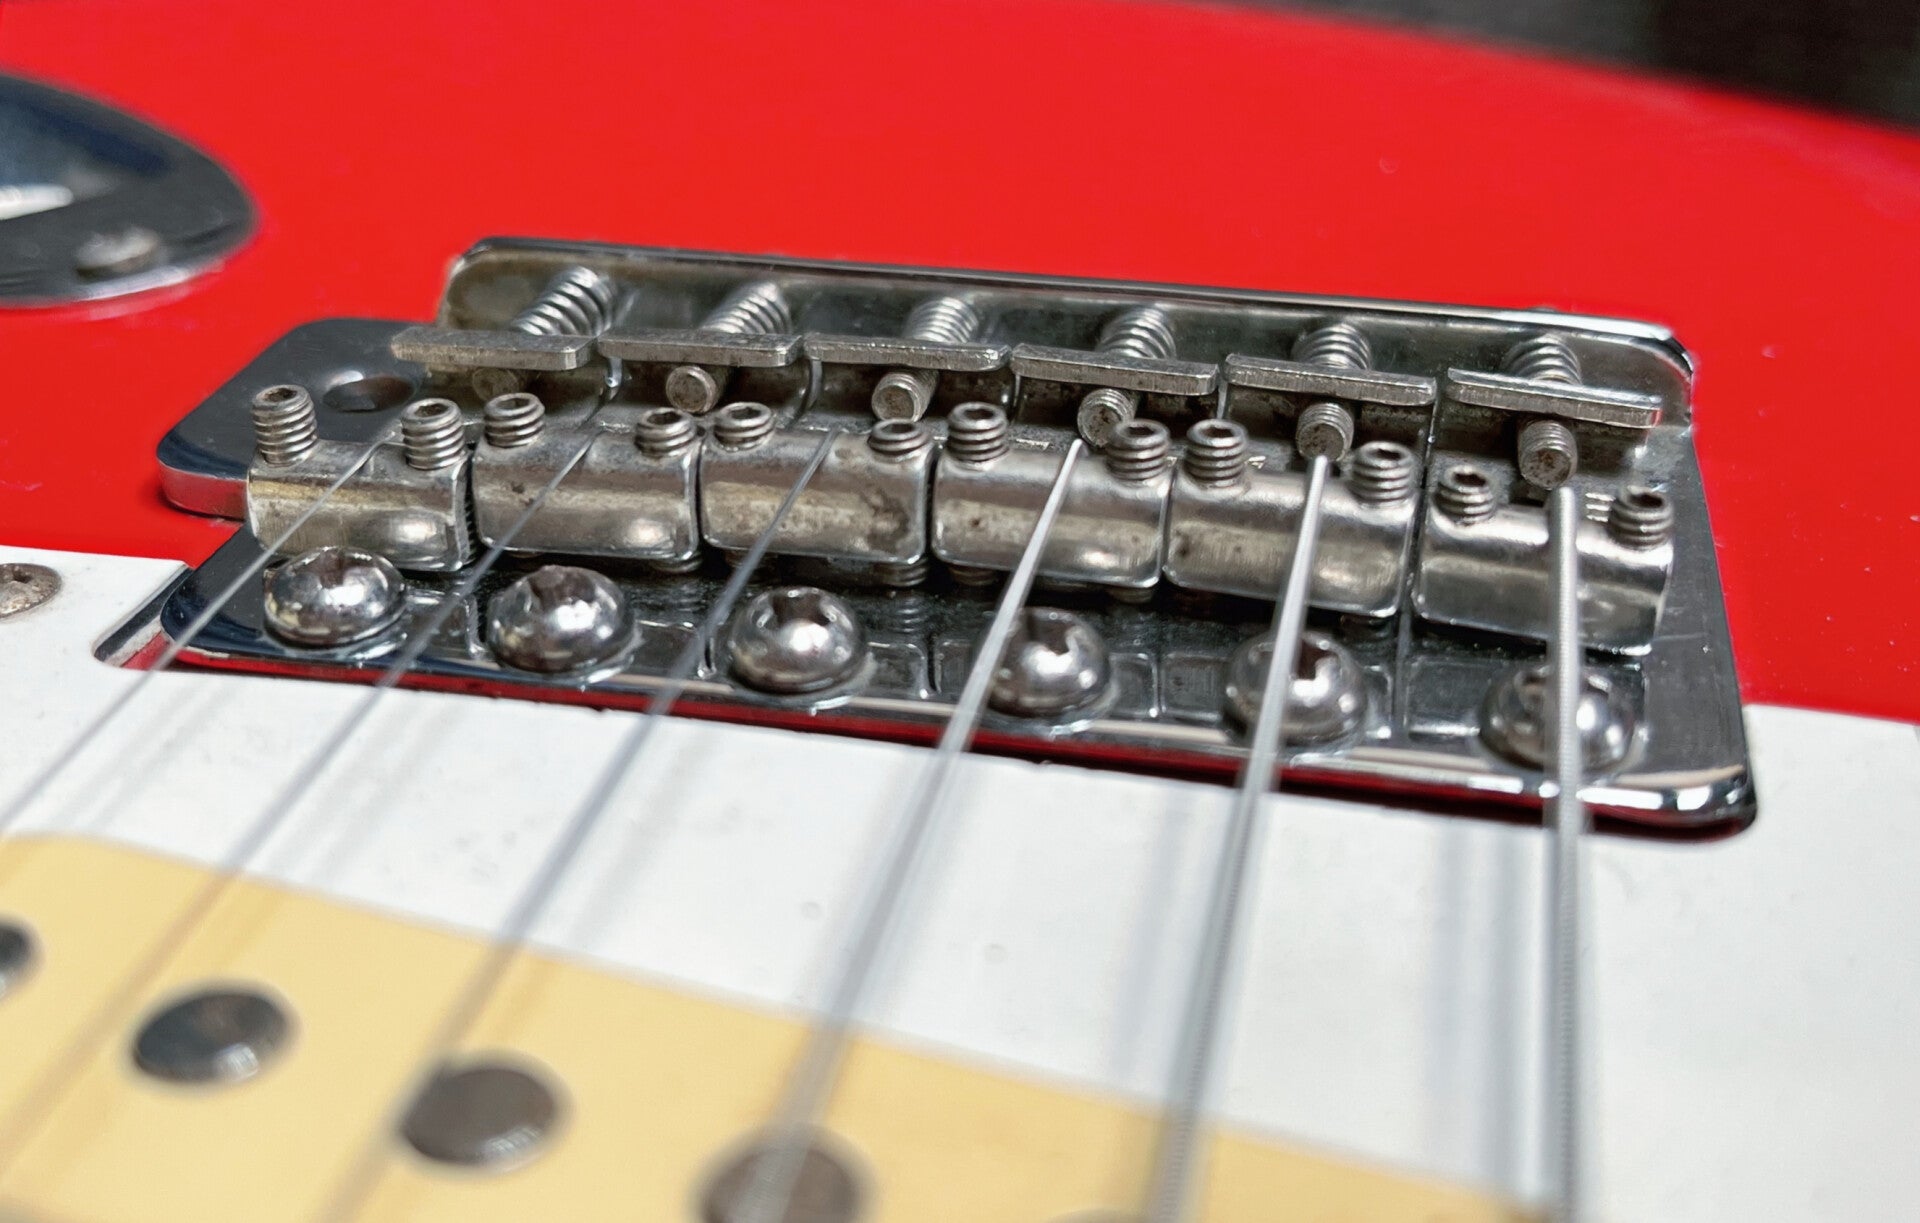
BRIDGE SADDLE RADIUS
With individually adjustable saddles, the radius will automatically match the fretboard when setting the action with the gauge.
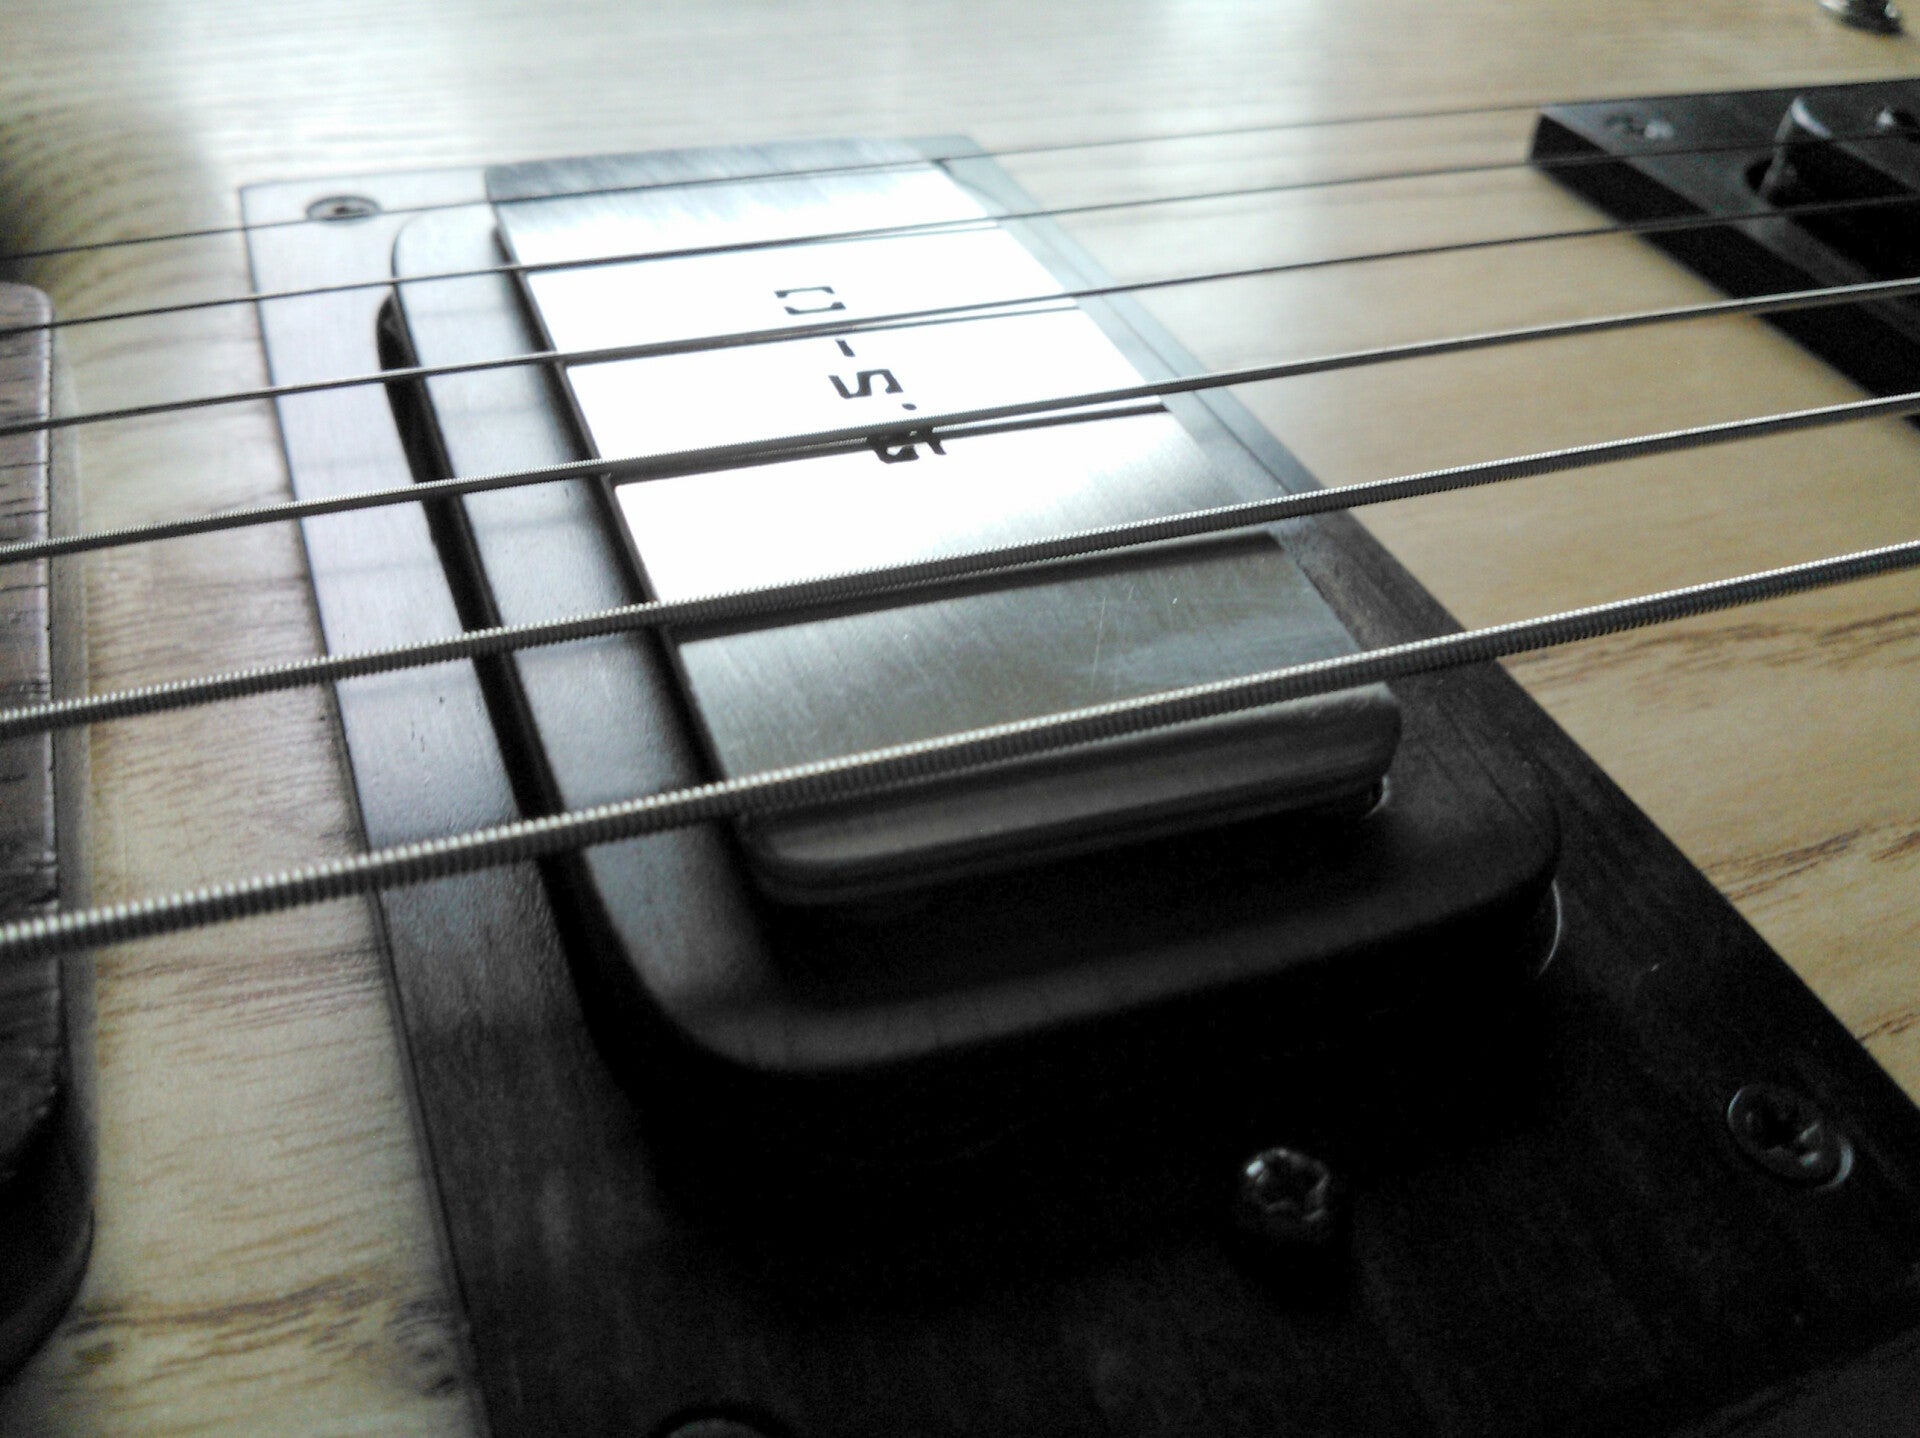
SETTING PICK UP HEIGHTS
After setting the string action, the gauge can also be used to set the pick up heights.
Place the gauge on top of the pick up poles and adjust the pick up height until the strings contact the gauge with the last fret position fretted.
OPTIONS
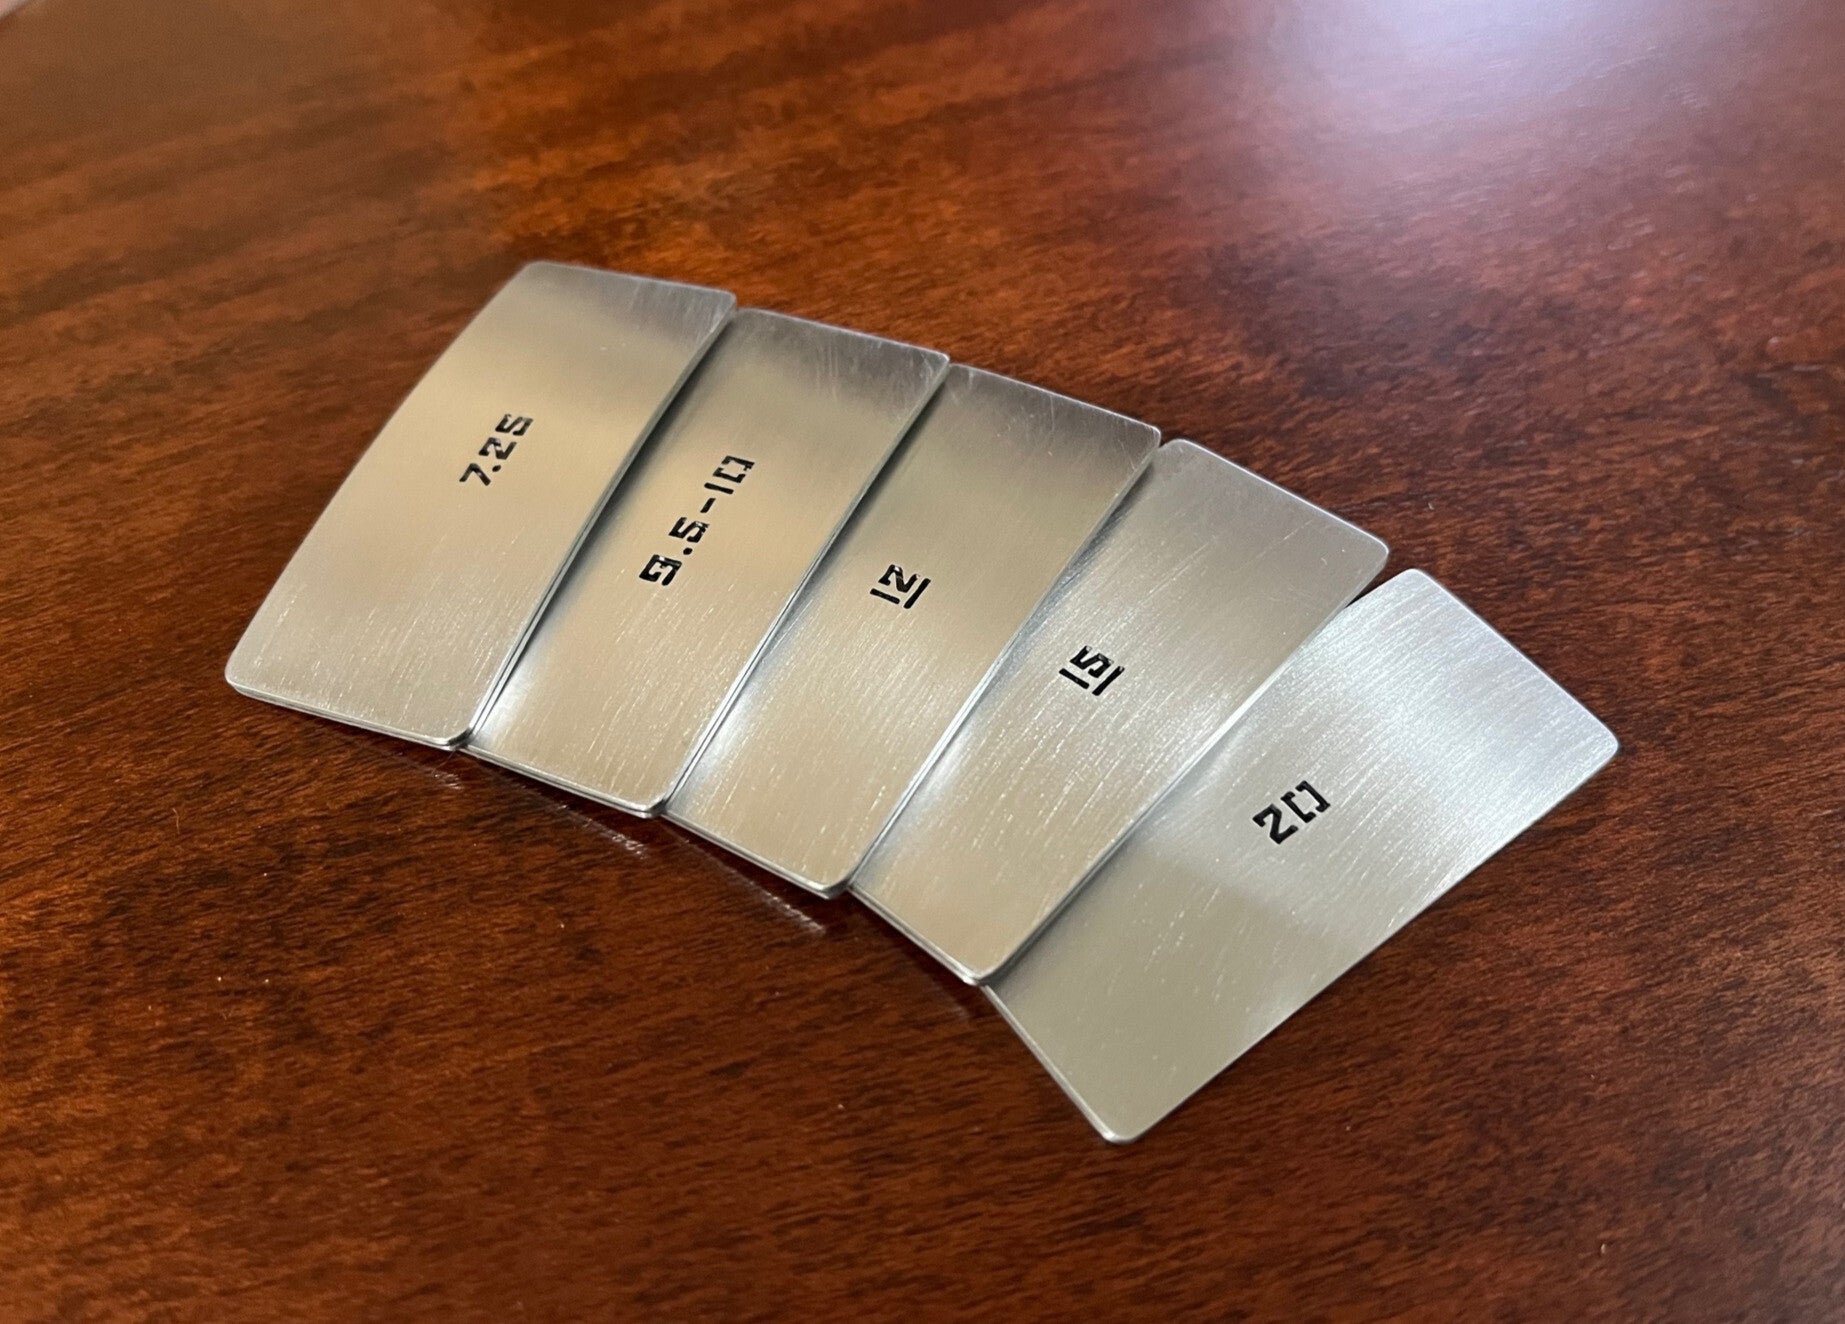
Five guitar gauge options are available:
7.25"
9.5-10"
12"
15" (Suitable for 14" to 17" radius)
20" (Suitable for 18" to 20" radius)
(Please note the tool is not suitable for use on a Bass Guitar).
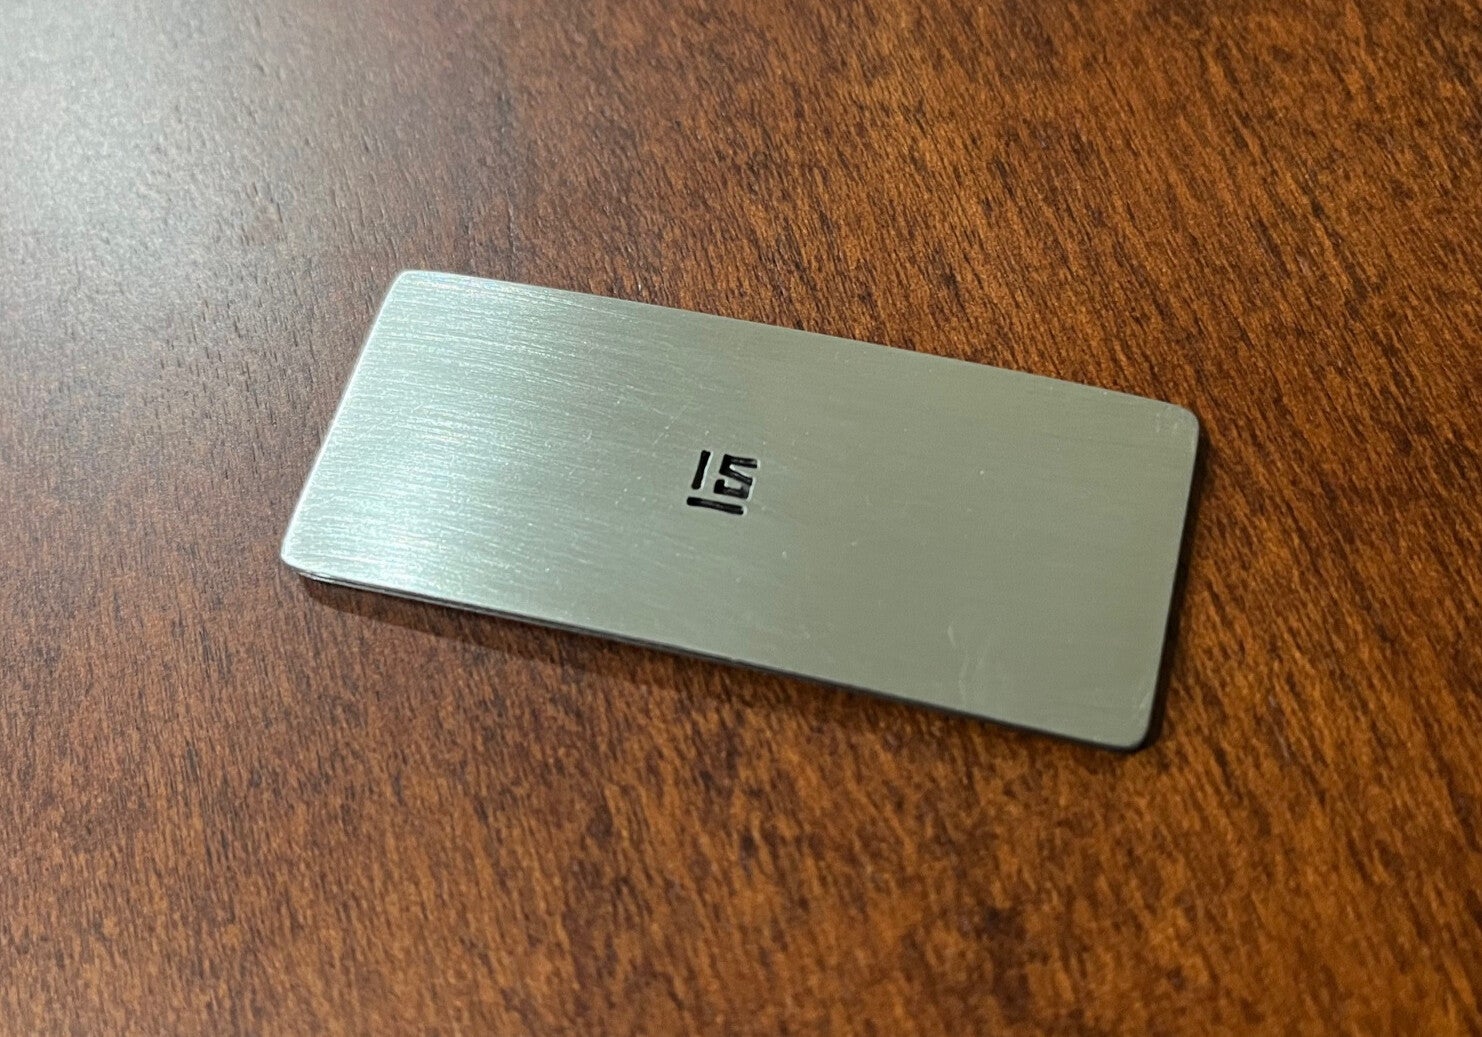
Q. "I'm interested in your String Action Gauge but have two guitars with 14" and 16" radii. I can't see these sizes on the menu and wondered if you have a gauge for each of these".
A. "The 15" gauge is designed for 14" to 17" radii and will be suitable for both of your guitars. There isn't an option for 14" or 16" as the difference in radius geometry is negligible with respect to measuring action.
“Package received & works GREAT!. Until today I was struggling a bit with a Telecaster’s relief and action. Primarily this was due to my not so great eyesight -I have some trouble seeing the fine marks on a precision rule. Your tool made the adjustment process super simple. Congratulations on another great tool!”. D. H., Wisconsin, USA.
Simple Guitar Neck Relief Method
SETTING UP YOUR INSTRUMENT
For best results, the following order of adjustment is recommended:
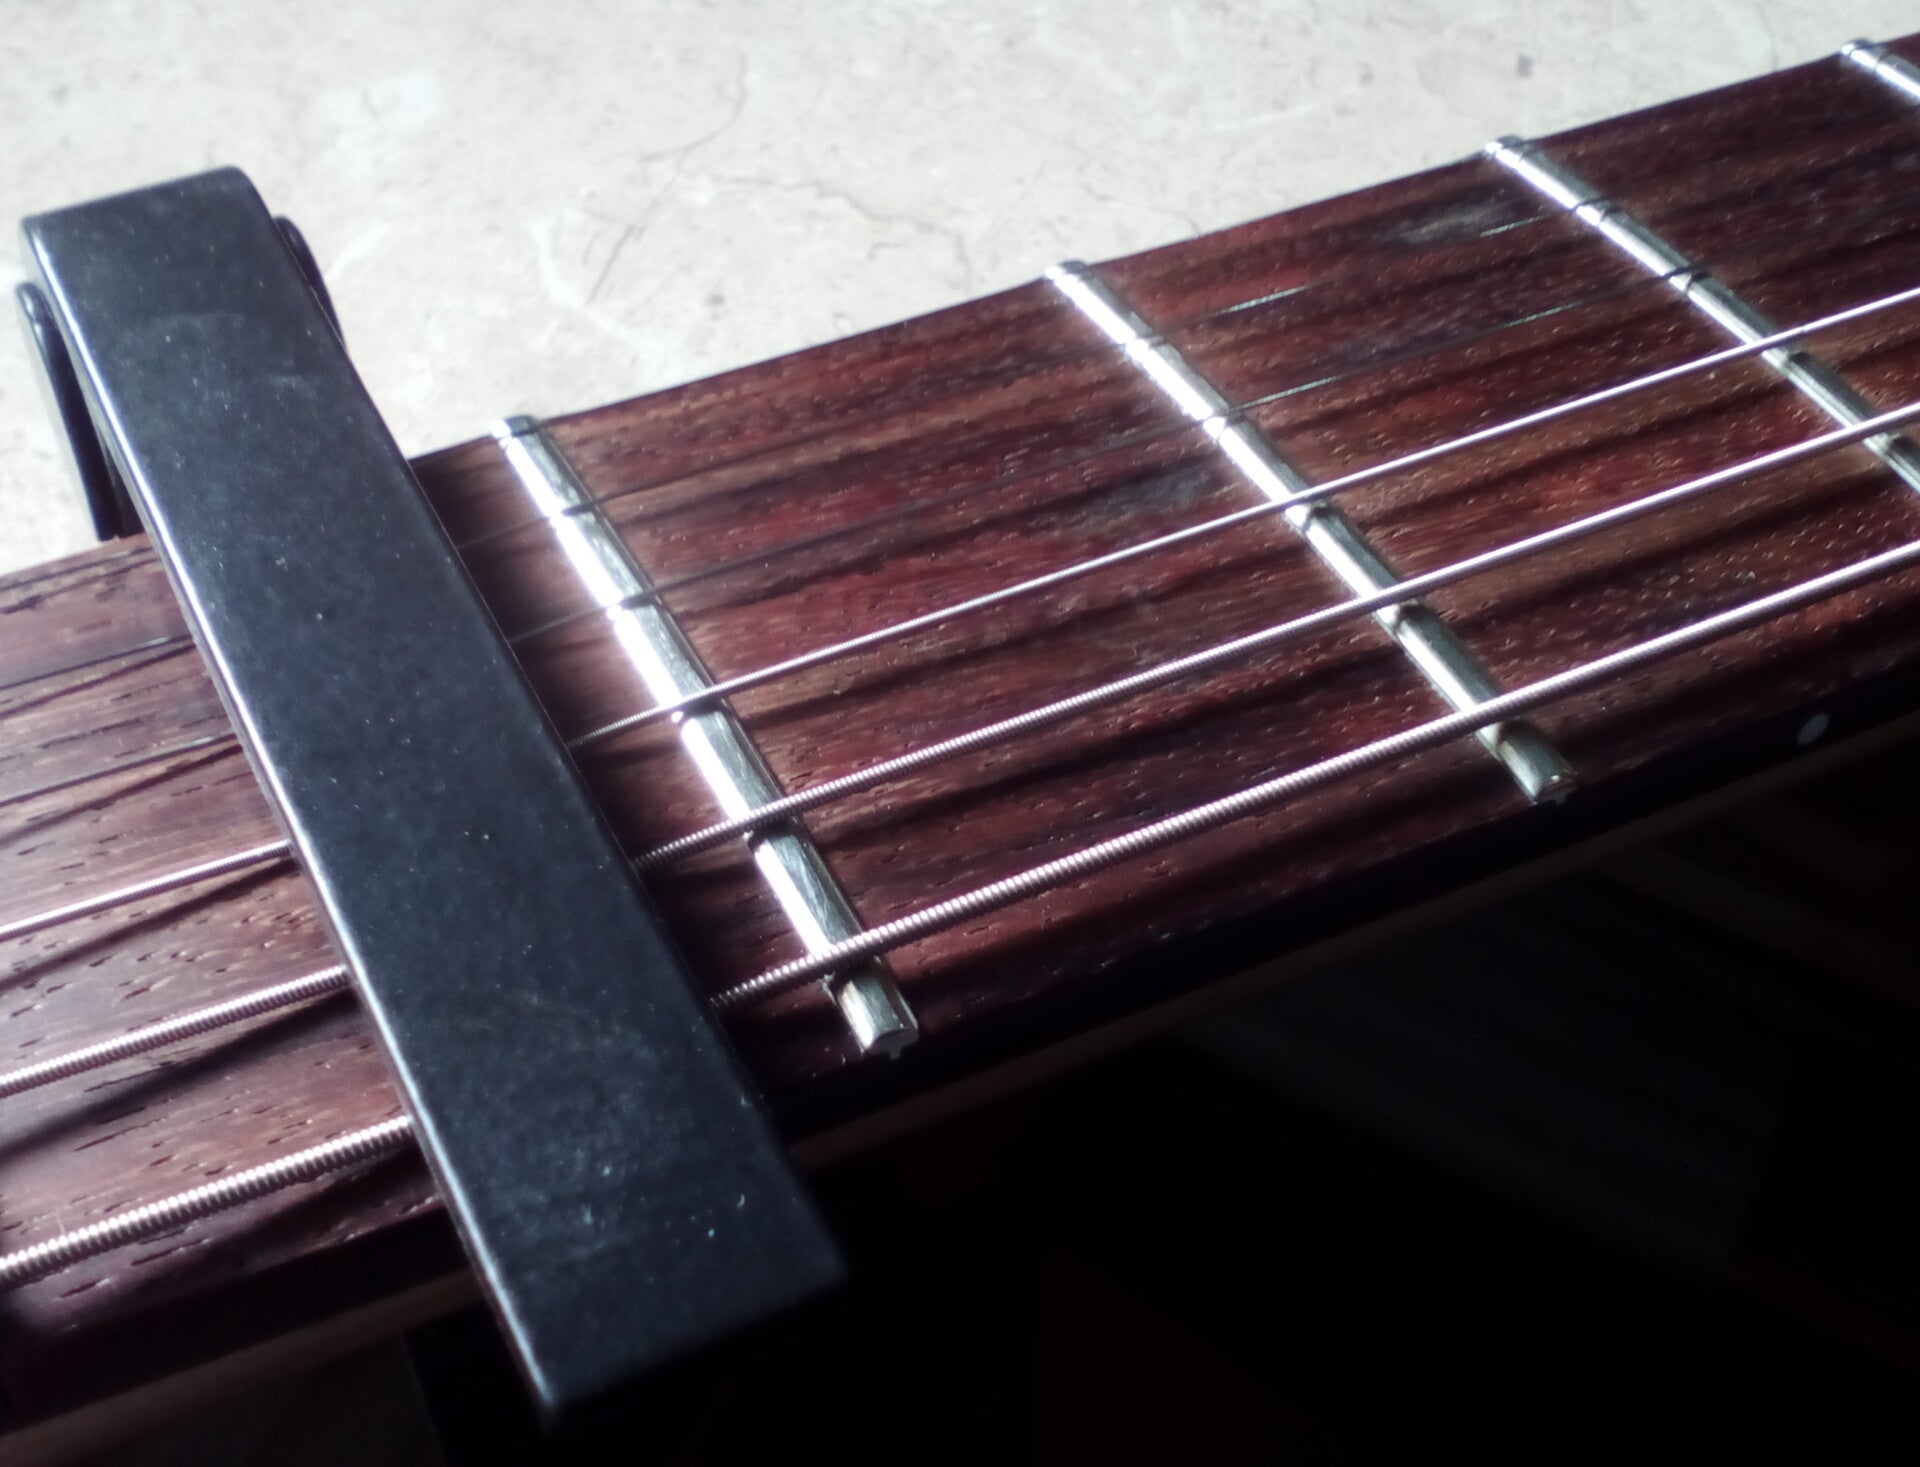
1. Set Neck Relief.
2. Set String Action.
3. Set Pick Up Heights
GENERAL
There is no requirement with this system to use a straight edge.
The procedure is based on Fenders recommendation for simultaneously depressing the string at the 1st and last fret and measuring the relief at the 8th fret. The method enables this to be done in a manner that also leaves both hands free to make adjustments.
"Hi there, I tried out the kit over the weekend and I'm absolutely floored with the results! Before using your guide, I tried every imaginable neck relief method/product available. However, none of them ever felt accurate and I would find myself uncertain about my work - eventually taking it to a local shop every time. It was frustrating when all I wanted to do was straighten the neck, set string action, pickup height & intonation. I'm a guitarist with ADHD, so my focus time is limited lol. Thus, I wanted something simple & accurate. Better than merely eyeballing the neck, endless measuring, or using a digital gauge (Surprise! They never work). The GMC String Height & Neck Relief guide could not make the setup process simpler. There's no guesswork or measuring other than making sure the strings touch the feeler gauge & radius bar at the appropriate time. I honestly can't believe no one else is offering such a simple/efficient product for this purpose. GMC is now my first stop for any guitar-related tools/needs, and thank you again for the lightning-fast shipping!". Best, C.L., AZ USA
HOW MUCH RELIEF IS REQUIRED?
The neck should be slightly concave with a typical relief of 0.25mm from the top of the 8th fret to the underside of the strings for a 6-string Guitar. For fast light playing, the relief can be set lower to 0.15mm.
The amount of relief will ultimately be a matter of preference and how the instrument feels and sounds.
PROCEDURE TO SET NECK RELIEF
1) FIT A CAPO
Fit a Capo at the 1st fret and ensure all strings are fretted.
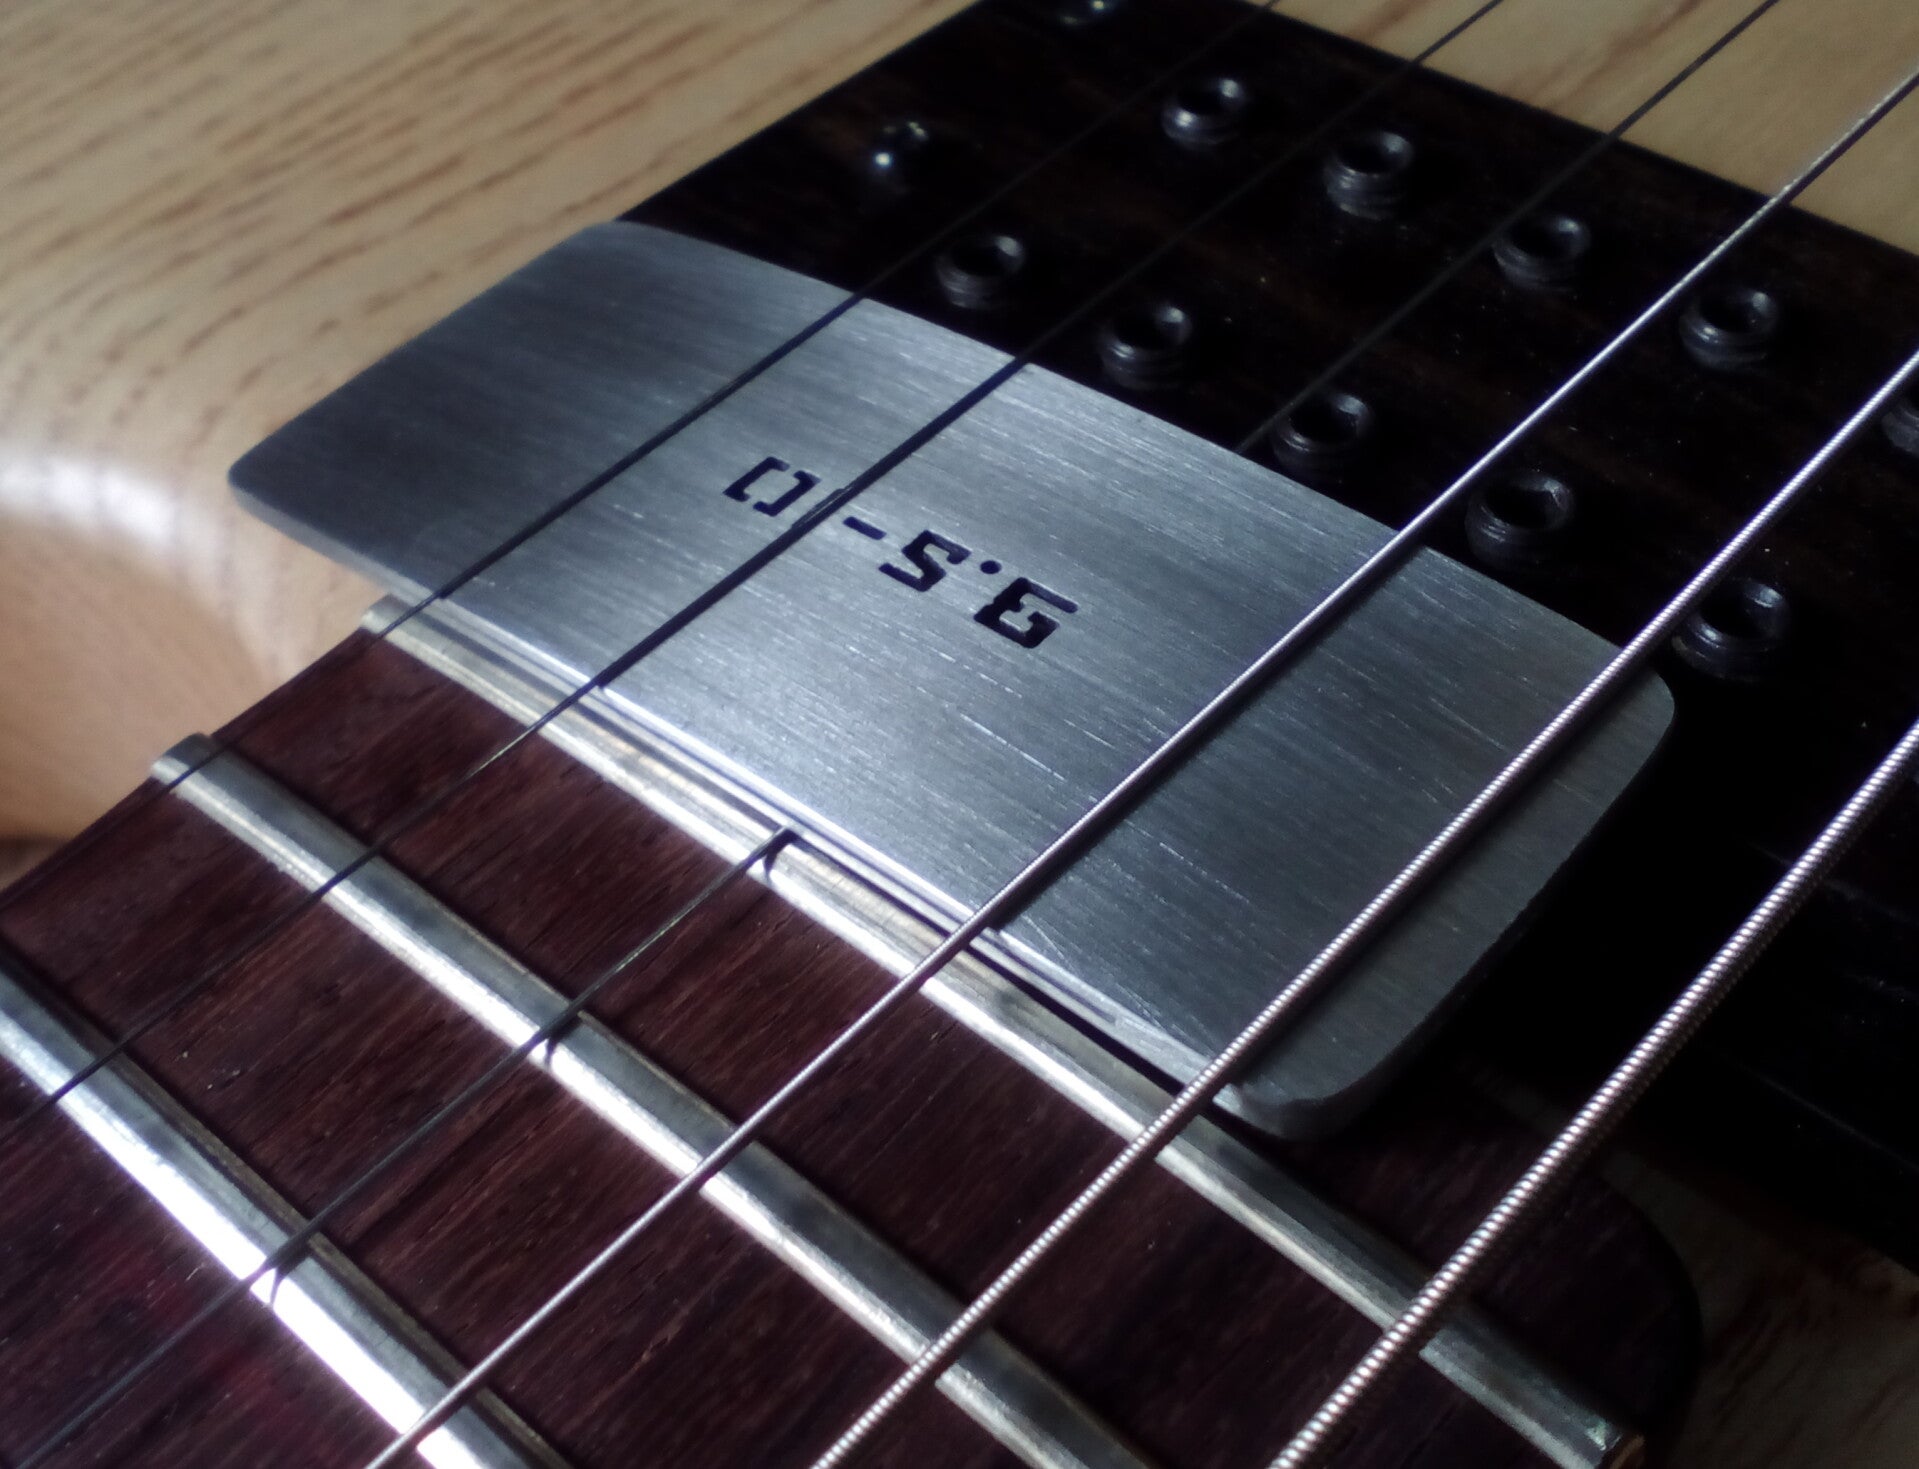
2) INSERT THE GAUGE
Feed the gauge through the strings below the last fret as shown in the photo.
Note 1st, 2nd, 4th & 5th strings pass over the gauge & the 3rd string runs underneath the gauge. The effect of this will cause the 3rd string to be fretted.
(Ensure the 3rd string is in contact with the last fret. If the current action is set high, and the 3rd string is not in contact with the fret, then the bridge should be lowered until the 3rd string is fretted).
The string pressure and gauge curvature will ensure fret contact is maintained - Both hands are free for truss rod adjustments.
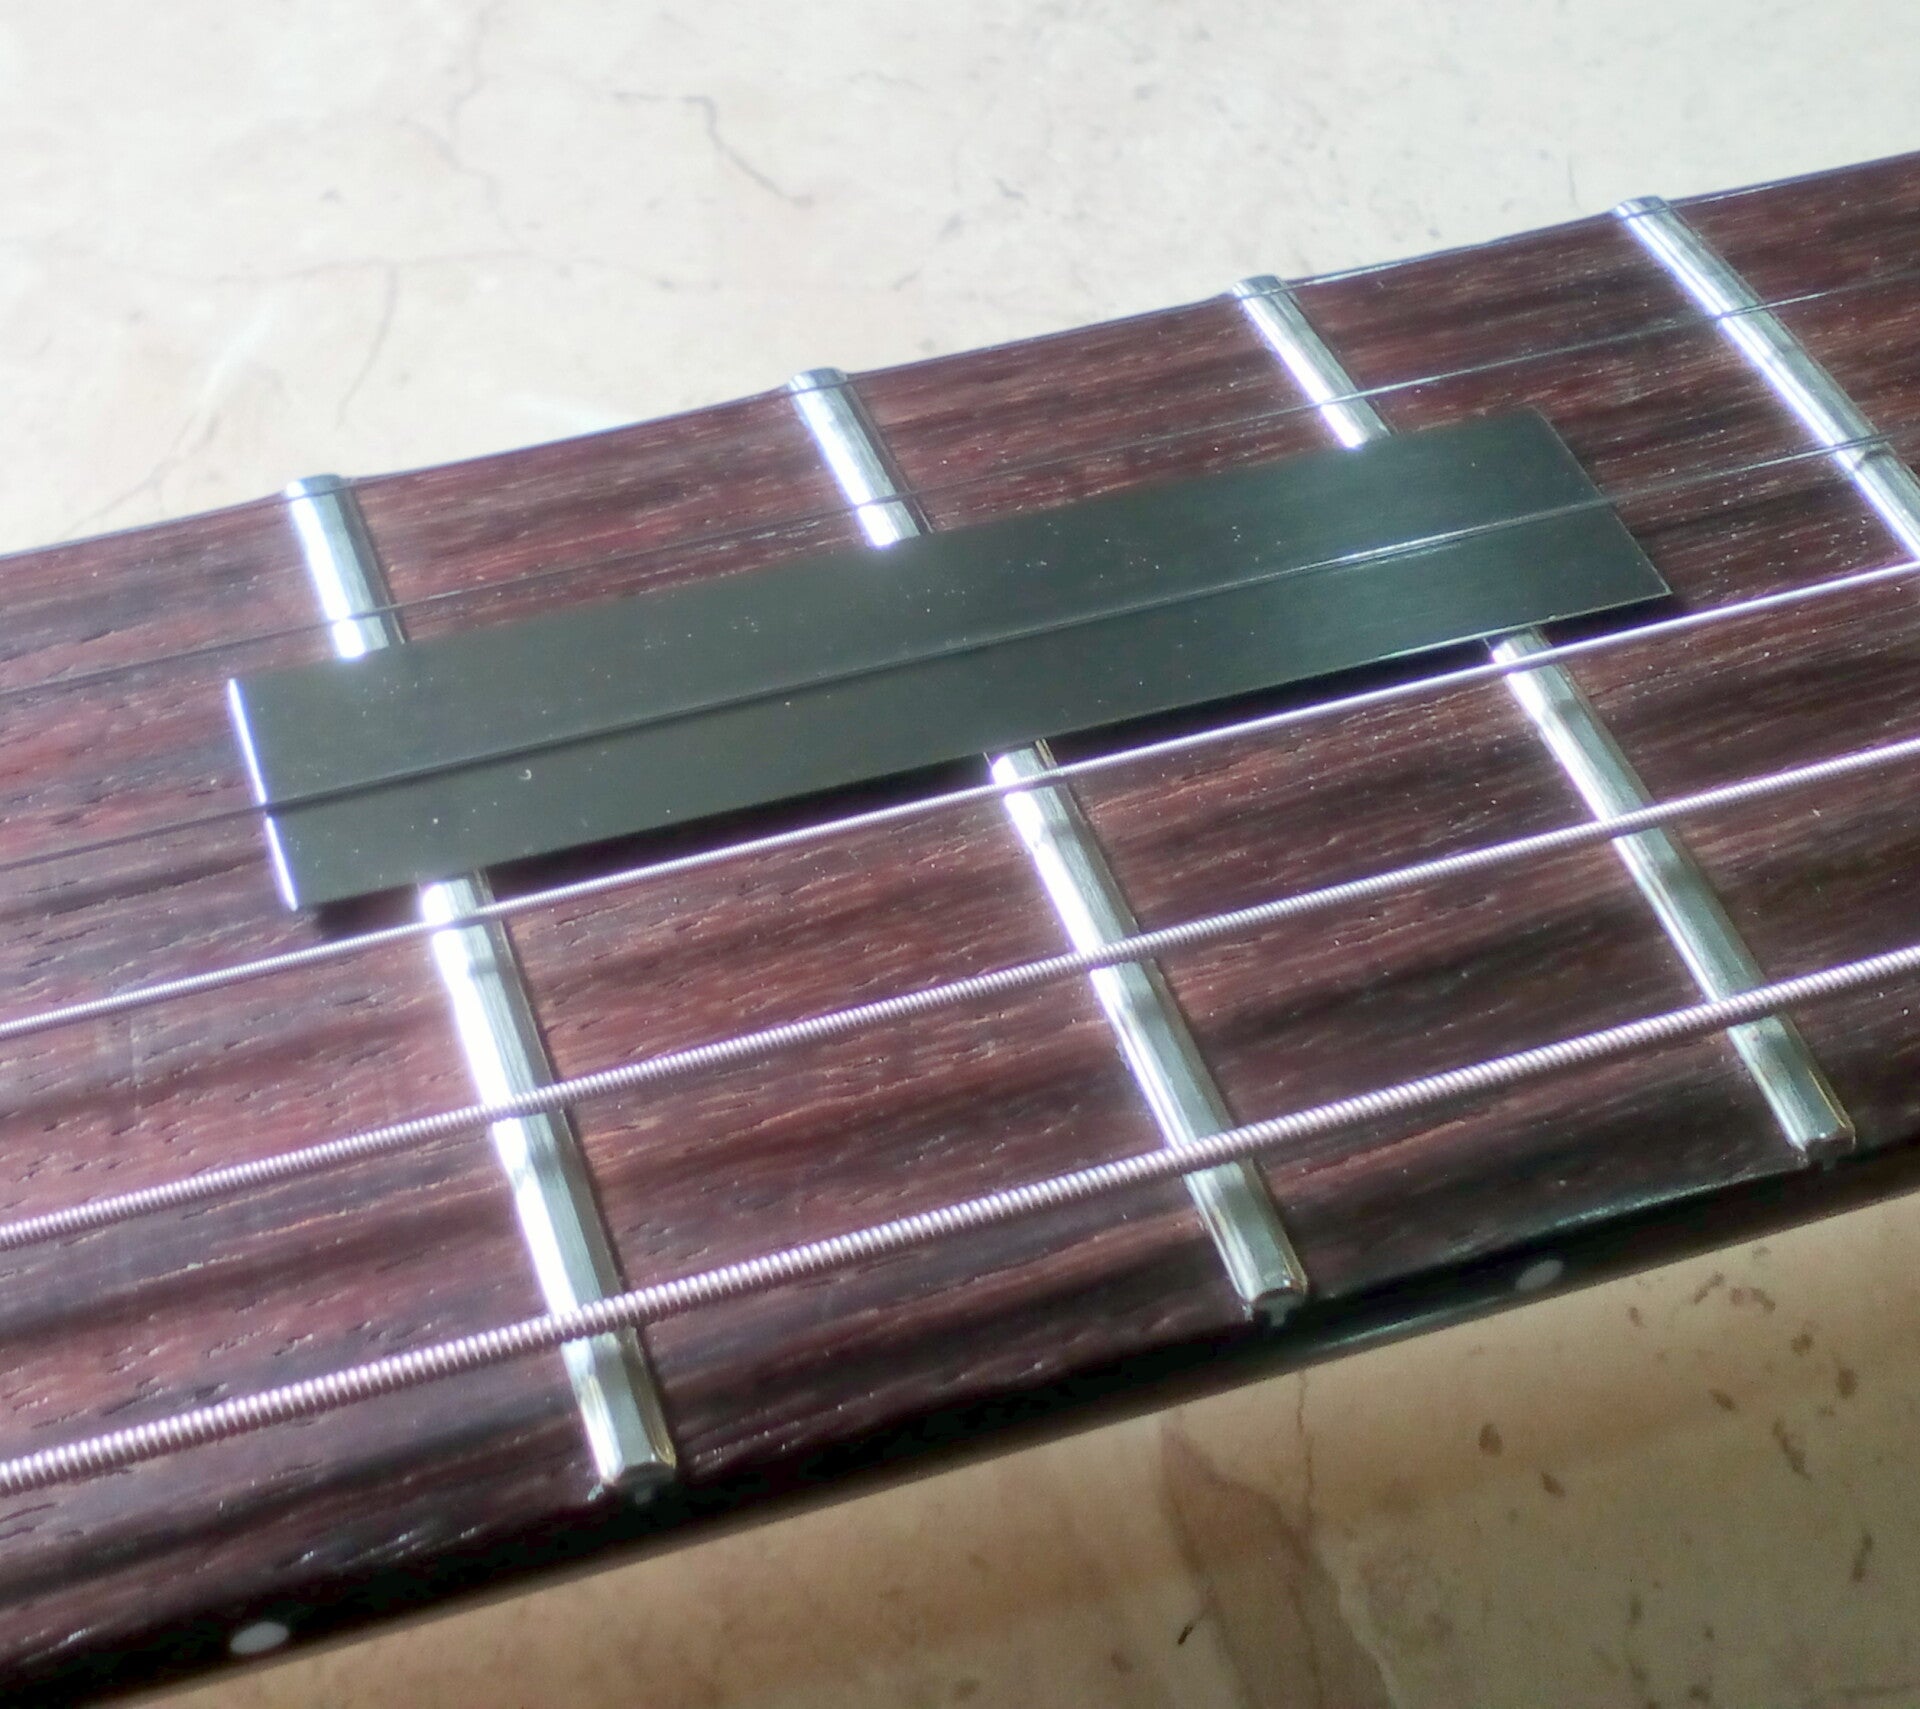
3) USE A FEELER STRIP
Position a feeler strip underneath the 3rd string at the 8th fret. (We recommend that the feeler gauge is cut to 55mm long to enable it to rest level on the guitar, between the 7th & 9th frets).
4) ADJUST THE TRUSS ROD
Adjust the truss rod until the string contacts the feeler.
BENEFITS
- Change in relief seen in real time.
- Immediate confirmation of required truss rod adjustment direction.
- Confidence that the relief has been correctly set.